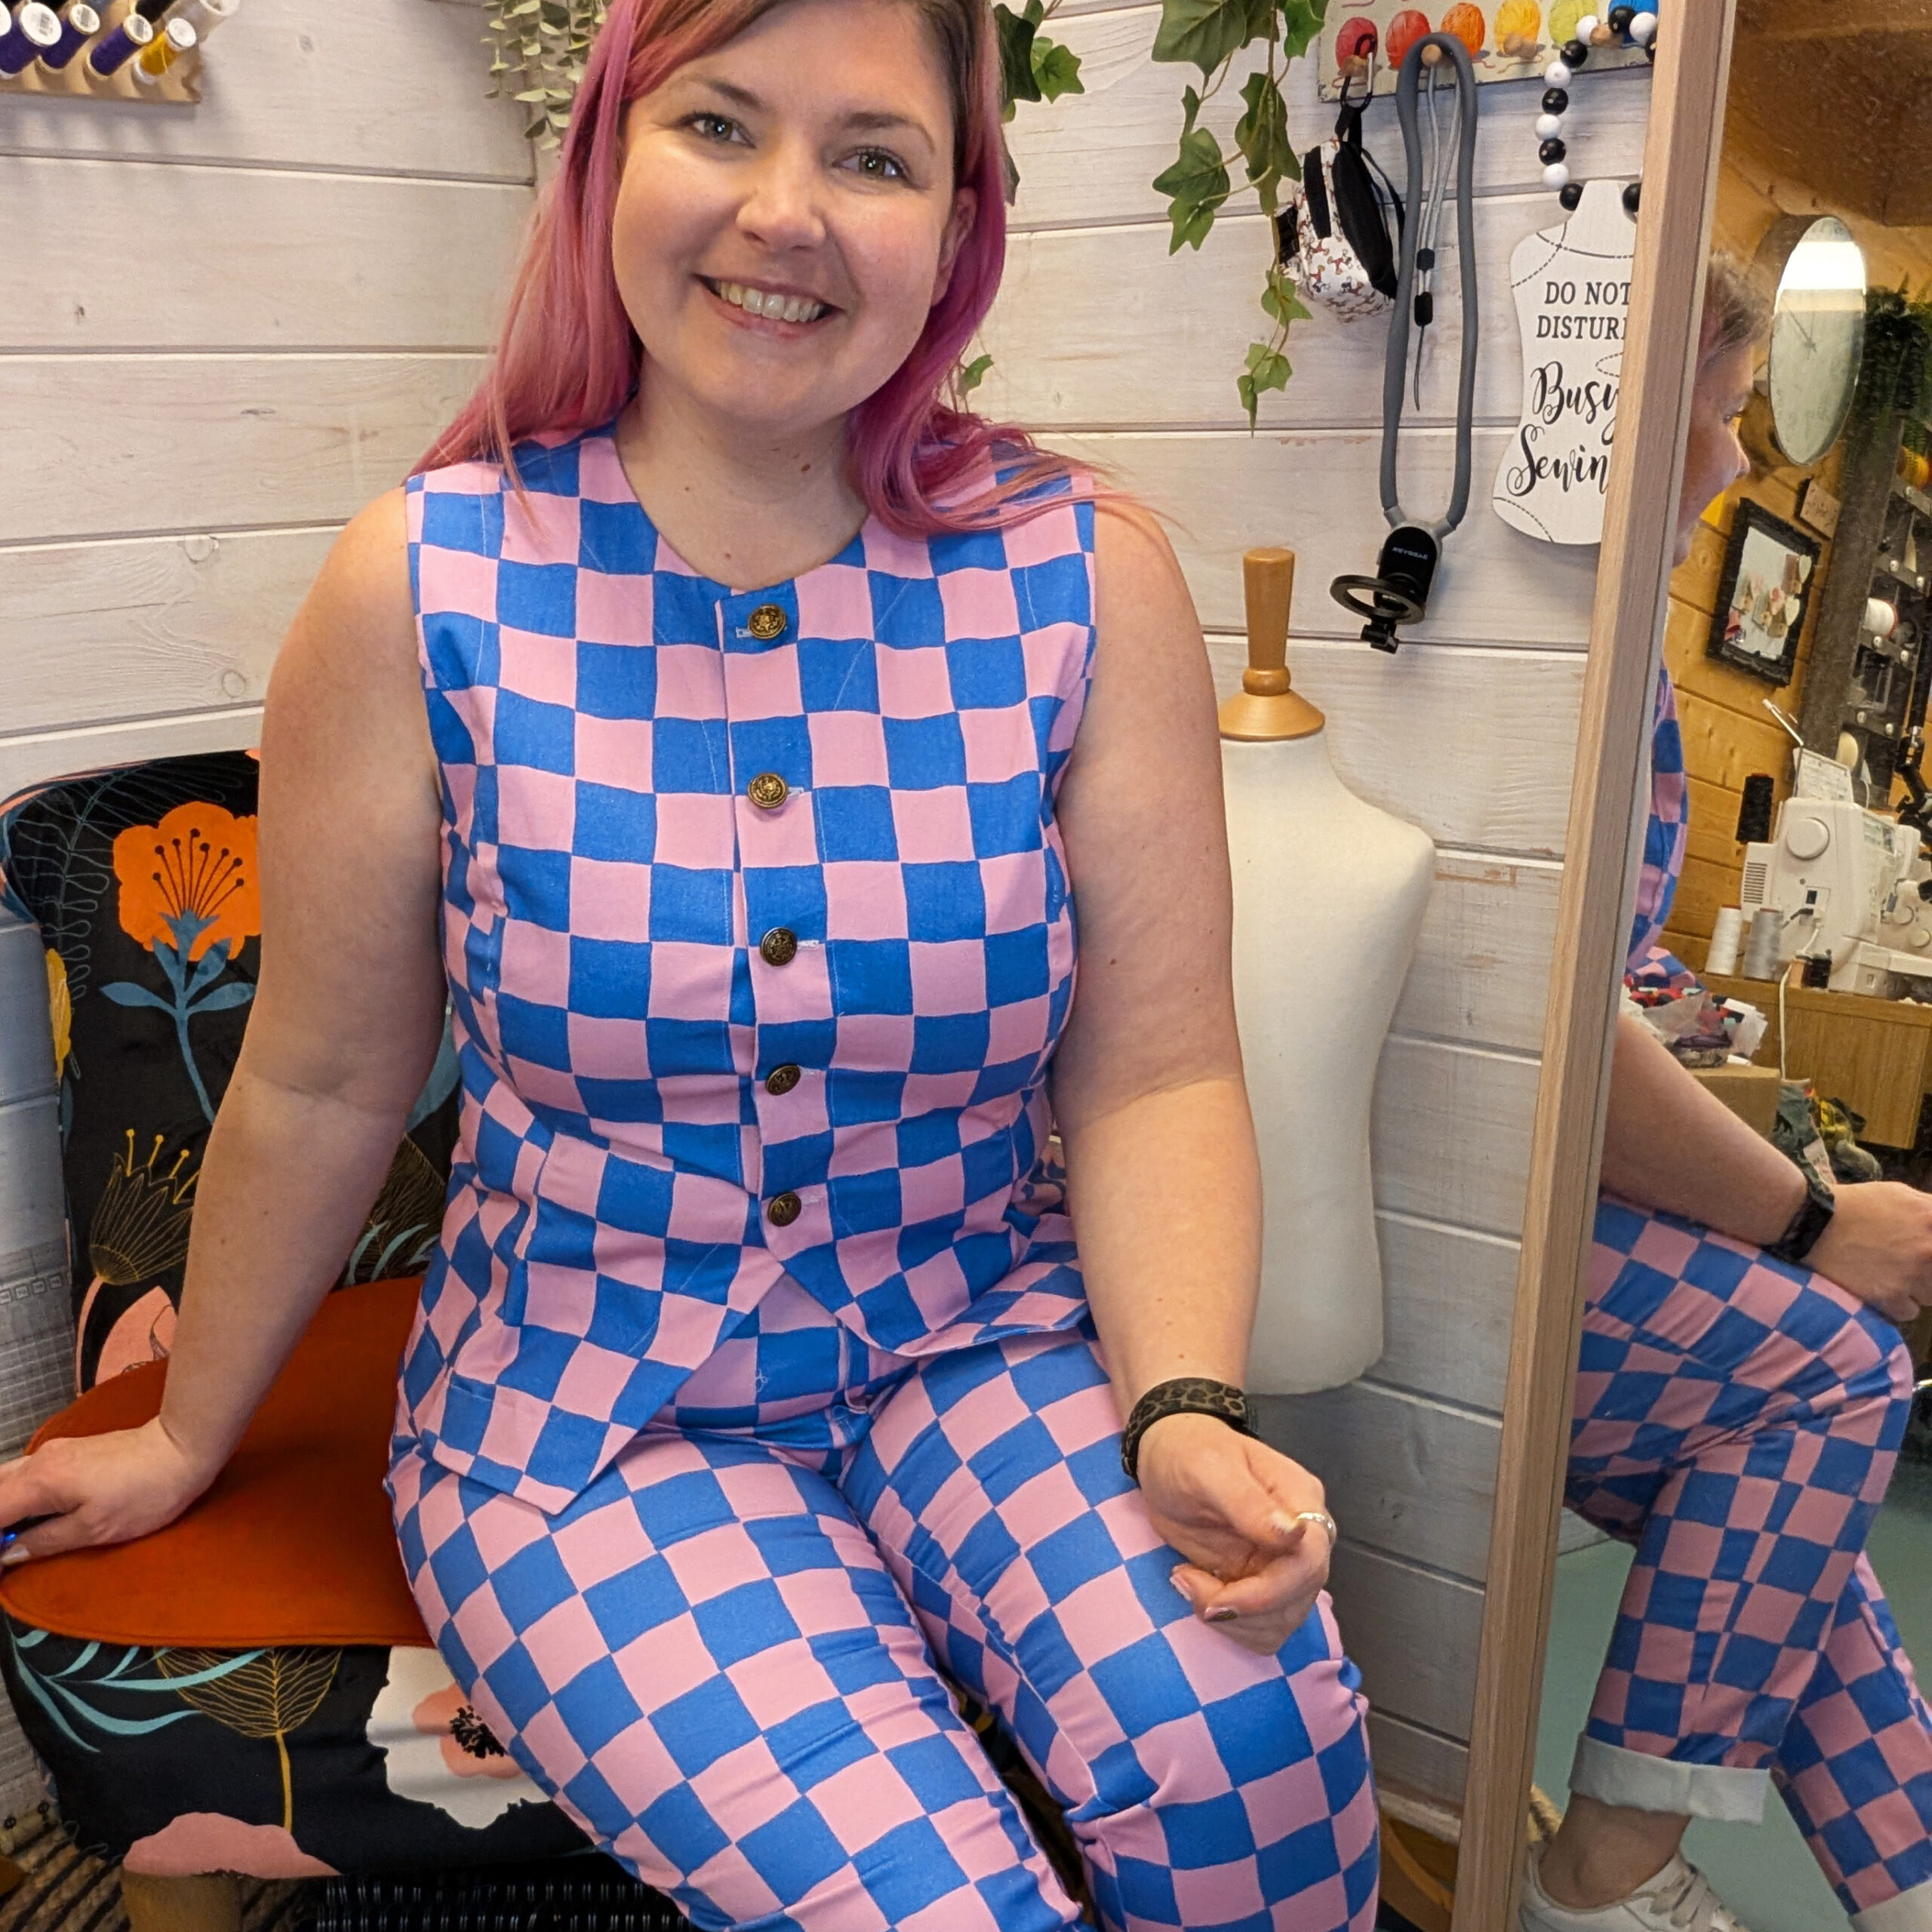
Stretch Denim Coord
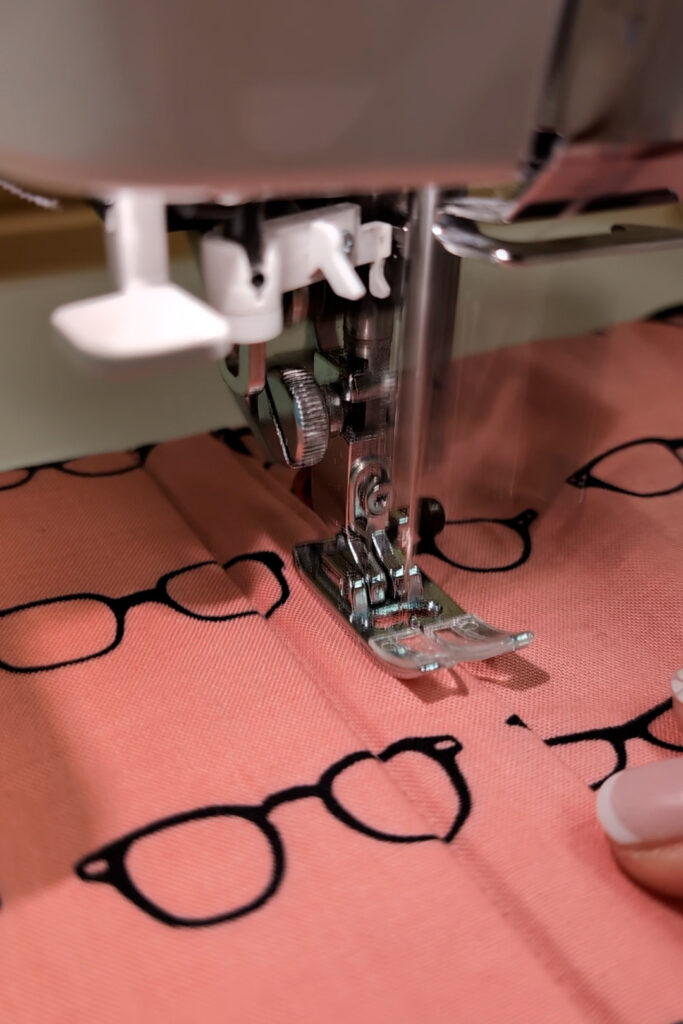
This fabric is just so me isn’t it, but the fun here is its part of the print on demand service from Minerva.com so I


This fabric is just so me isn’t it, but the fun here is its part of the print on demand service from Minerva.com so I
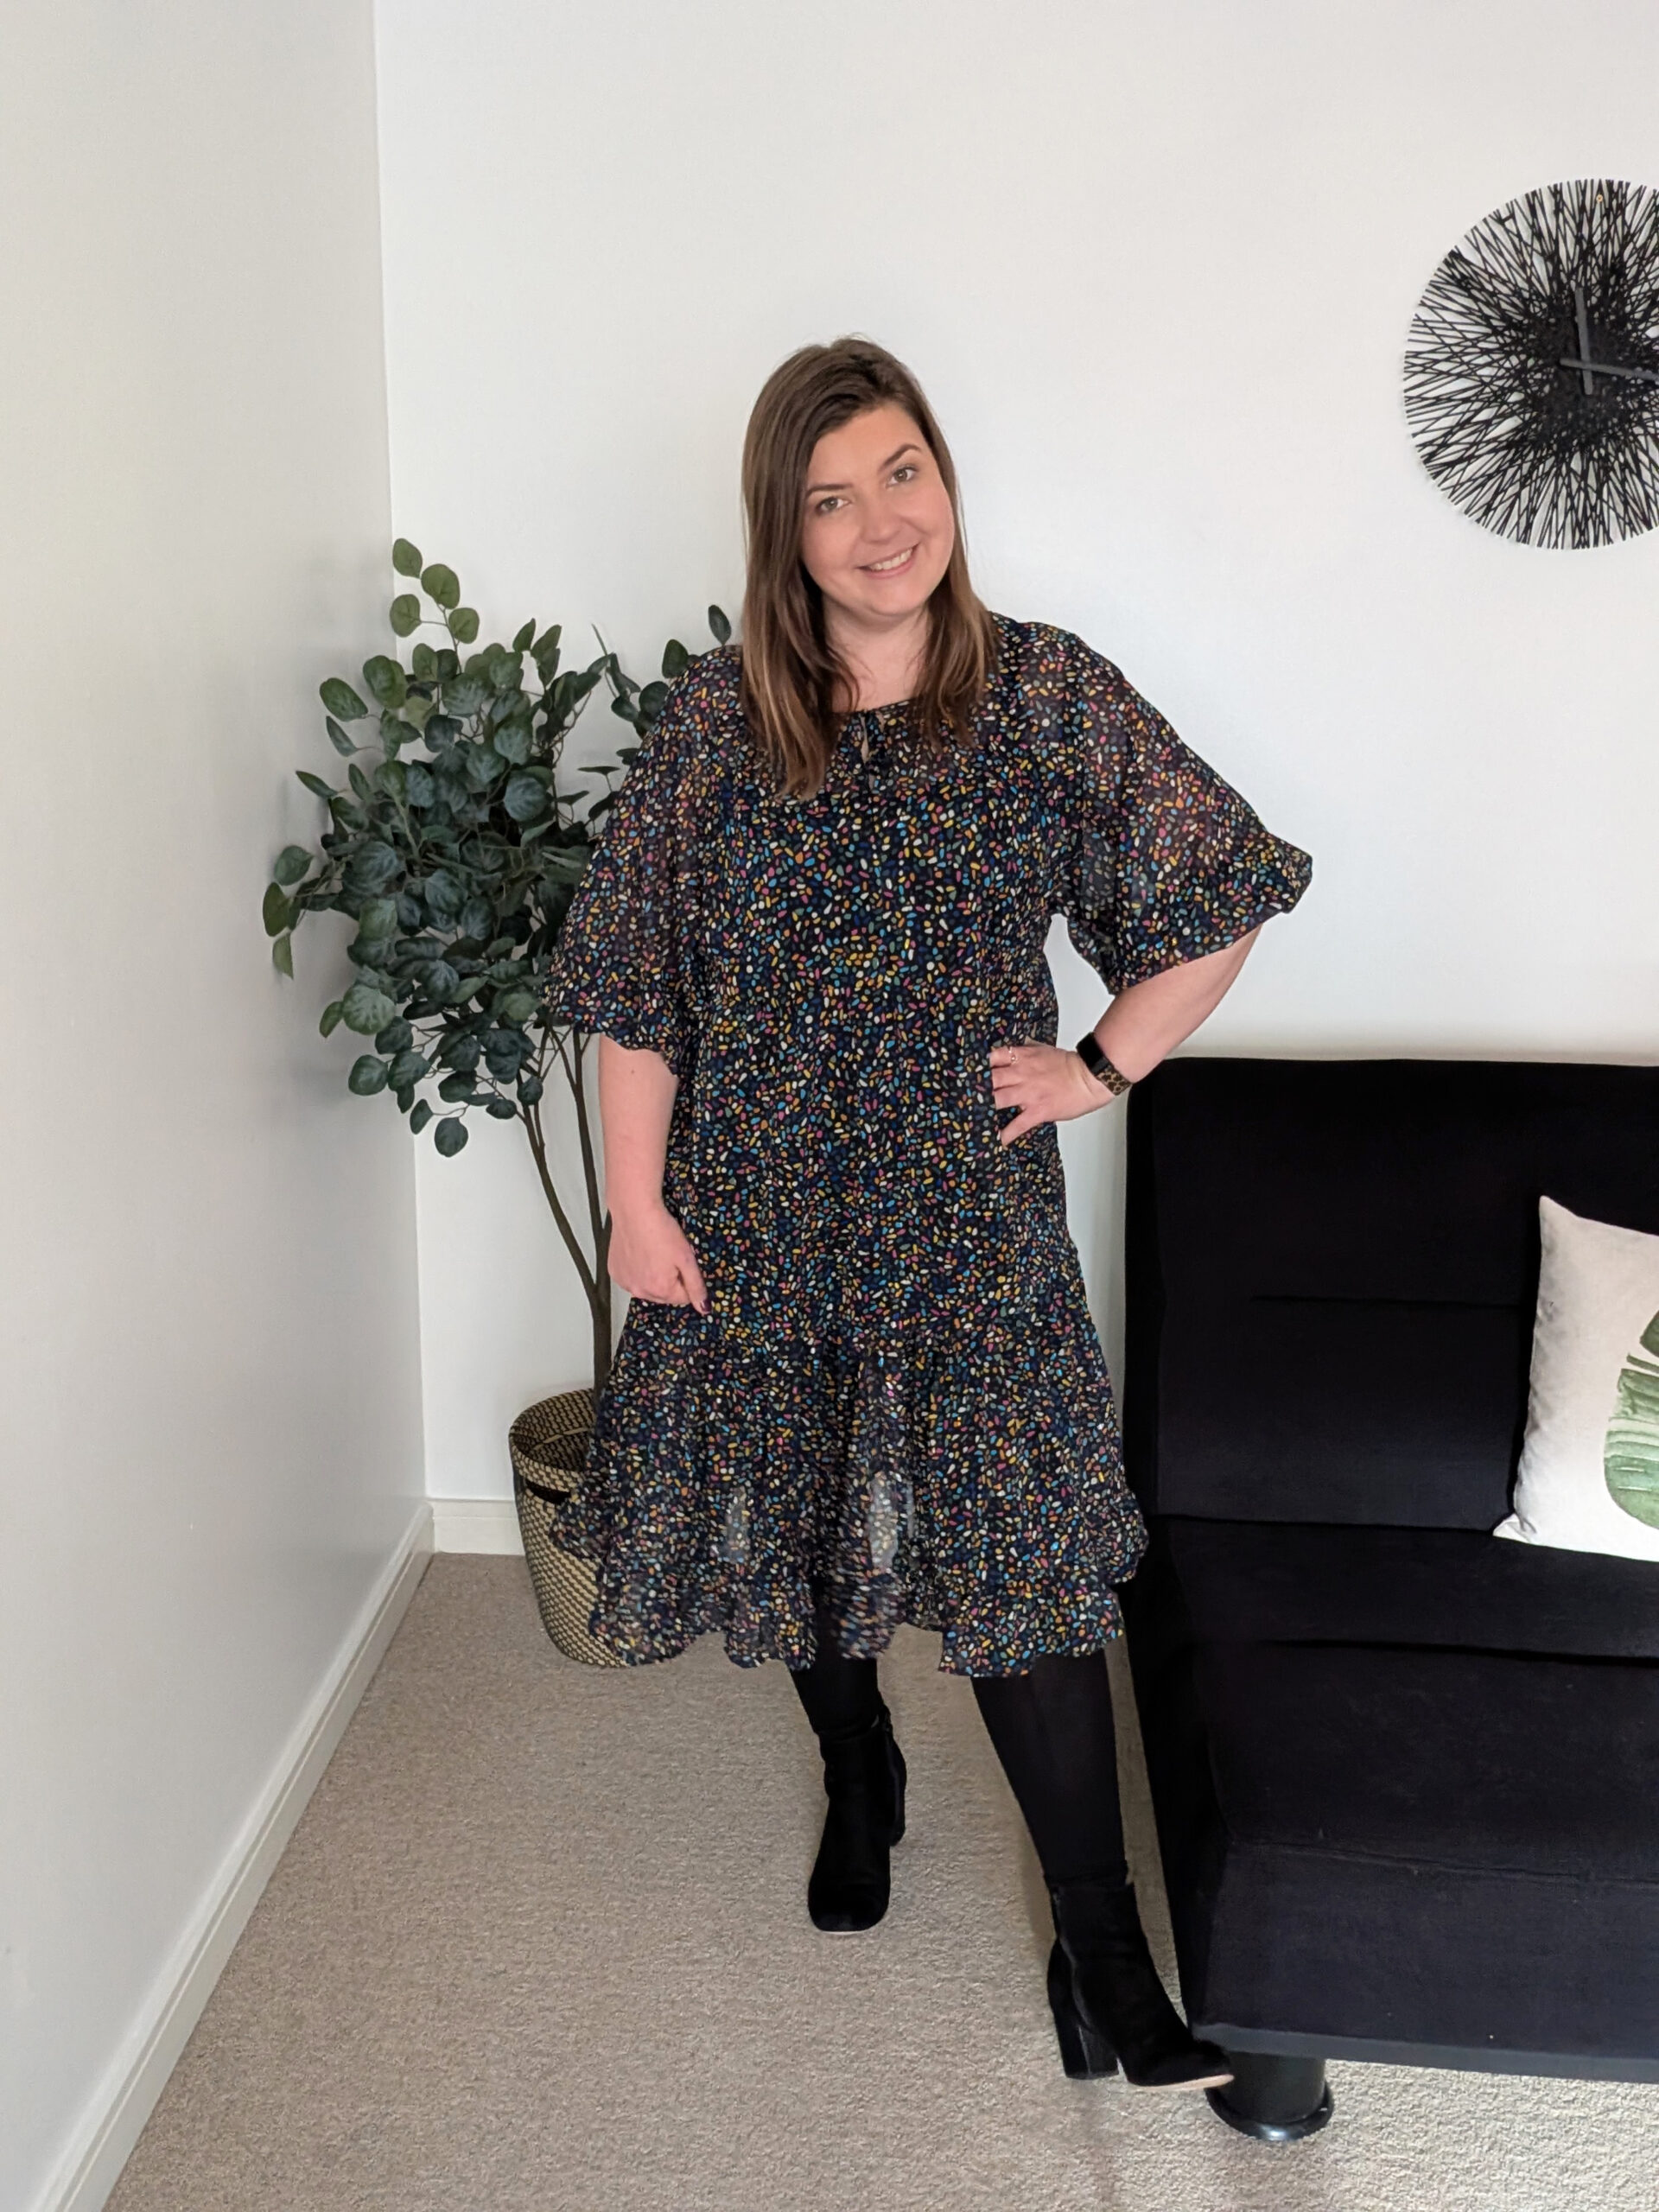
The Style Arc Hope Dress is super versatile with the extension pattern, and this time I’ve changed the skirt entirely putting on a tiered gathered
The biggest issue I have with the changes to what I understand to be a very British tradition of Christmas crackers in order to make
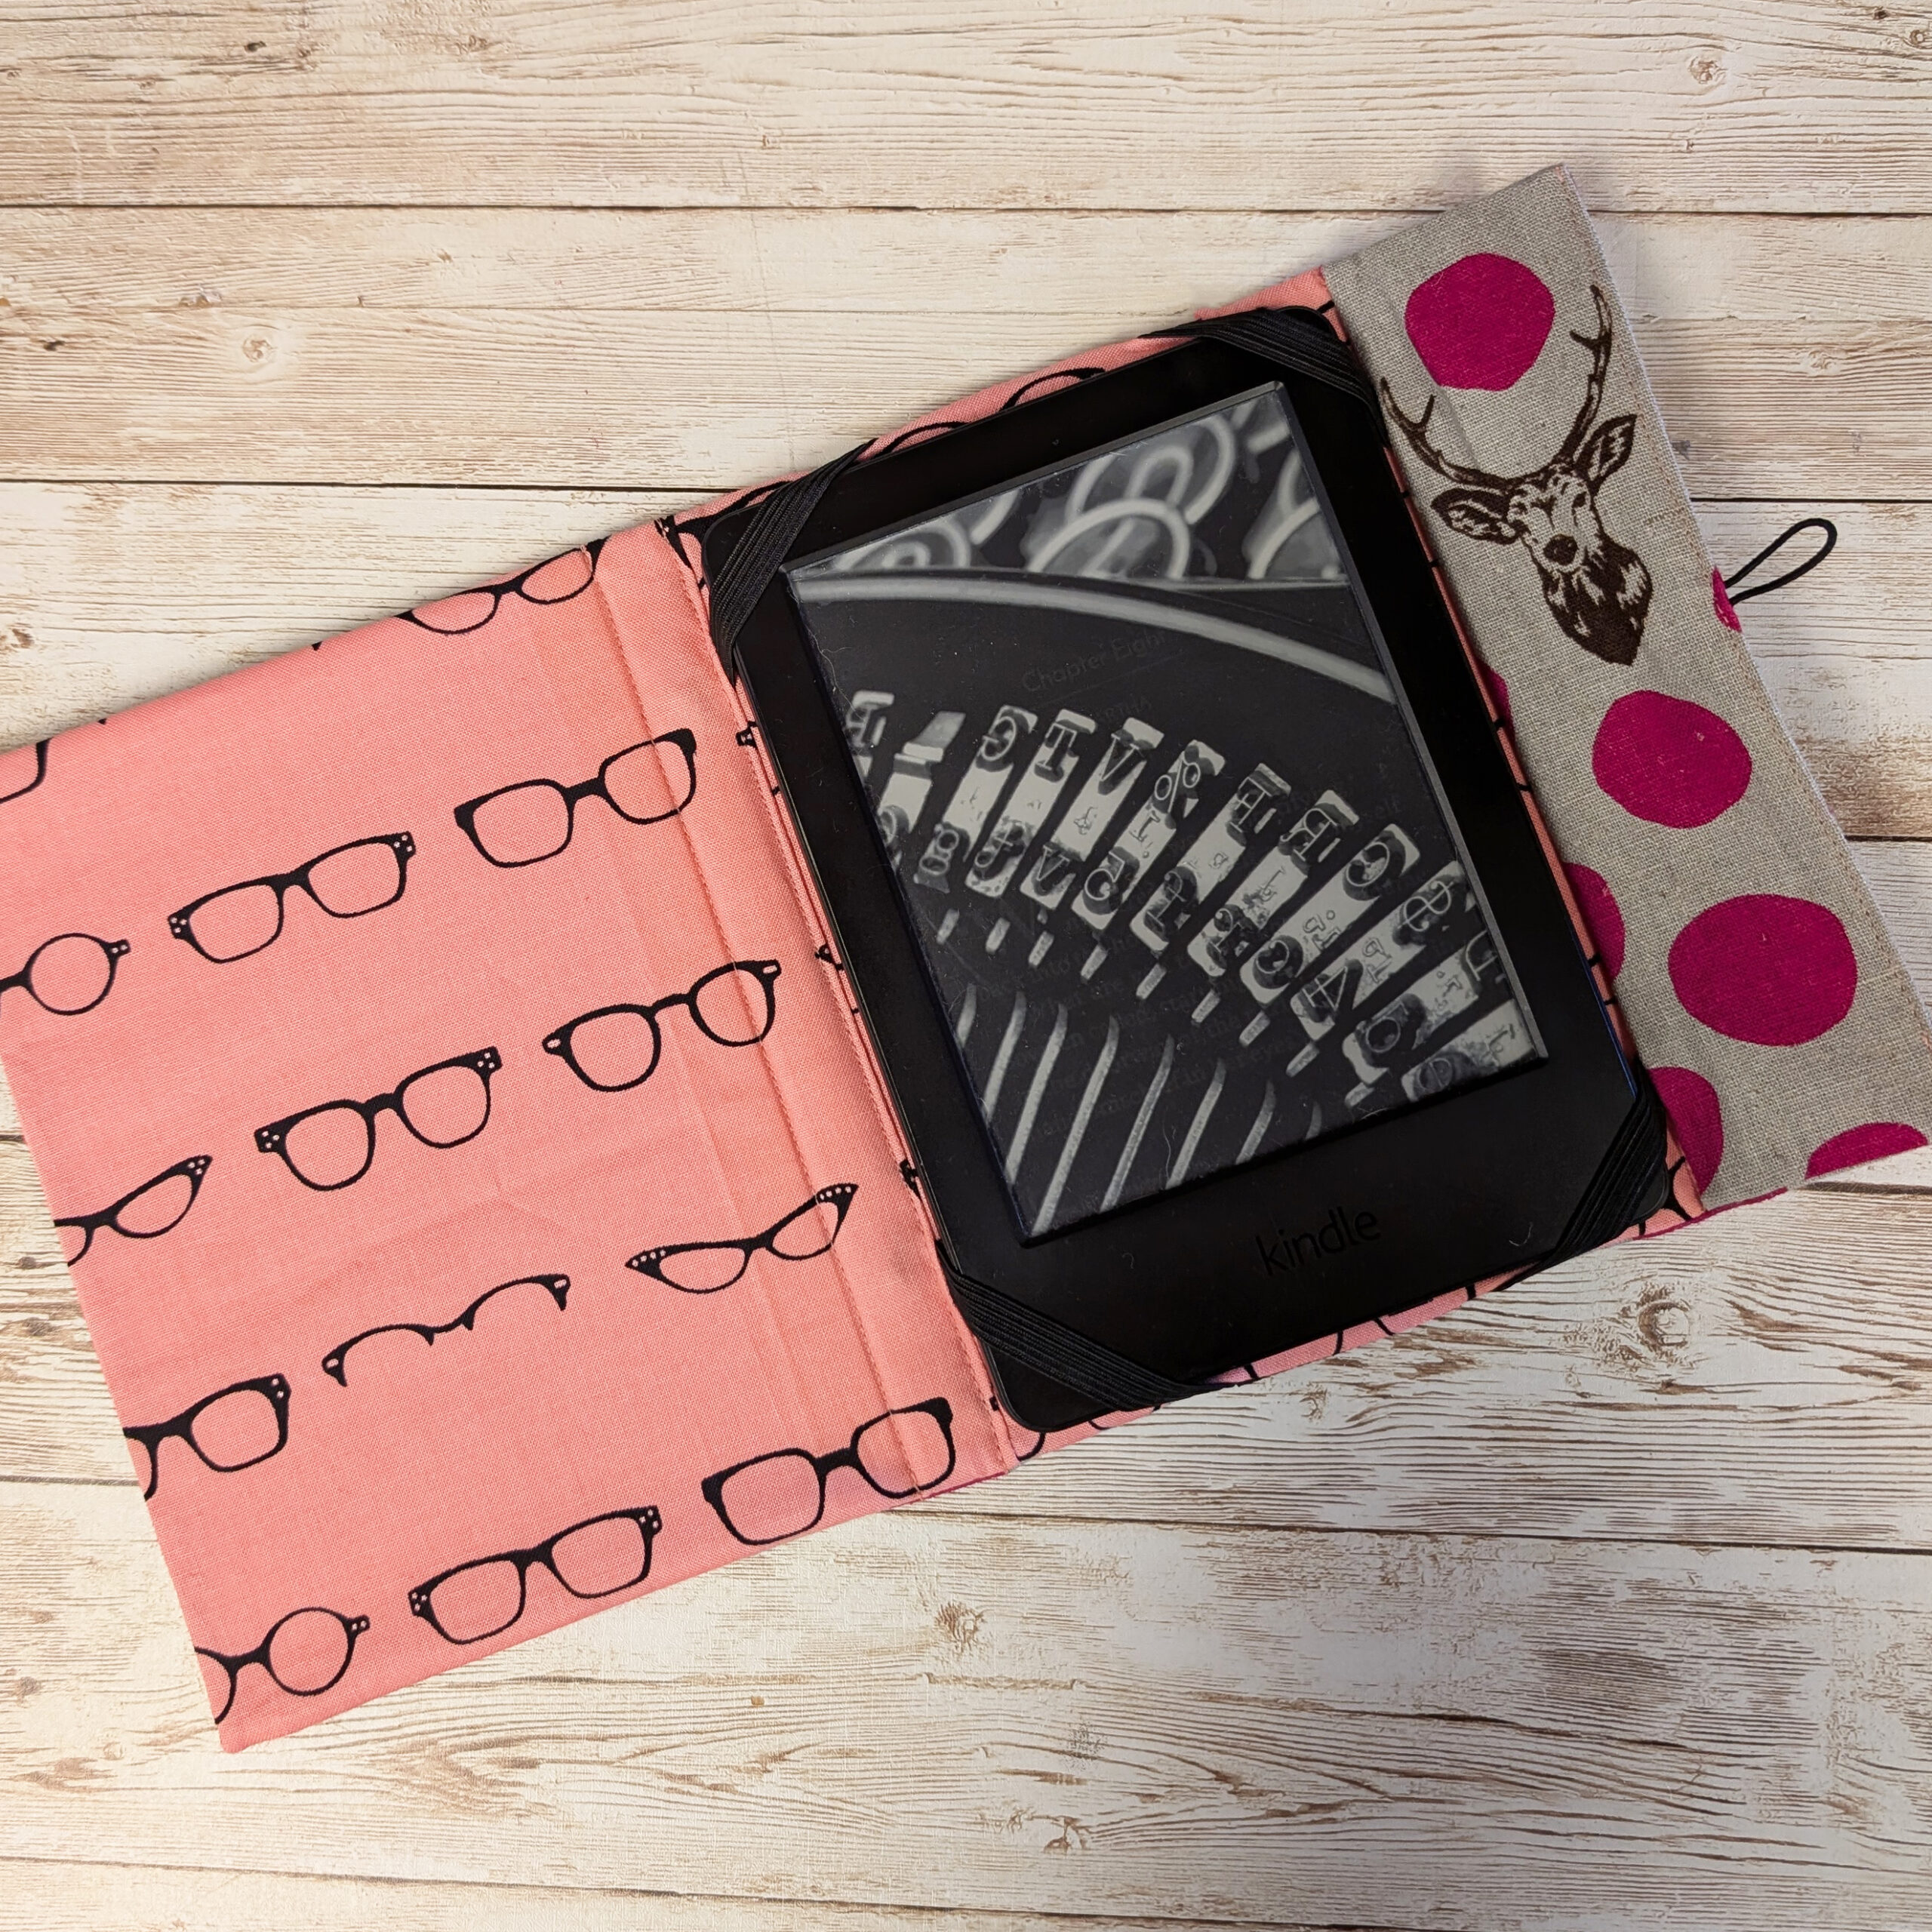
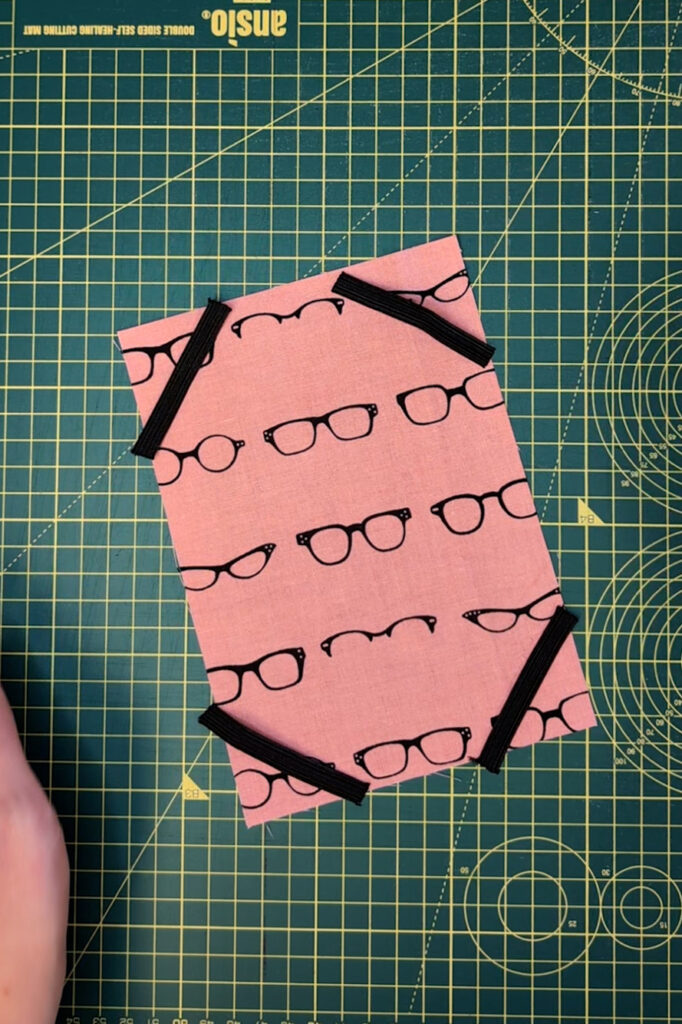
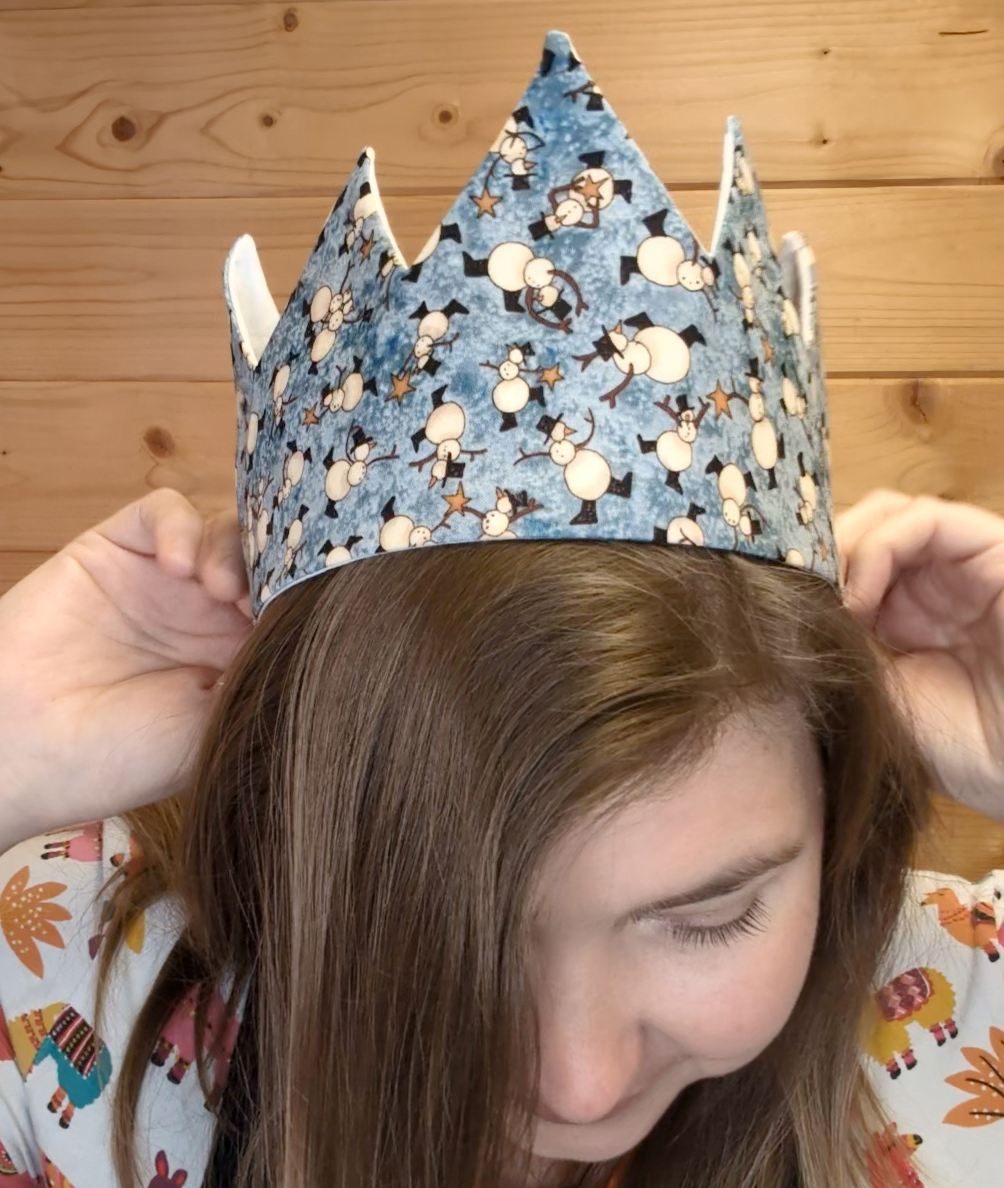
As we begin the run-up to Christmas I thought I’d share a few ideas of things you could make for gifts. I mean this one
I have been pattern cutting for nearly 2 decades, and it’s something I take a huge amount of joy in… helping people have clothing to