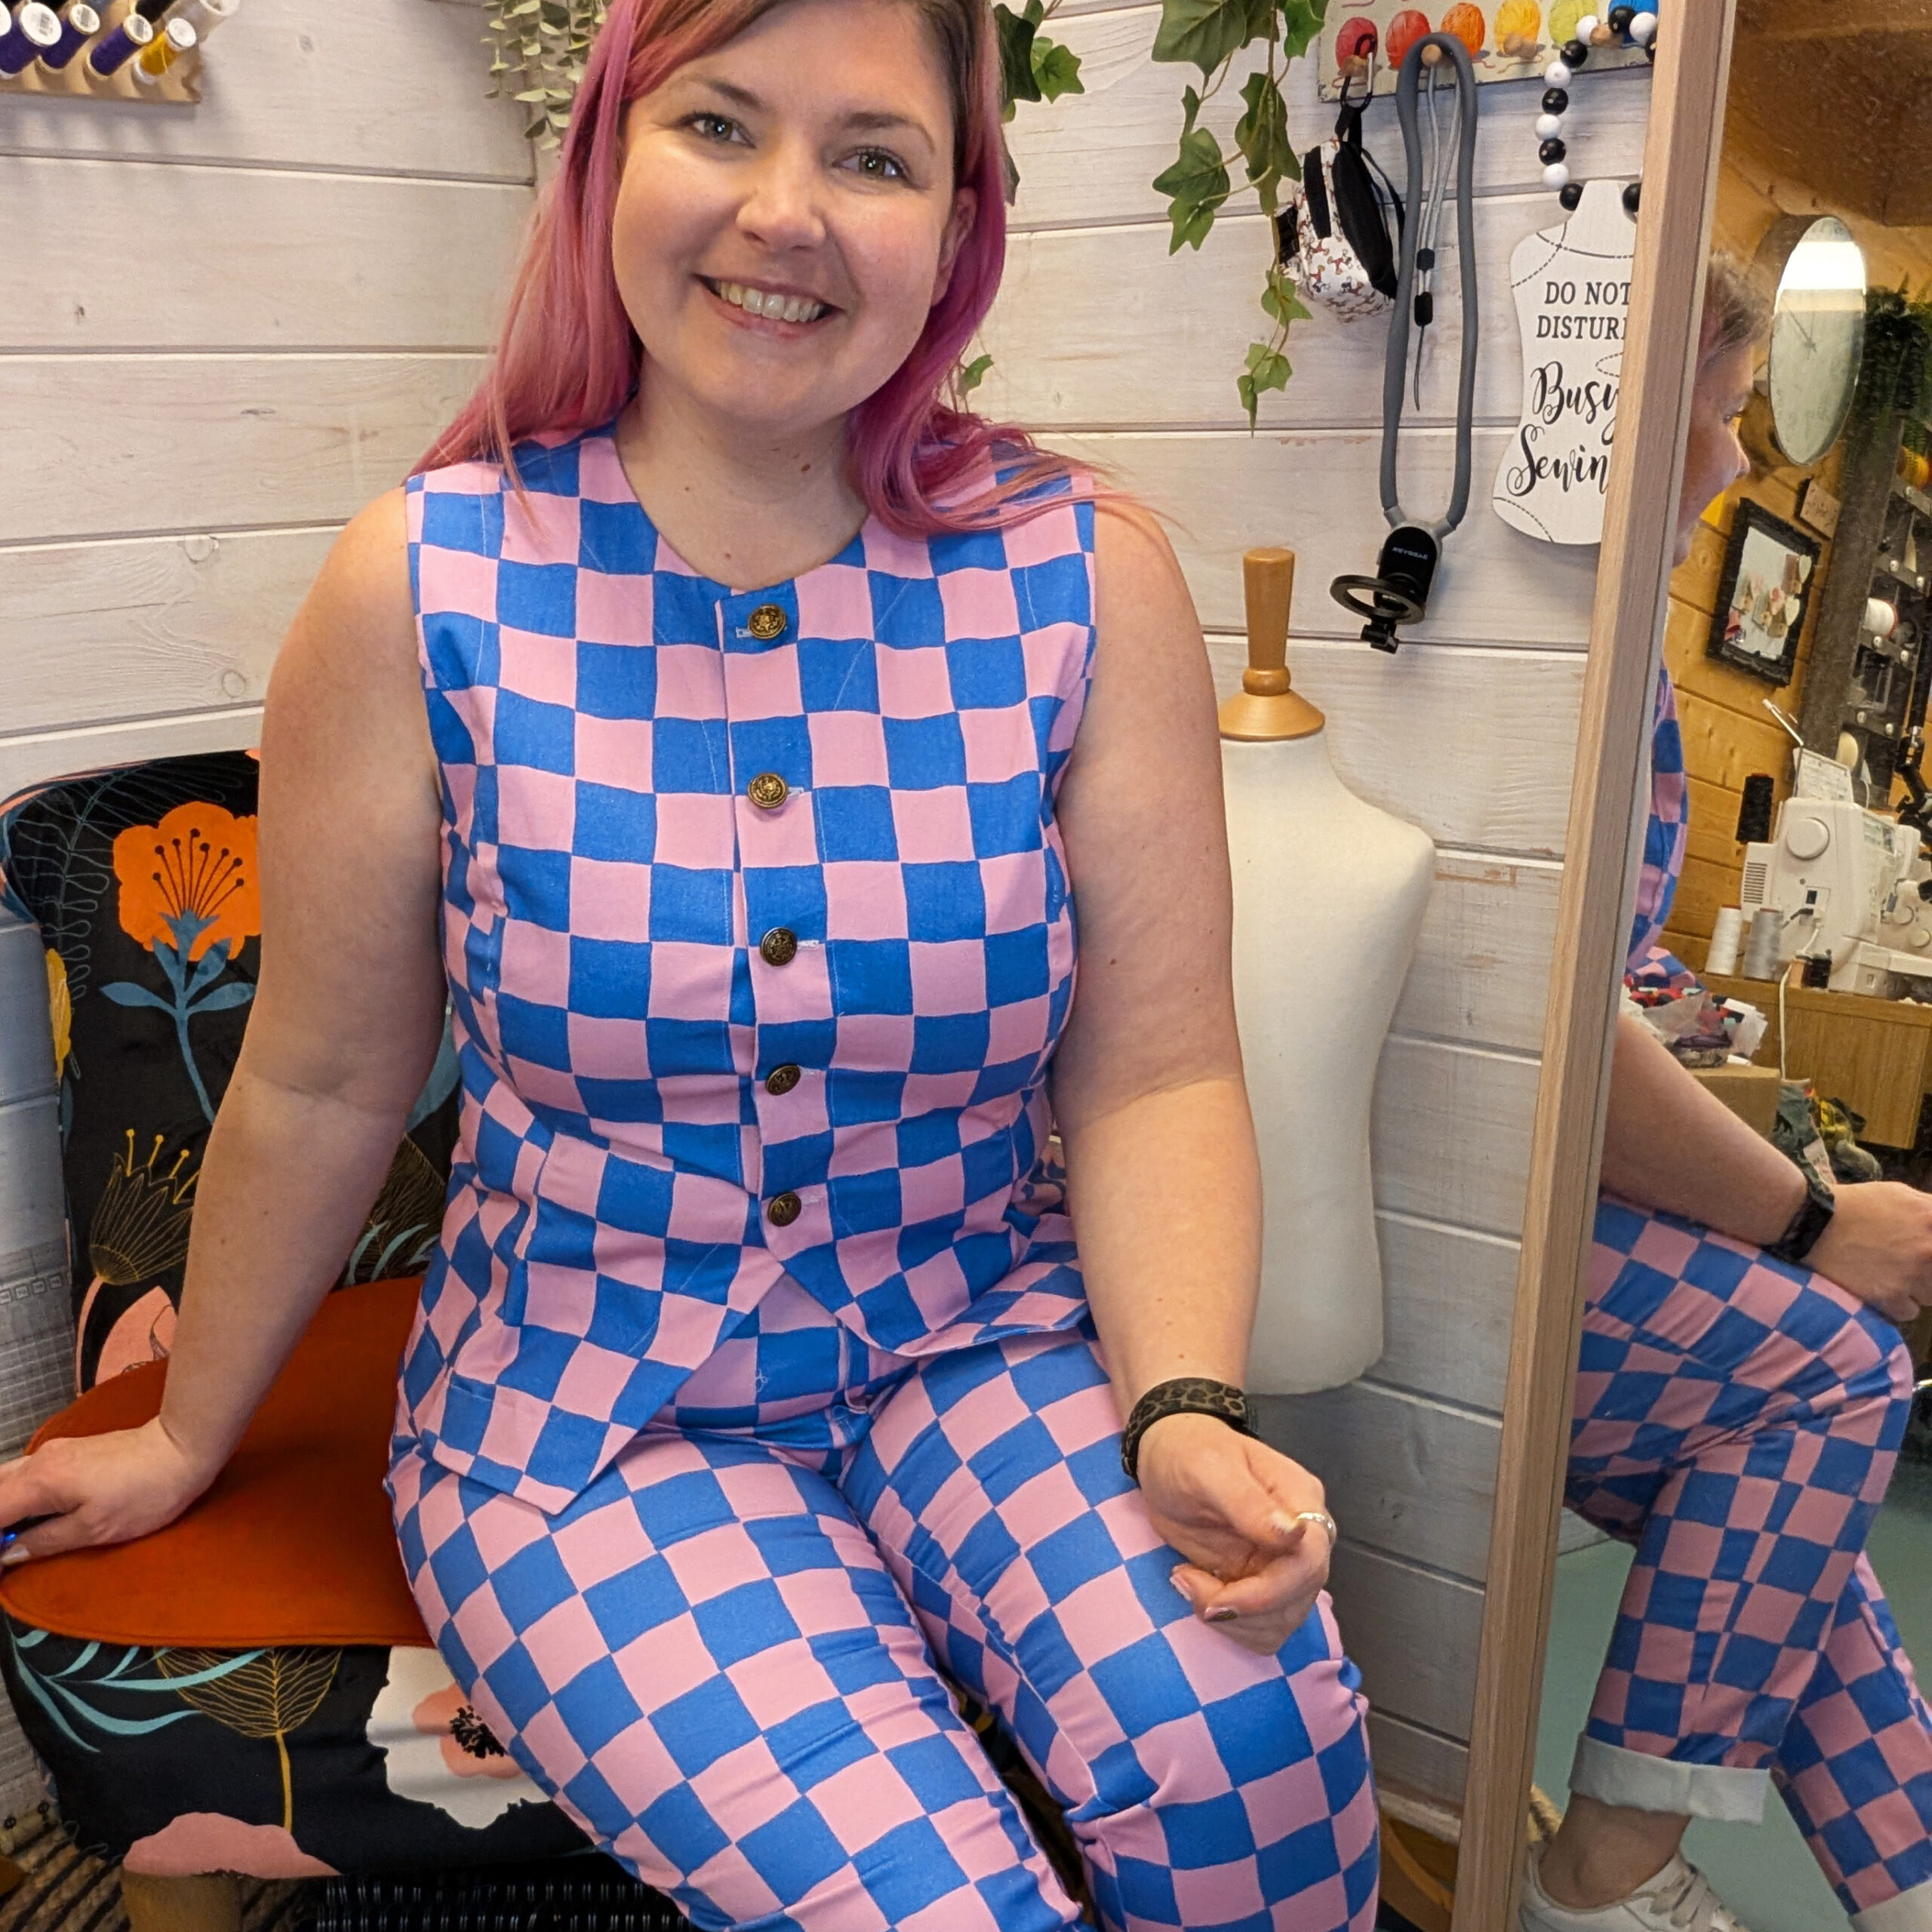
Stretch Denim Coord
This fabric is just so me isn’t it, but the fun here is its part of the print on demand service from Minerva.com so I
Do you ever get that moment where you realise you keep coming back to something, you have no idea why but it piques your interest and eventually just give up resisting. This for me was one of those moments, the Sublime Stitches iron on transfers.
They’re so undiscerning, these small envelopes but they contain so much joy inside! Embroidery transfers aren’t a new concept (I have a few that I rescued from my Nanna’s stash) but the style of designs really are. I just loved how cute and modern these are, it’s such a nice update on the old fashioned florals I’ve only seen before. Browse their collection at your own risk though as choosing just one was a challenge (I can see myself going back for more).
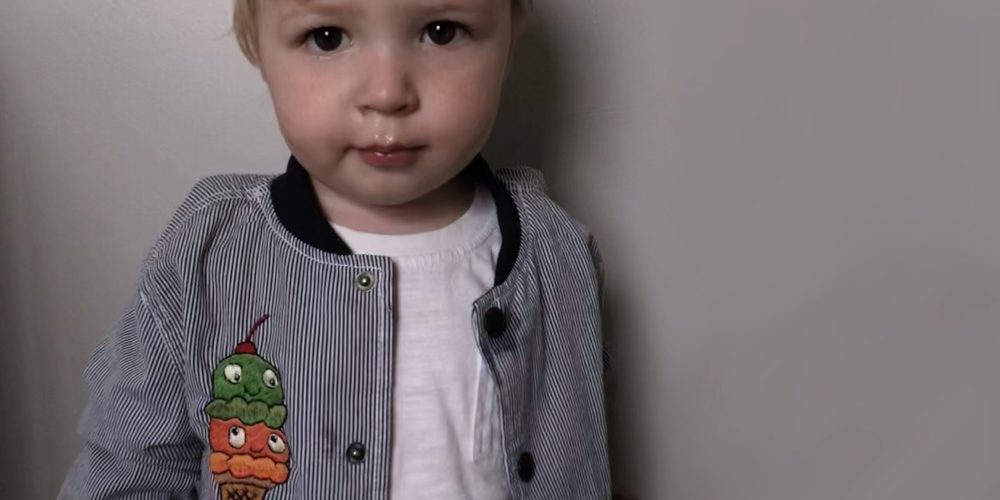
My brain had dreamed up an embroidered jacket so off I went on a hunt for a suitably simple jacket for my son that I could jazz up with these Sweet Treats. I originally went looking for a denim jacket but when I found this jacket in H&M it just seemed perfect! I made sure I brought it in a size too big (to take the pressure off him having grown out of it before I’d finished it) and sat down to consider the designs and placement.
These transfers are so simple to work with, and having read the instructions, completely versatile too. They claim that they can be ironed onto fabric, card and even wood (which I think would look really cute as a piece of artwork and plan to test this out soon). The transfers can even be ironed on multiple times. I think had I known all this I’d have brought them sooner but the outside of the packet lacks any of this information (which I think is a shame really).
So having chosen which designs I fancied I began ironing on the designs where i wanted them. (Please note, the ink does not wash out… which is stated on the instructions… so this is a one chance moment). I do wish I had ironed them on for slightly longer to get a darker line as because of the striped fabric in places it was hard to see the lines. The trouble is once you’ve lifted off the paper its so unlikely you’d get it laid back in exactly the same place so it isn’t worth attempting to darken it at that stage.
*I did make an irritating error at this stage, I didn’t clock where the iron would touch and melted a small patch of the ribbing on the jacket. It’s one of those moments where you curse yourself knowing there is nothing you can do and wondering why you didn’t use a pressing cloth. So the moral of this story is consider what you’re ironing onto first and a pressing cloth is your friend! (Fortunately it isn’t something hugely obvious so I continued regardless)
Once ironed on, all that’s left is to embroider away to your hearts content. I chose to use a fill method (using a lot of satin stitch) but it would look really effective with just the outlines (and be a lot quicker too) if you were working on a plain fabric. I sat and embroidered in front of the TV in the evenings. I love a project I can do this way, it feels a lot more sociable (my sewing studio is a cabin in the garden so 9 times out of 10 I am sewing alone) and oddly relaxing.
The next time I do this (as I’m so pleased with the result I’m confident of a next time) I plan to stabilise behind where the embroidery will go. I found with all the manipulating during the embroidery that in places the fabric has stretched out of place. The instructions suggested using an embroidery hoop to prevent this but because of where I positioned the designs on the jacket it just wasn’t possible. A bit of stitch and tear fused behind would do the trick though and prevent the fabric moving.

This fabric is just so me isn’t it, but the fun here is its part of the print on demand service from Minerva.com so I
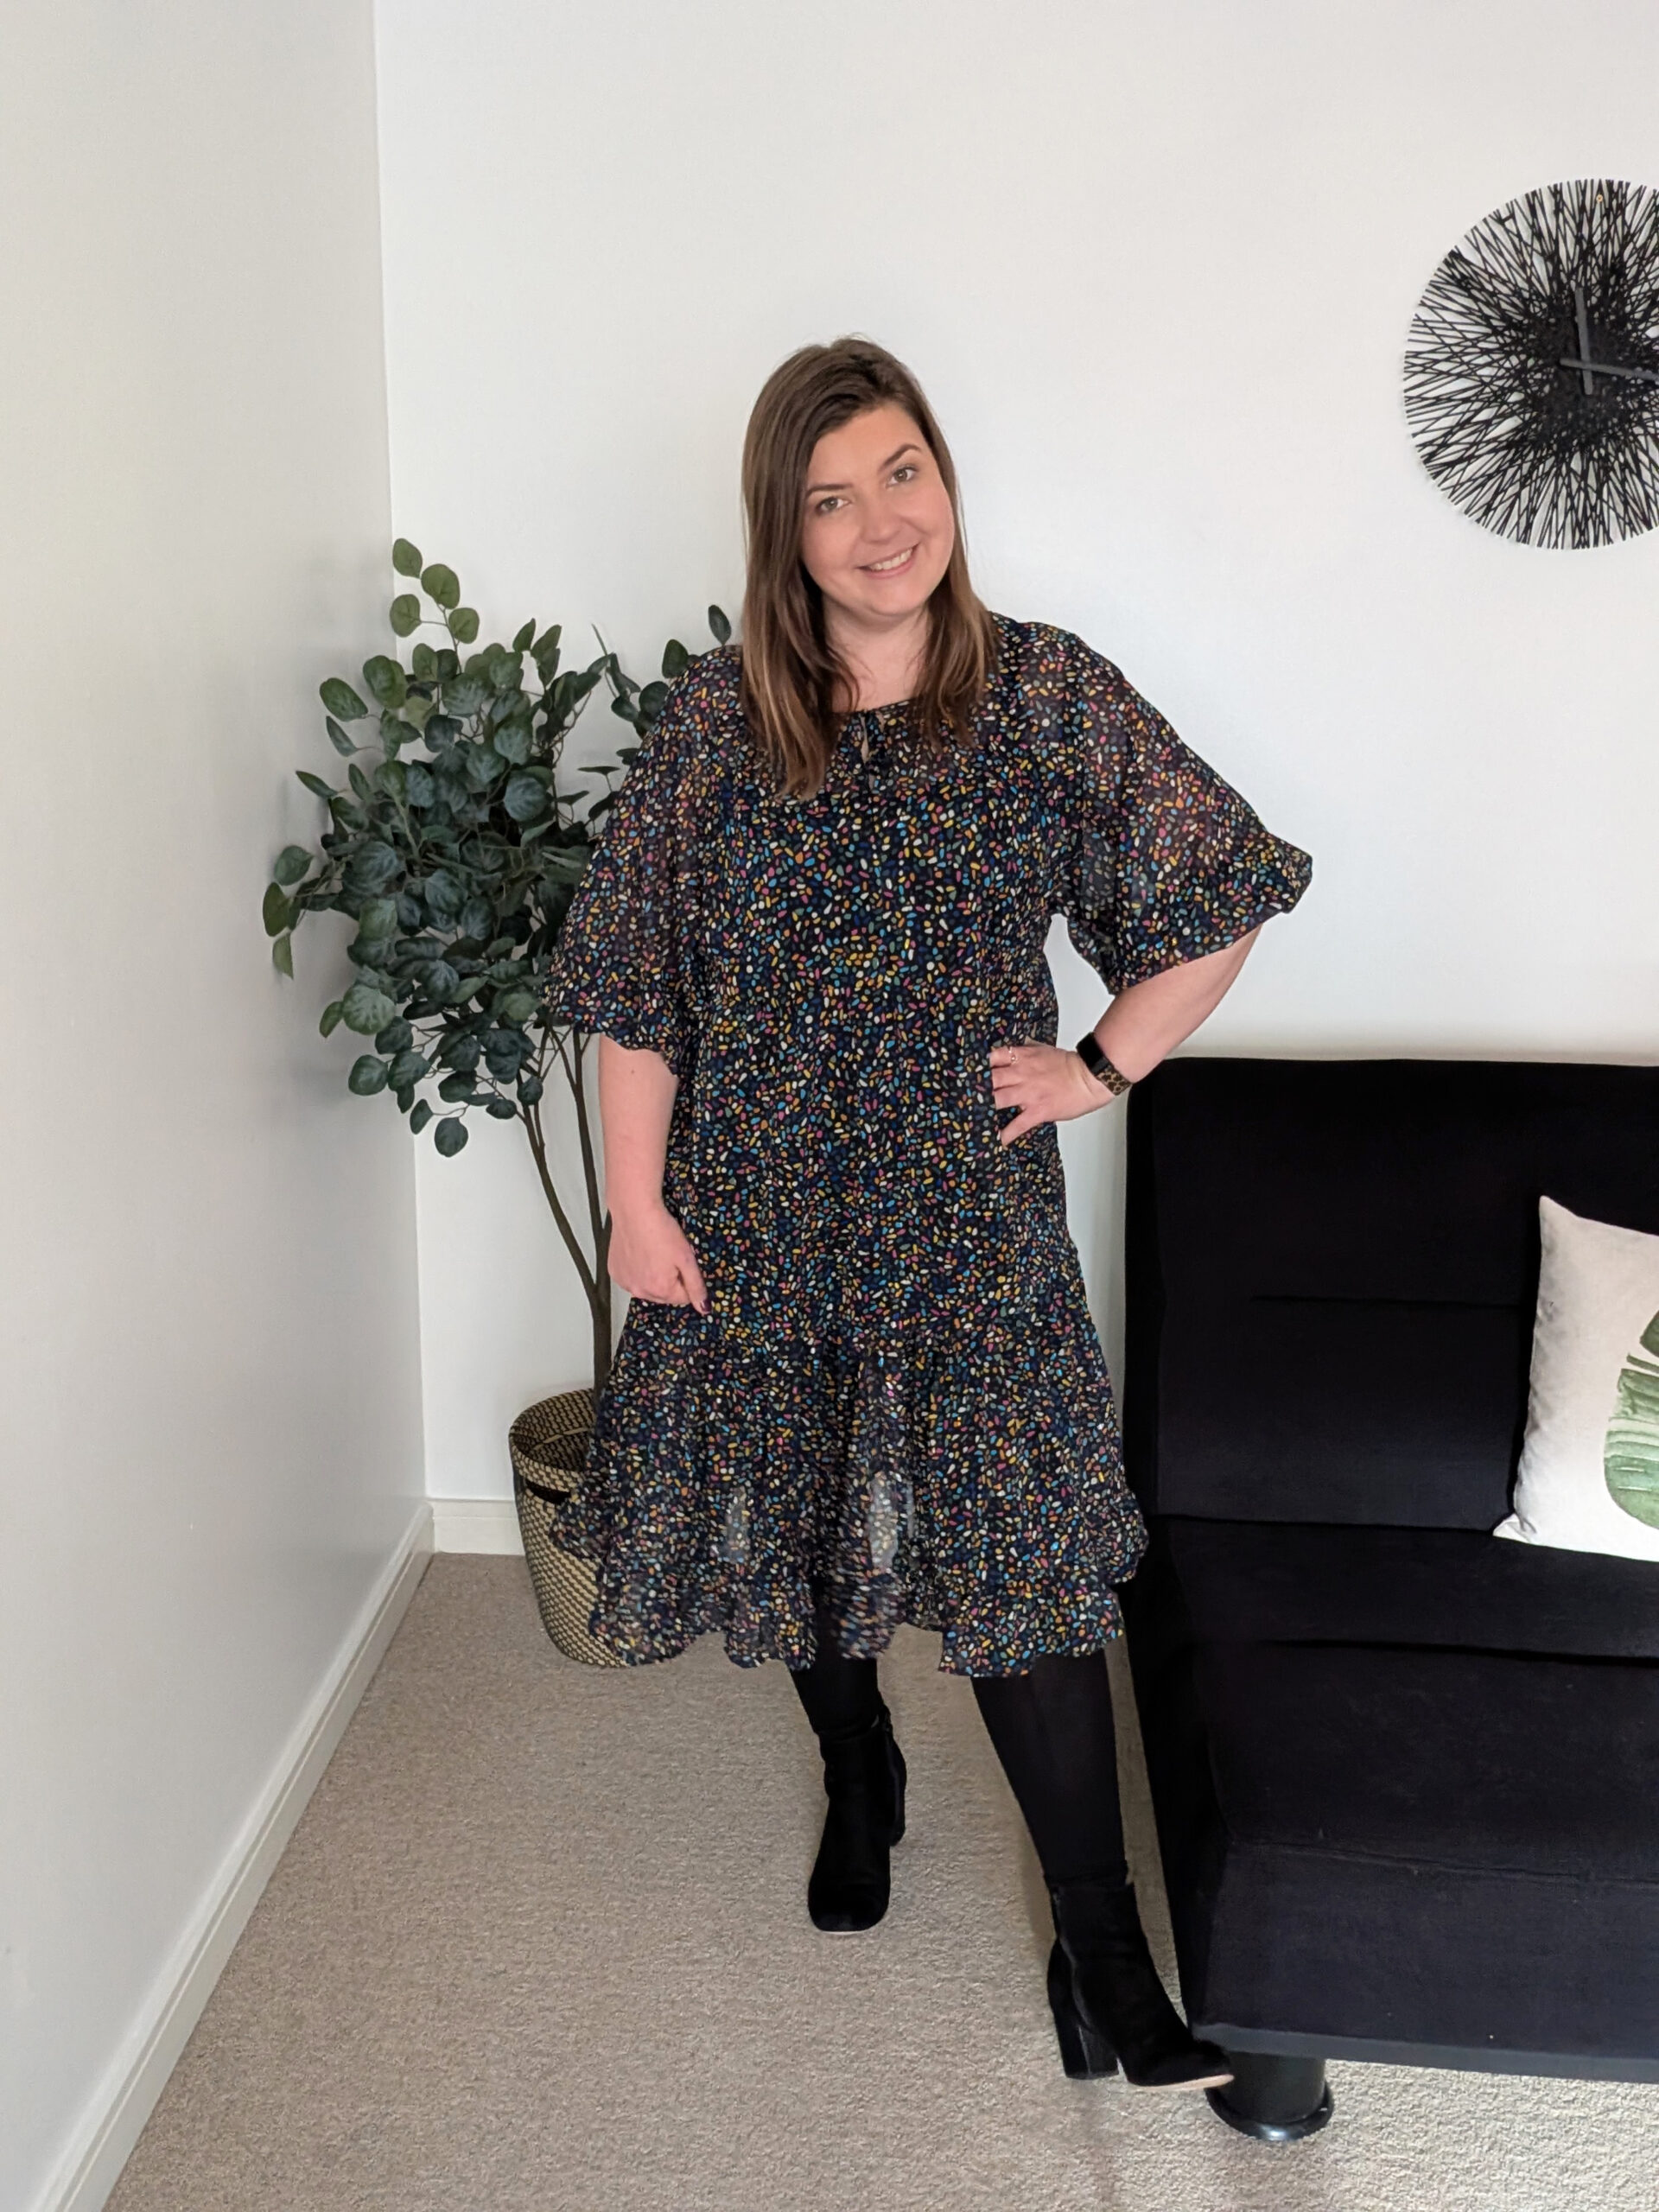
The Style Arc Hope Dress is super versatile with the extension pattern, and this time I’ve changed the skirt entirely putting on a tiered gathered
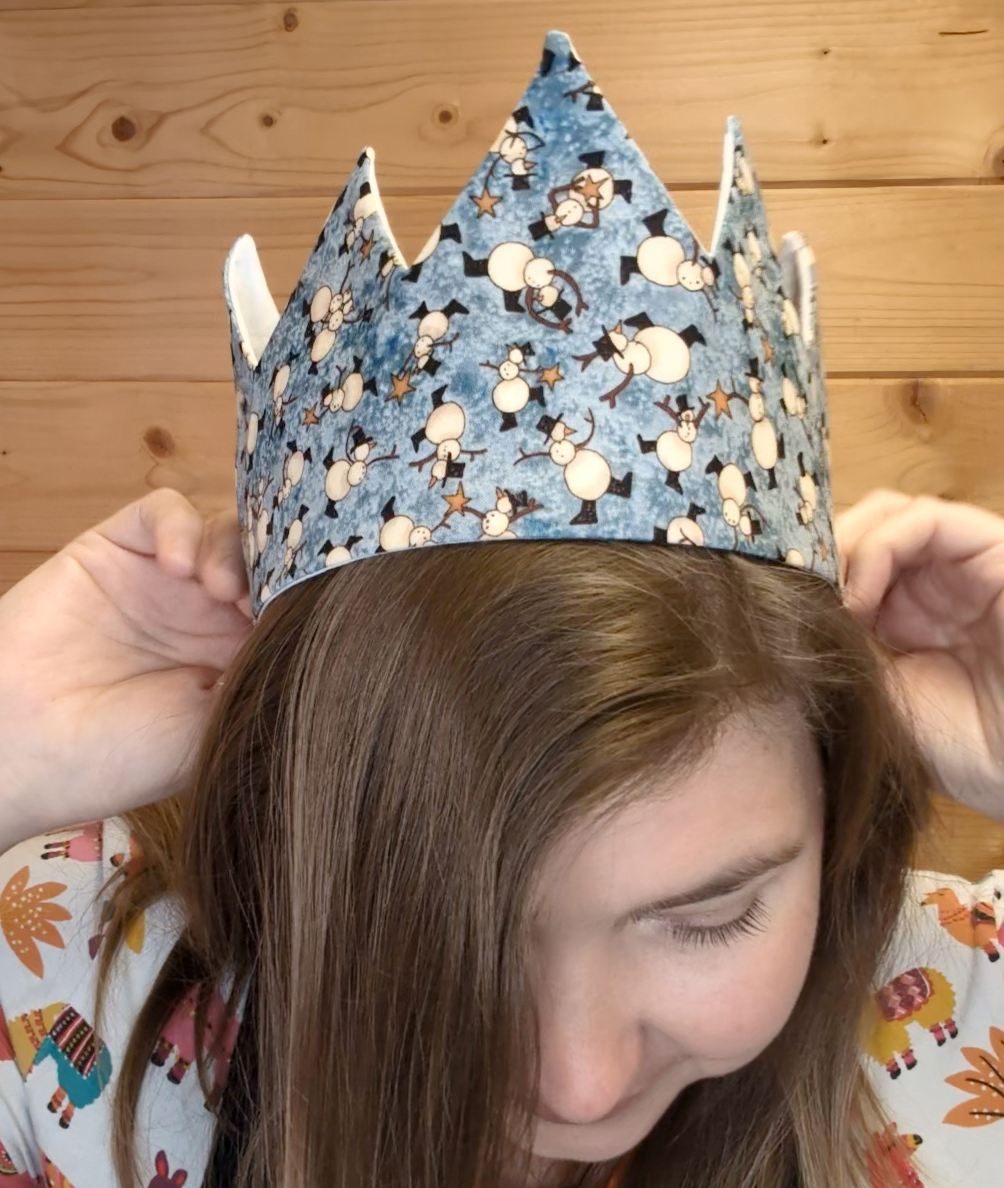
The biggest issue I have with the changes to what I understand to be a very British tradition of Christmas crackers in order to make
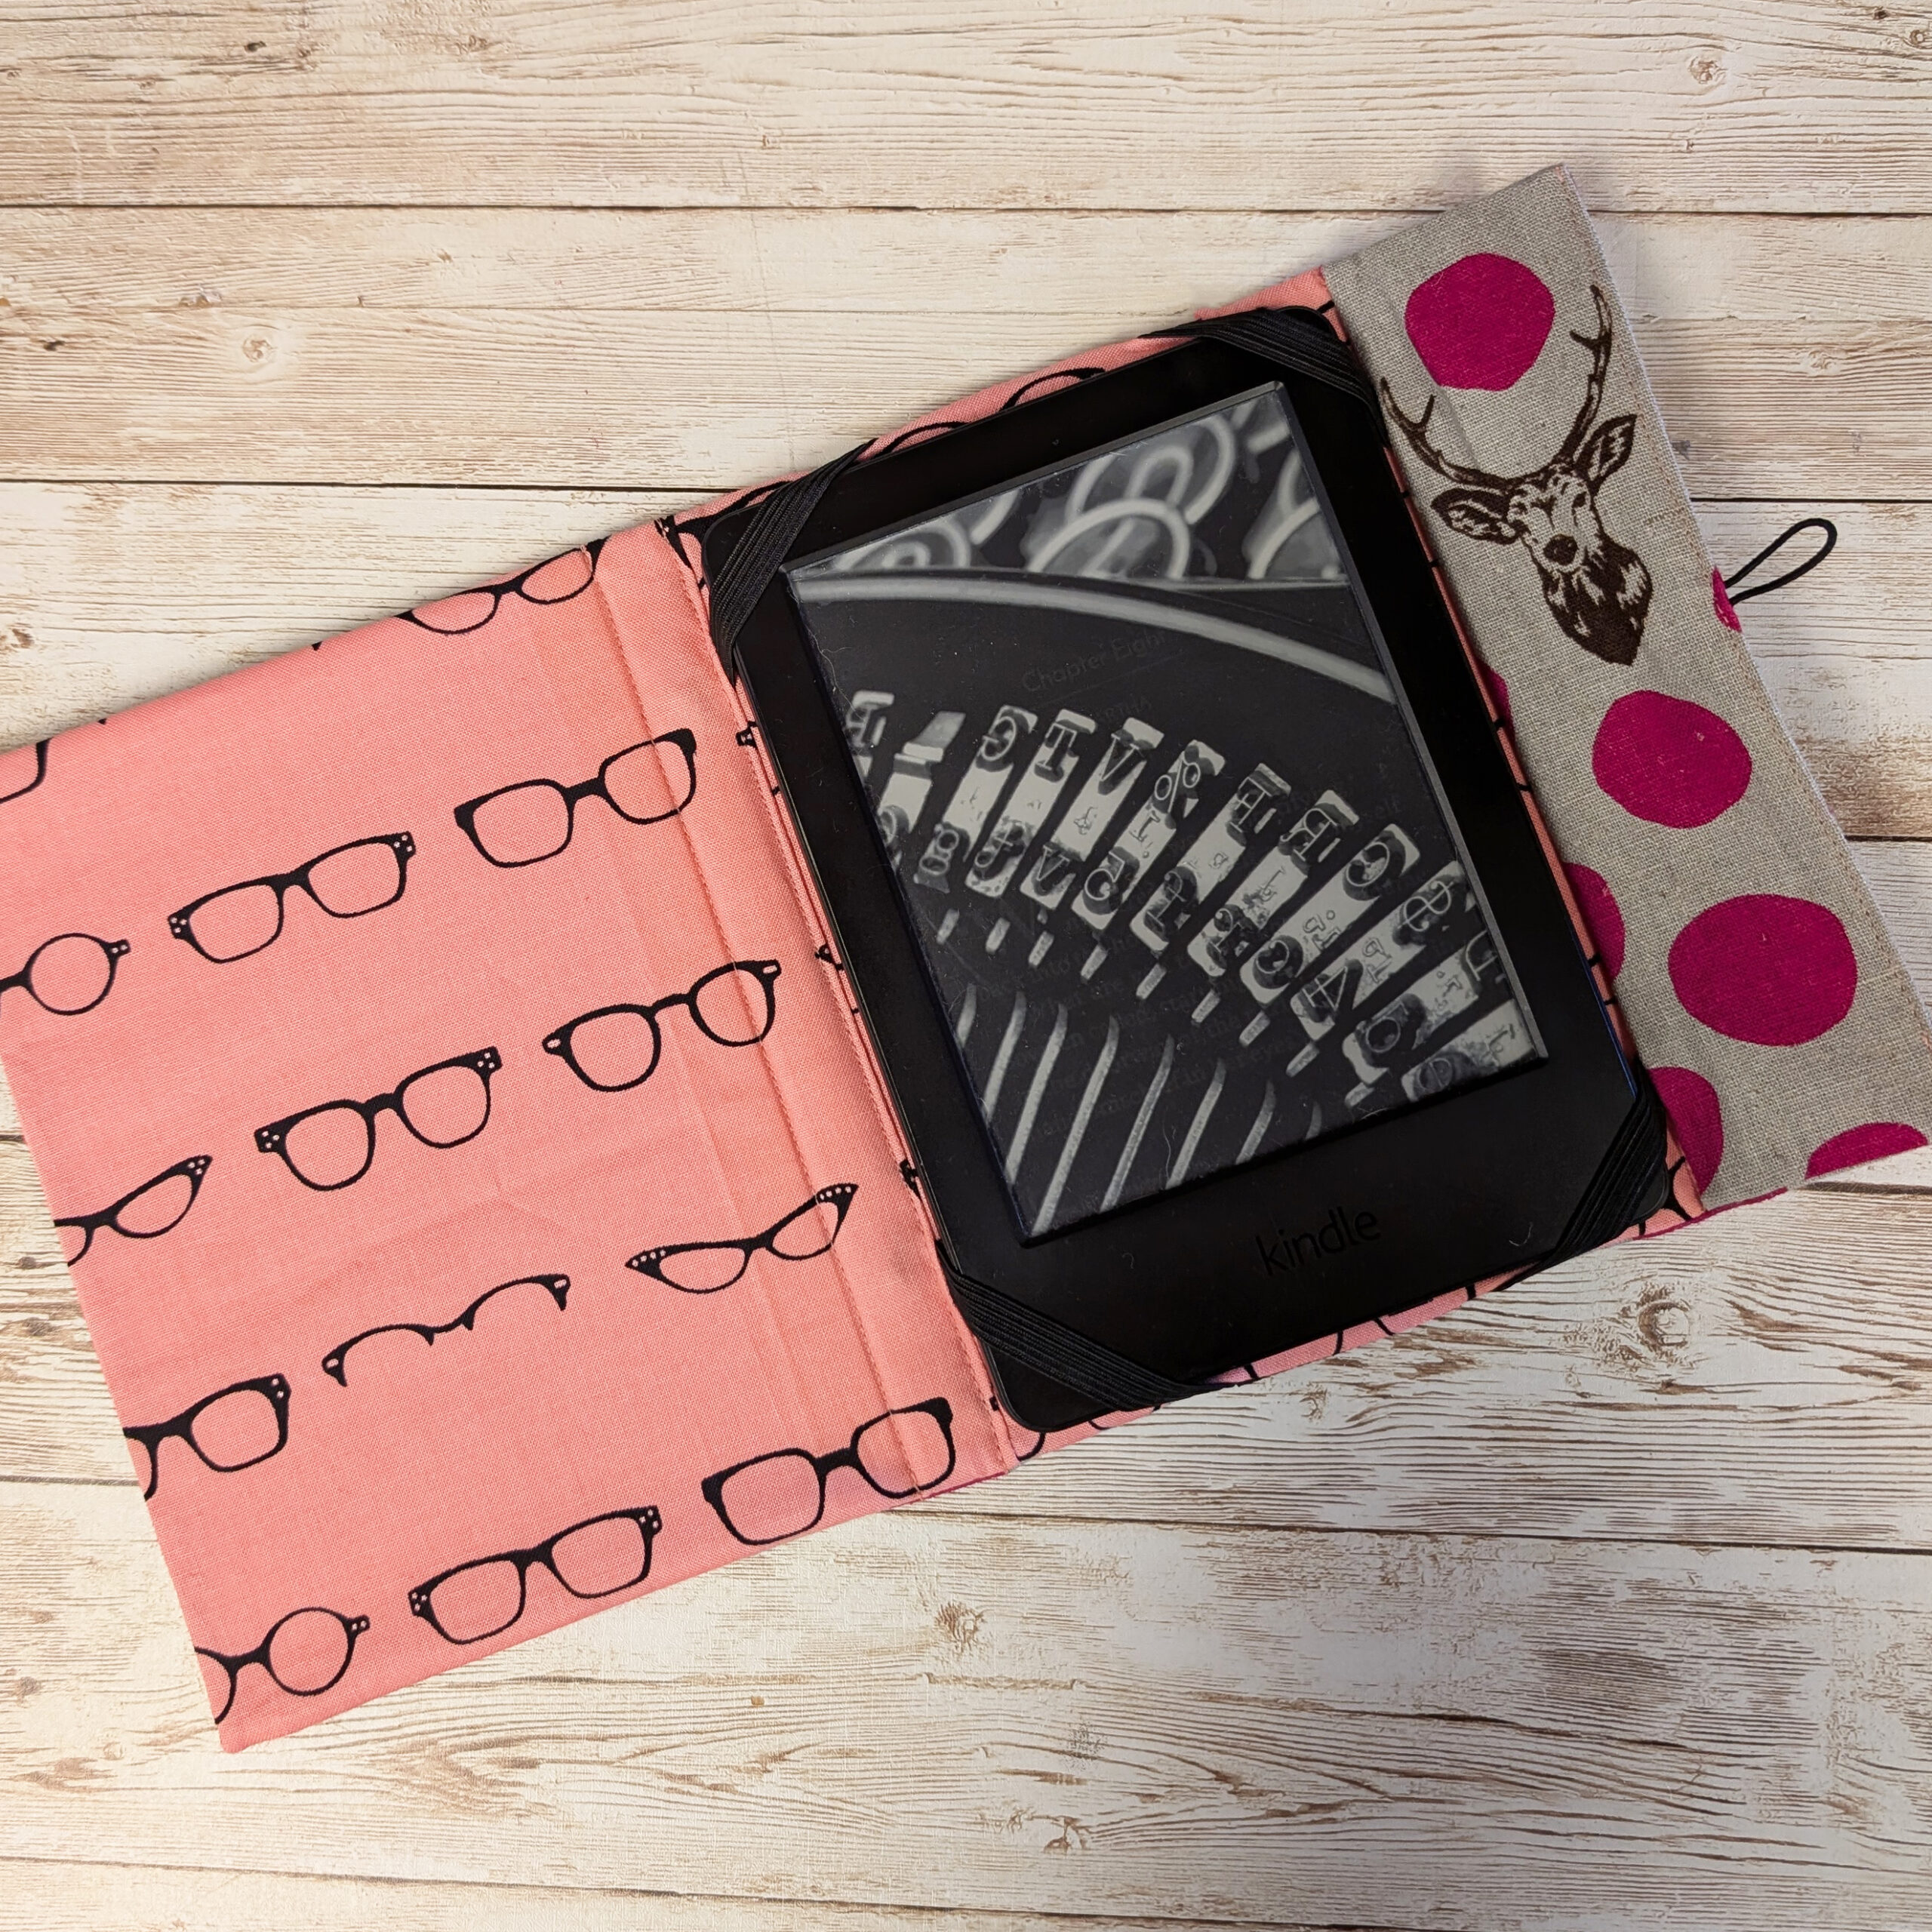
As we begin the run-up to Christmas I thought I’d share a few ideas of things you could make for gifts. I mean this one

I have been pattern cutting for nearly 2 decades, and it’s something I take a huge amount of joy in… helping people have clothing to