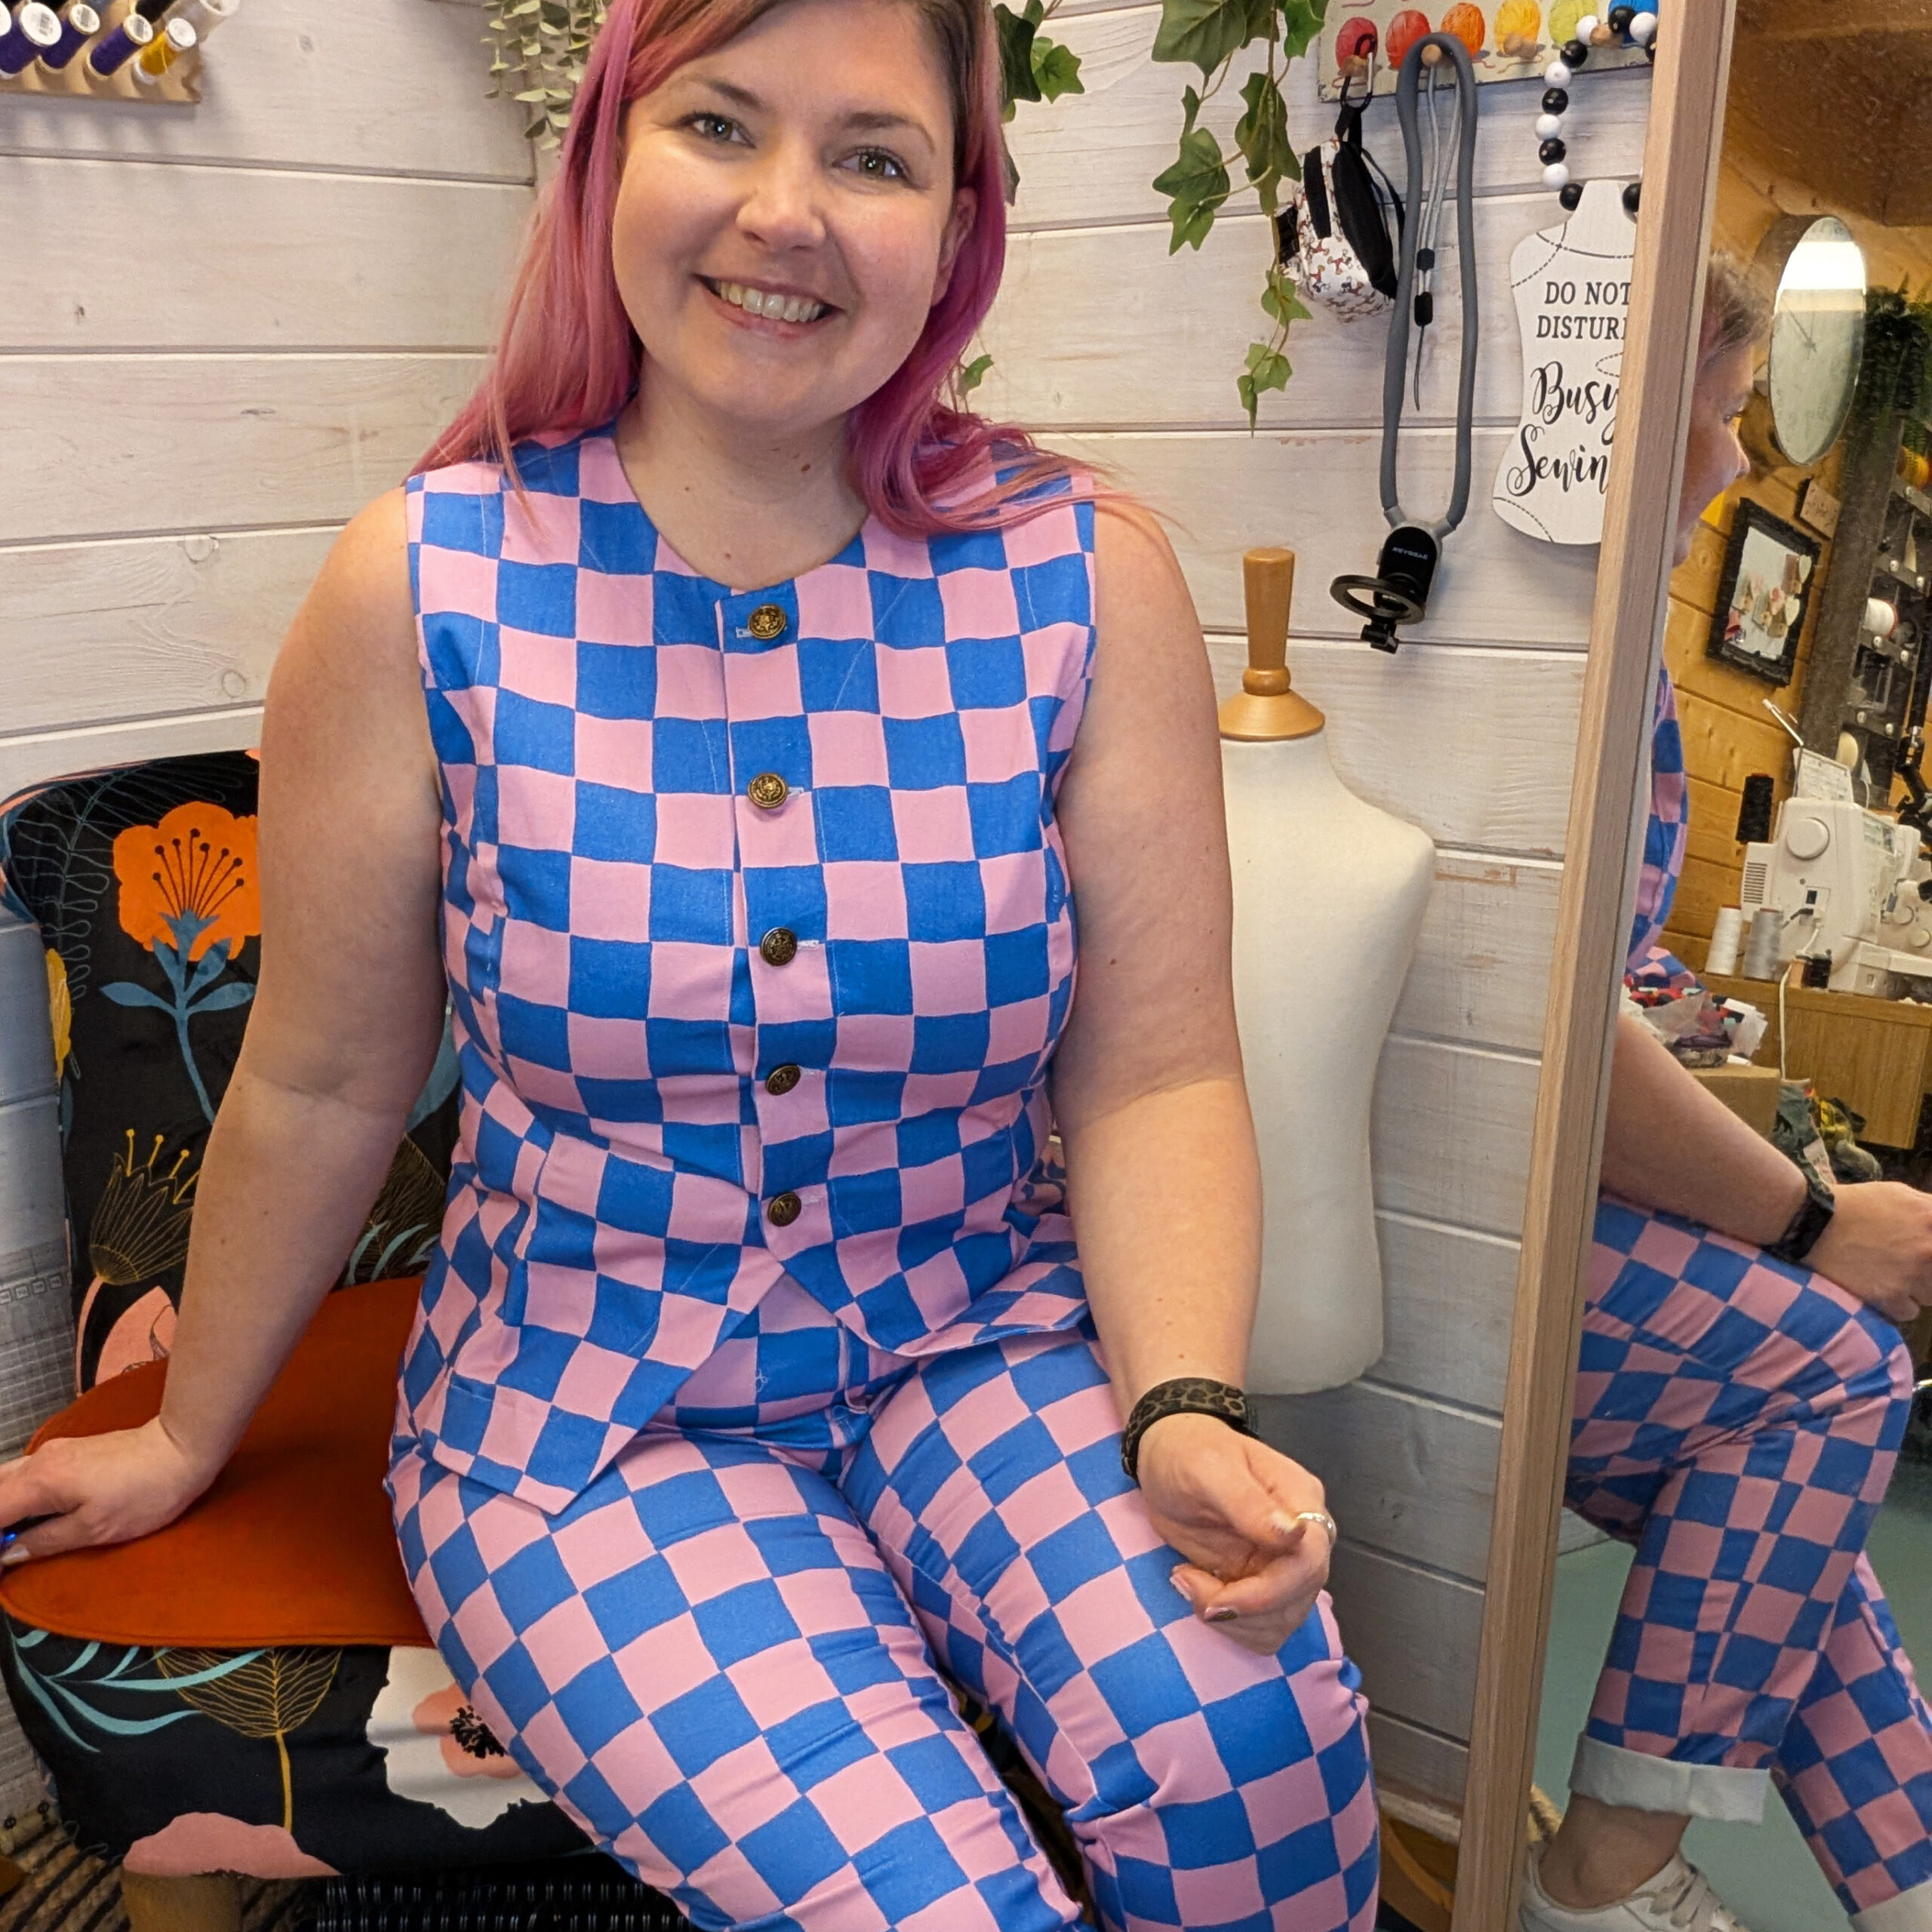
Stretch Denim Coord
This fabric is just so me isn’t it, but the fun here is its part of the print on demand service from Minerva.com so I
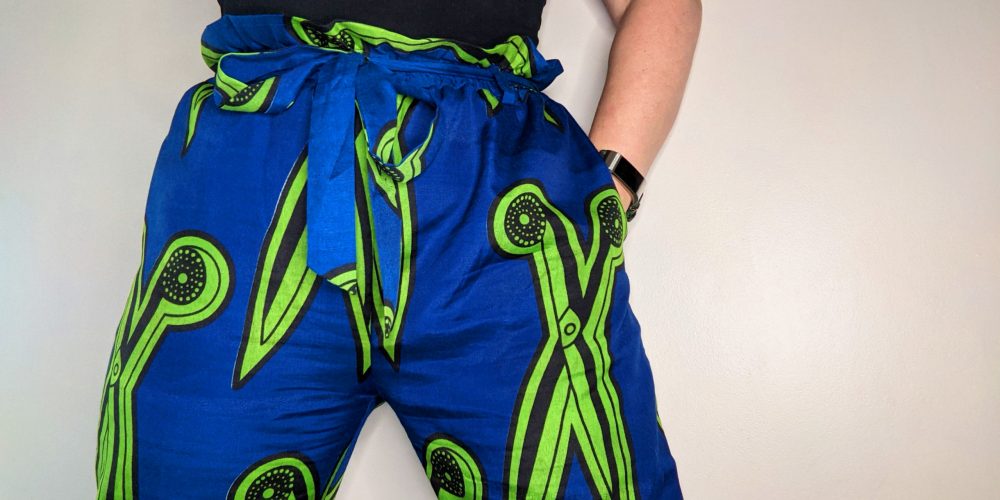
Megan Nielsen’s Opal pants/shorts pattern contains a paper bag waistband option and I had always wanted to try this look so off I went…
Now at the moment I am working really hard to try and sew my stash, I have such a large quantity of fabric in my studio that just sits there I am really pushing myself to rummage through and try and make fabrics that I already have work for projects. Sometimes that is grabbing a pattern I want to make and then looking for a fabric that would work and that I have enough of for it… and other times that is grabbing a fabric thats cool, looking at how much is there and then seeing what I can turn it into. Its been really fun doing this, and although I am of course still buying odd bits of new fabric (because I’m a total fabraholic and can’t help myself) my stash is definitely reducing and I’m getting some really cool new wardrobe pieces as a result.
So first things first with all new patterns is find out what size I need. This is something that is always worth checking when you’re on a new brand/pattern as sizes vary hugely just like in shops. In this pattern I sized out as a 16 and with nothing to indicate that they come up big or small (with some brands from experience I know this can be the case but Megan Nielsen tends to come out right in my opinion) thats the size I cut. The pattern also has 2 length options, I went with the longer one as my inseam measurement came out between the two options so I chose to give myself a little extra length to play with.
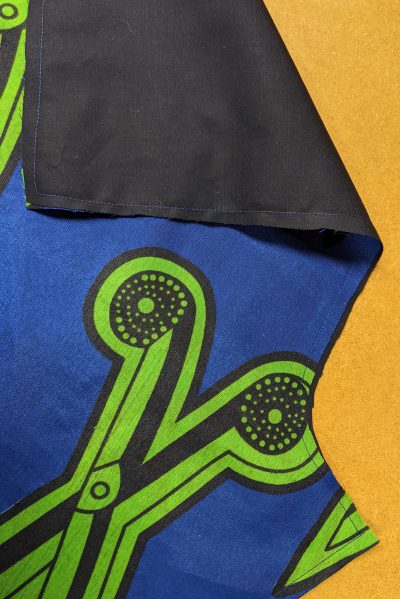
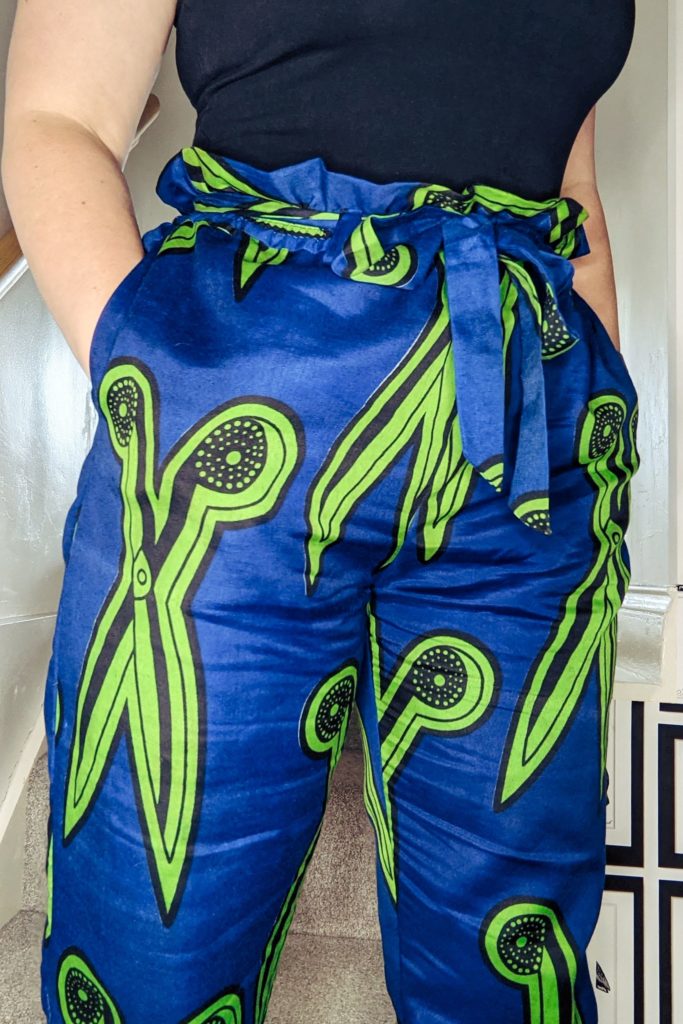
So, rummaging through my stash I came upon this fabric. I was after something “bottom weight”, now what this means is something thats a little heavier than you’d use for a top… thats literally it. But, if you were after a light pair of trousers for the summer there is absolutely no reason why this wouldn’t work. Different types/weights of fabric will change the feel of how a pattern comes out, so when trying to decide what to use just consider what your aim for the garment is… is it for summer/winter, do I want it drapey or structured etc. This fabric is an African wax print cotton, and these can vary significantly in thickness and this one is quite an open weave and although has some body (because of how wax printing is done) it was marginally see-through… now this didn’t have me discarding it, I just decided that for the leg pieces I would layer the fabric over a plain black poplin. This removed the see-through quality and gave the fabric a bit more thickness which was perfect for trousers. (I didn’t add this extra layer on any pieces other than the 2 fronts and 2 backs as I didn’t want to put any extra bulk around the waist)
When using 2 layers together you have a couple of different options for how to do it…
This 2nd option is what I went for, inseam pockets take some consideration when lining and because it was slightly see-through I didn’t want to run the risk of being able to see the seams from the outside of the garment.
The construction of this pattern is really easy and well explained in the instructions. I went off piste a couple of times, I’ll explain why…
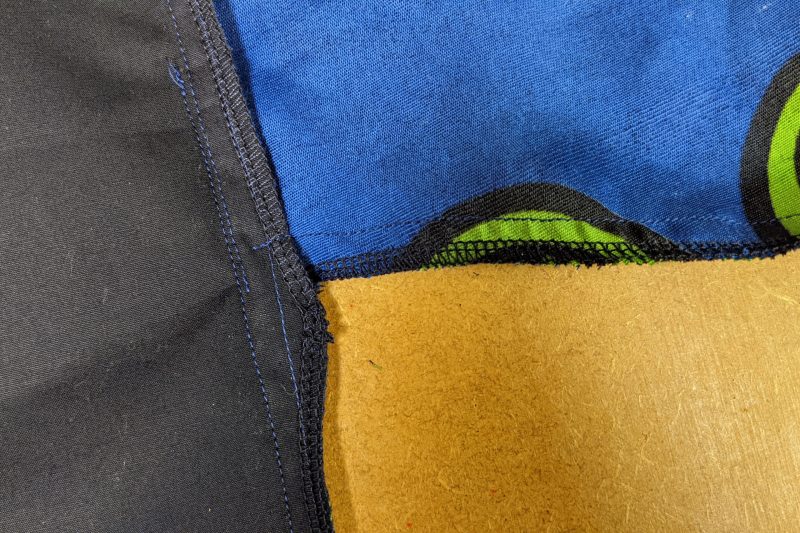
The instructions for the inseam pockets say to finish the raw edges of the pocket bag pieces before stitching to the trousers. Now, this is absolutely the easiest way to do this but not the best (in my opinion). The first thing to go on pockets is the stitching on the pocket bag, pockets often hold a variety of items and the bottom of the bag takes a lot of strain so double stitching them closed by sewing them together and then finishing the raw edges together makes them a lot more secure. If you’re zig-zagging to finish this isn’t much more difficult but when using an overlocker its a bit more fiddly to manipulate the fabric to get around the corner where the pocket bag meets the side seam. With some care and consideration though, you fold the side seam of the trousers out of the way as you approach and taper off the fabric from the overlocker… this may leave 1-2cm at the side seam unfinished but will give you a much more secure pocket-bag. I then overlock the part of the side seam where the pocket bag is attached separately and then taper that off so that I can then overlock the rest of the side seams together for a neater finish, manipulating it in the corner as before.
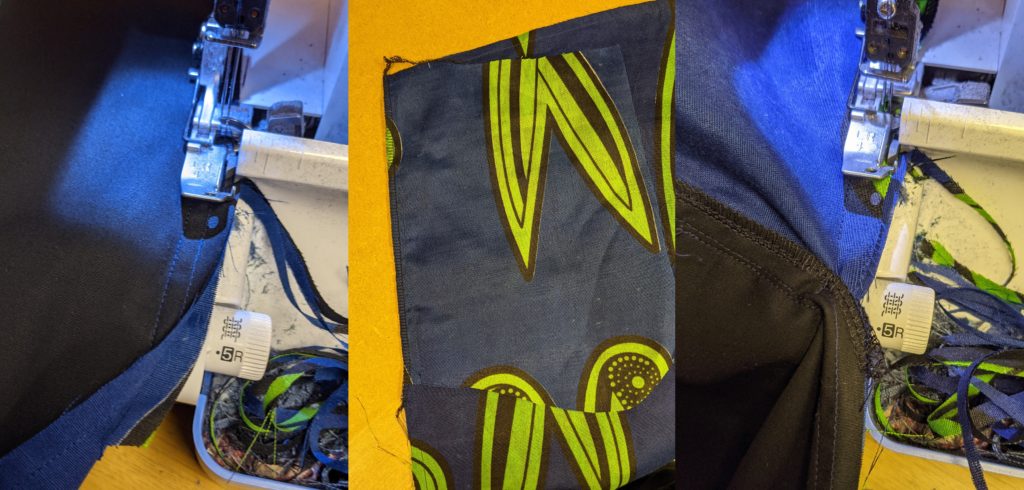
The pictures should help to show you what I mean… as I say doing it as per the instructions is absolutely fine and if you’re not feeling confident to attempt the above you will still end up with a fabulous pair of trousers, but this way is a lot more secure for long lasting pockets (and that applies to any time you are putting in inseam pockets).
The other place I made a slight change to the instructions was with the waistband. The way a paper bag style works is you elasticate the channel but stitch a line halfway up your waistband so that the elastic sits at the bottom allowing the top to ruffle like the top of a bag. The instructions suggest that after inserting the elastic you could run a line of stitching on top to keep the elastic from twisting and to keep the fullness evenly spread. Now, this is a great thing to do on any elasticated waistband for exactly both of those reasons, you end up with a much more polished finish too. When stitching, you keep the elastic stretched so that it can still function, making sure to support the fabric in front and behind the presser foot to enable it to feed. However… I think 2 lines of stitching just sits better and gives a better look.
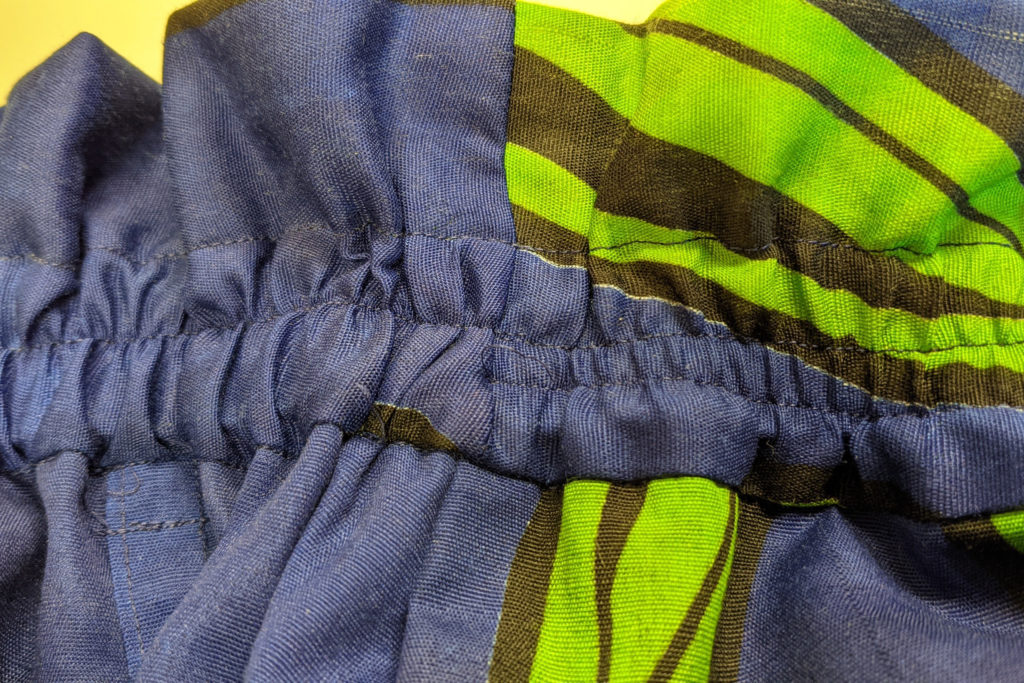
Of course, if you plan to always wear them with the included belt then you’ll not see this but I like things to look a certain way regardless.
Its not my neatest stitching by far, I didn’t clock till too late that I didn’t have elastic 32mm wide and used 25mm instead (something that the pattern states will work)… which it does but it means the channel it is in is a bit roomy. Had I noticed this before i stitched the top of my channel I could have lowered this line slightly to make the channel a better fit, it would have made the paper bag top slightly deeper but would have still looked really good. Something to consider when you’re sewing this.
*I did also cut the elastic smaller than the instruction book suggested, it is always best to go off your own preference and hold the elastic around yourself to decide this… don’t be afraid to try them on either before you close the gap.
I love how these trousers have come out, the way the black I used to thicken the fabric shows on the turn-ups to the little quirks I found on the pieces after I’d cut them (because I was trying to squeeze this pattern onto a piece of fabric I already had cutting around flaws was not possible but I think the quirks add character).
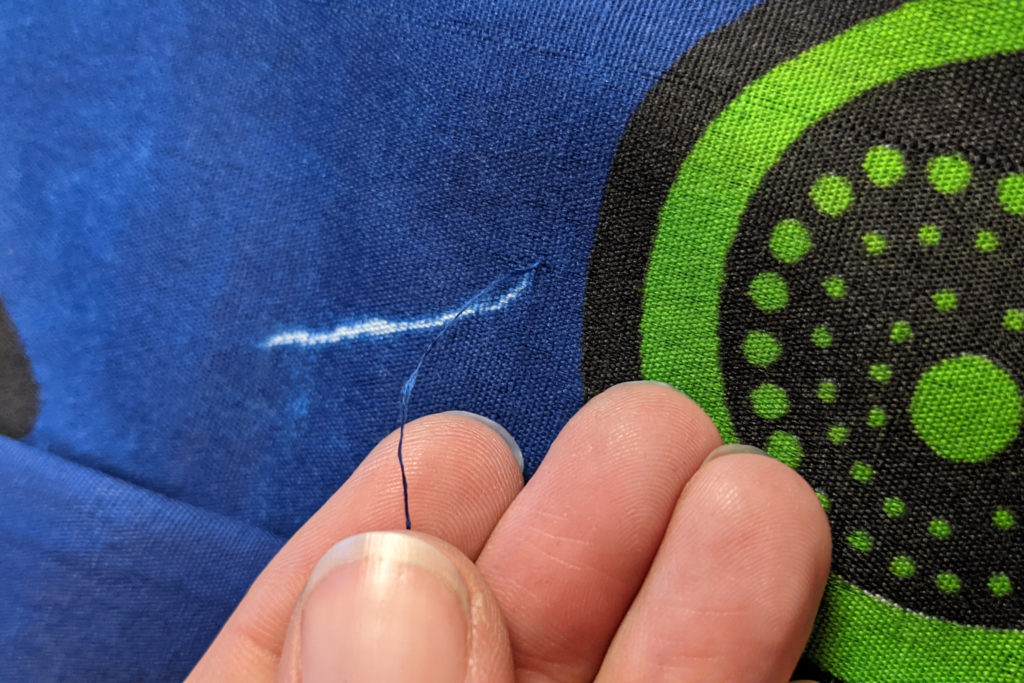
This happens because a loose thread was laying on the fabric as it was dyed, its just one of those things. Sometimes you have to just let it go when things like this happen, i took a needle and pushed the loose thread to the inside and decided these little white lines left were just a quirk… (although it has been pointed out I could colour them in if they did bother me)
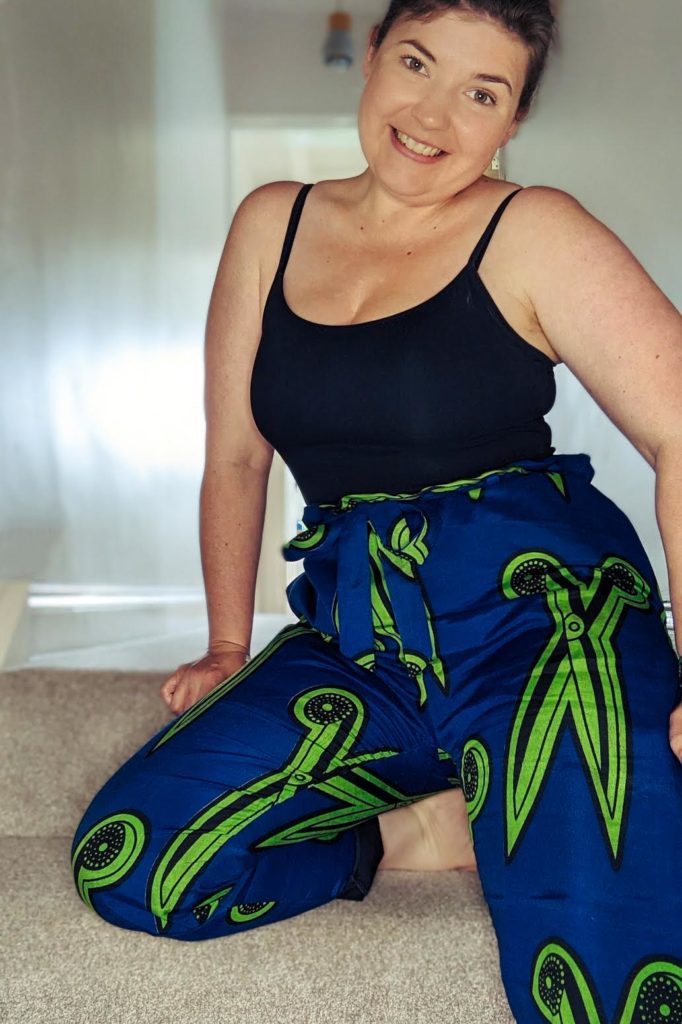
But nothing has stopped me loving these dramatic scissor printed paper bag trousers. The next pair I will raise the waistline by an inch (my body is long between by waist crotch so it’s something I often have to do, but I like to make a pattern first to see how it is before making changes), they still sit on my waist but I like my high-waisted clothing to come just a smidge higher, which is just a personal preference thing.

This fabric is just so me isn’t it, but the fun here is its part of the print on demand service from Minerva.com so I
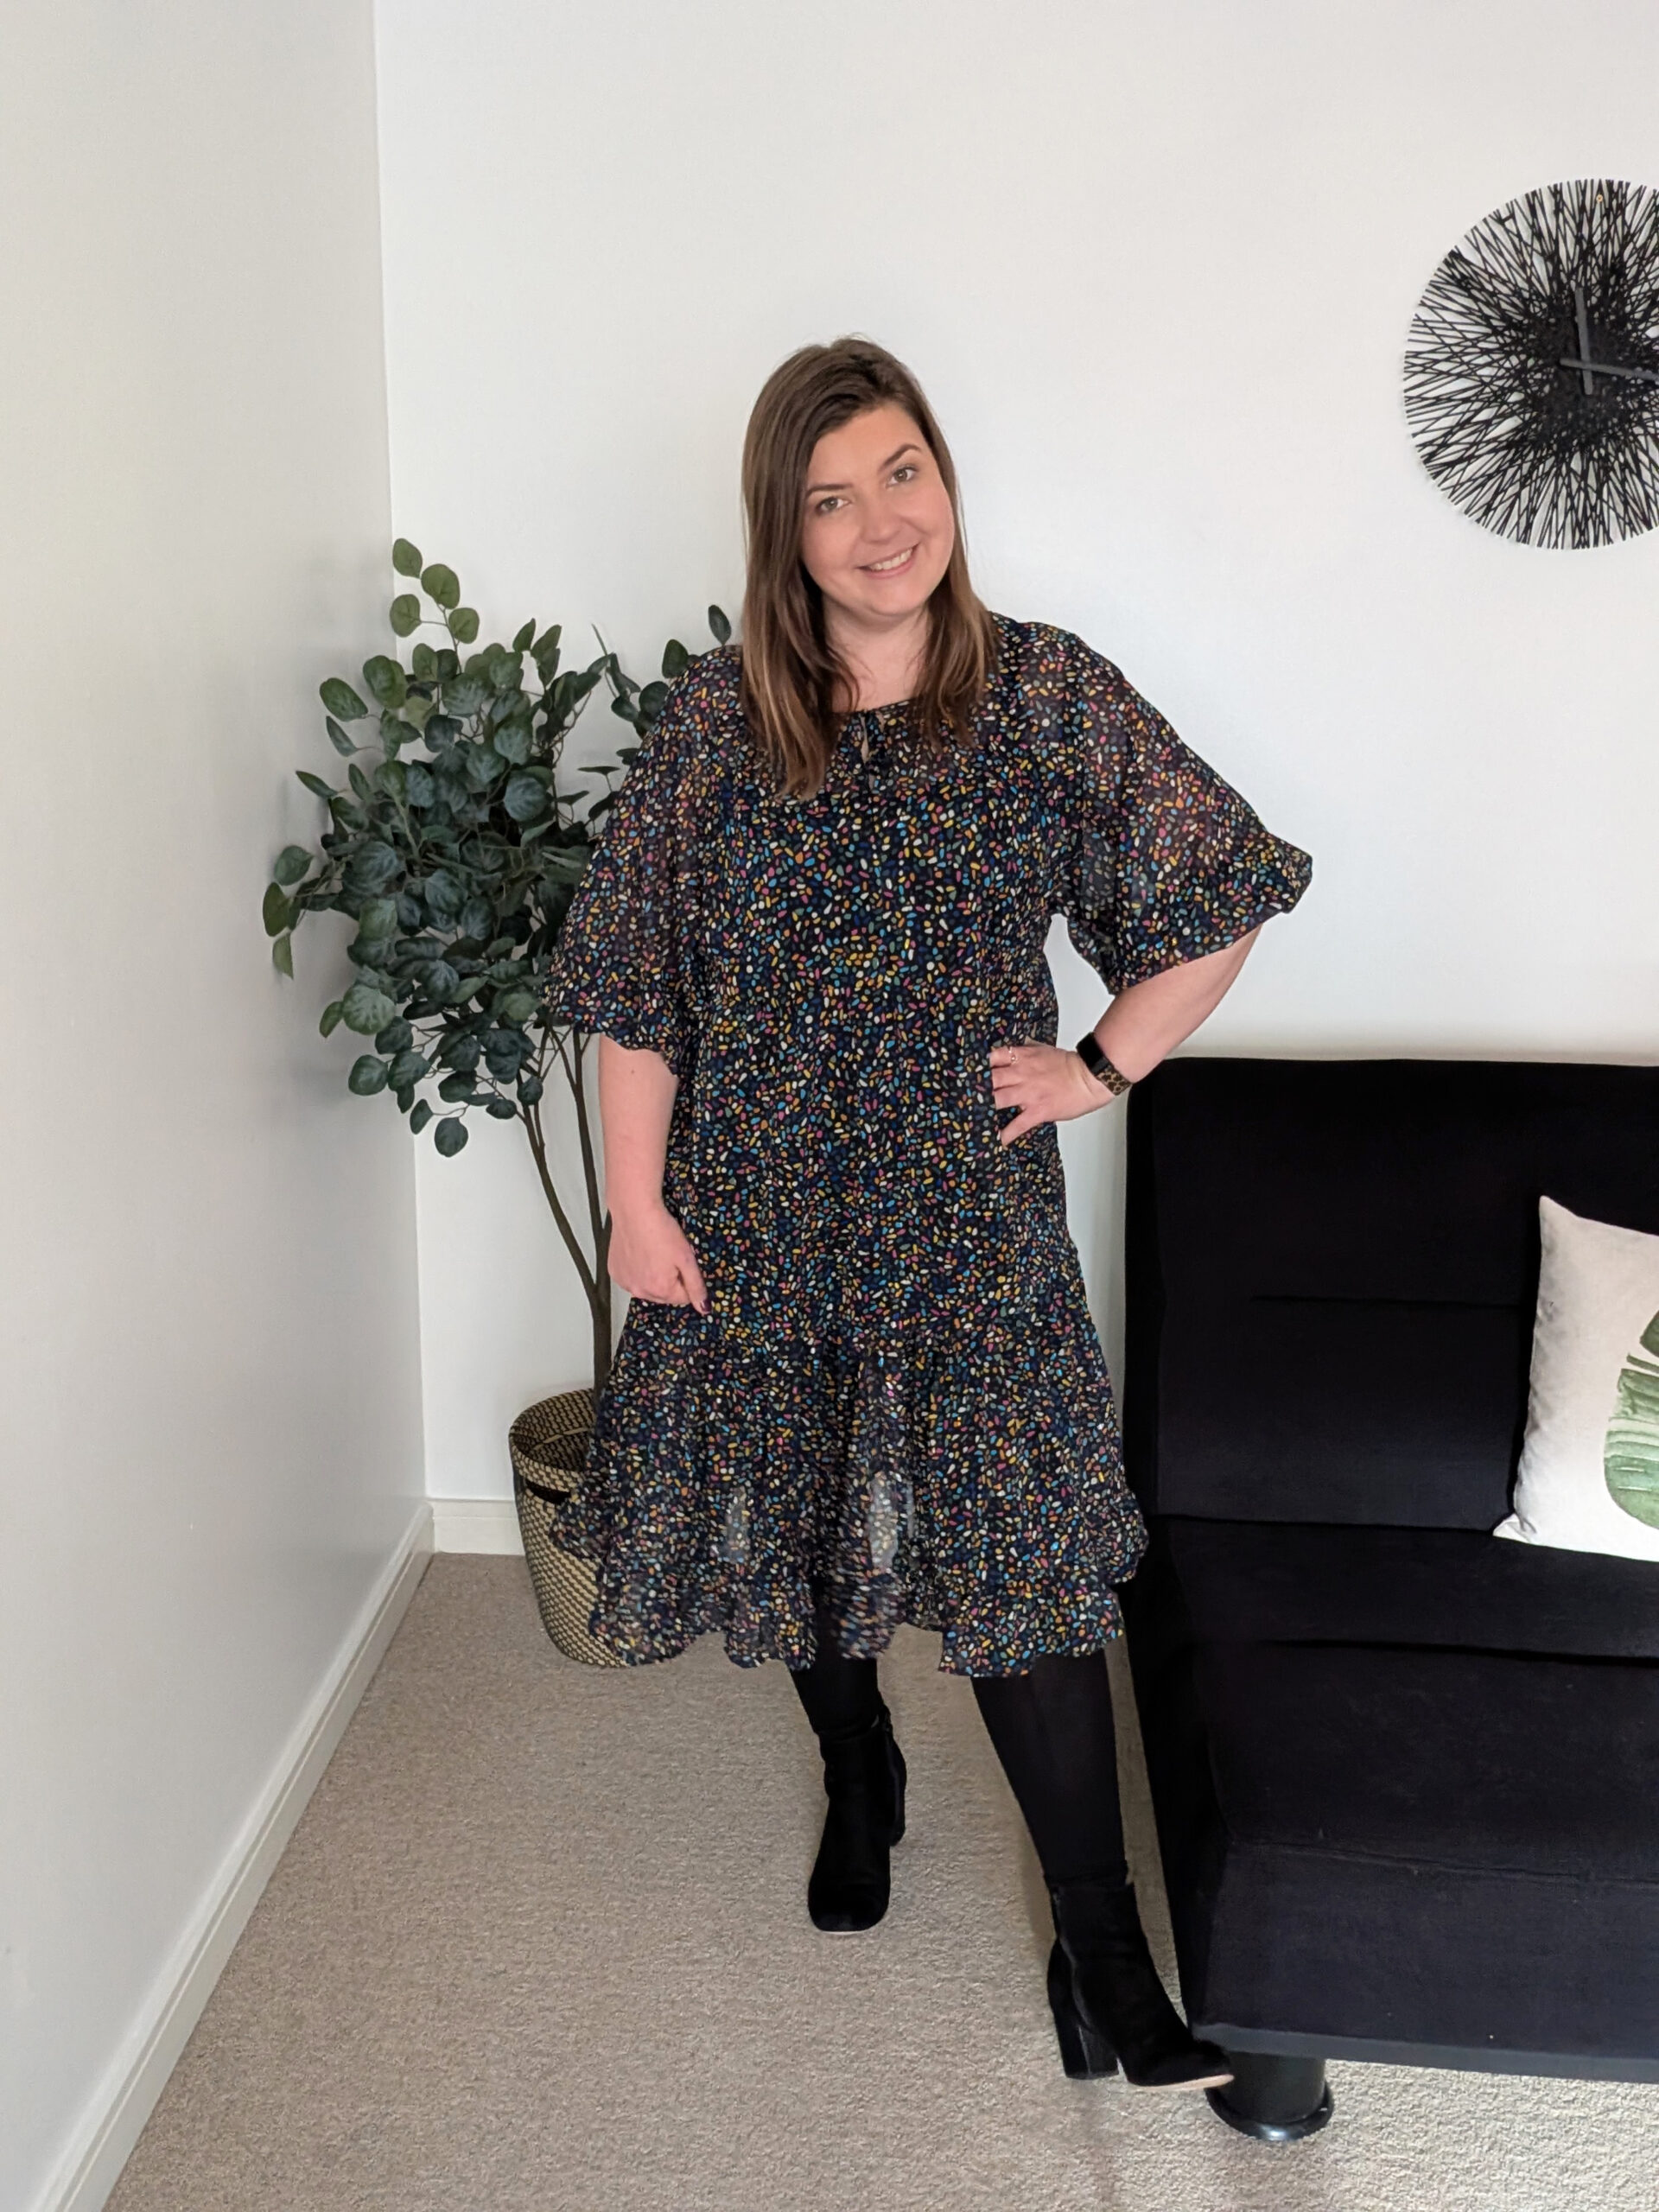
The Style Arc Hope Dress is super versatile with the extension pattern, and this time I’ve changed the skirt entirely putting on a tiered gathered
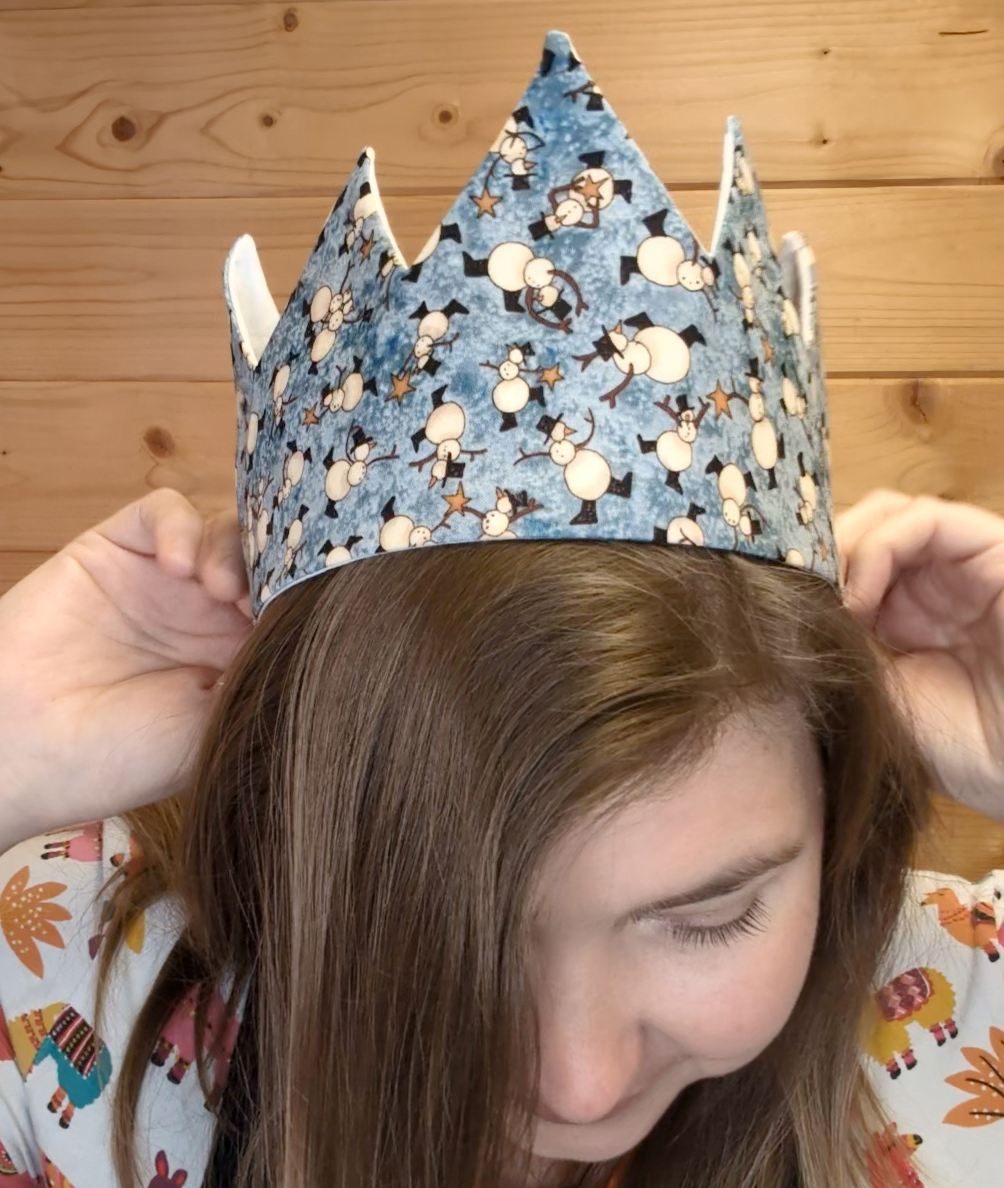
The biggest issue I have with the changes to what I understand to be a very British tradition of Christmas crackers in order to make
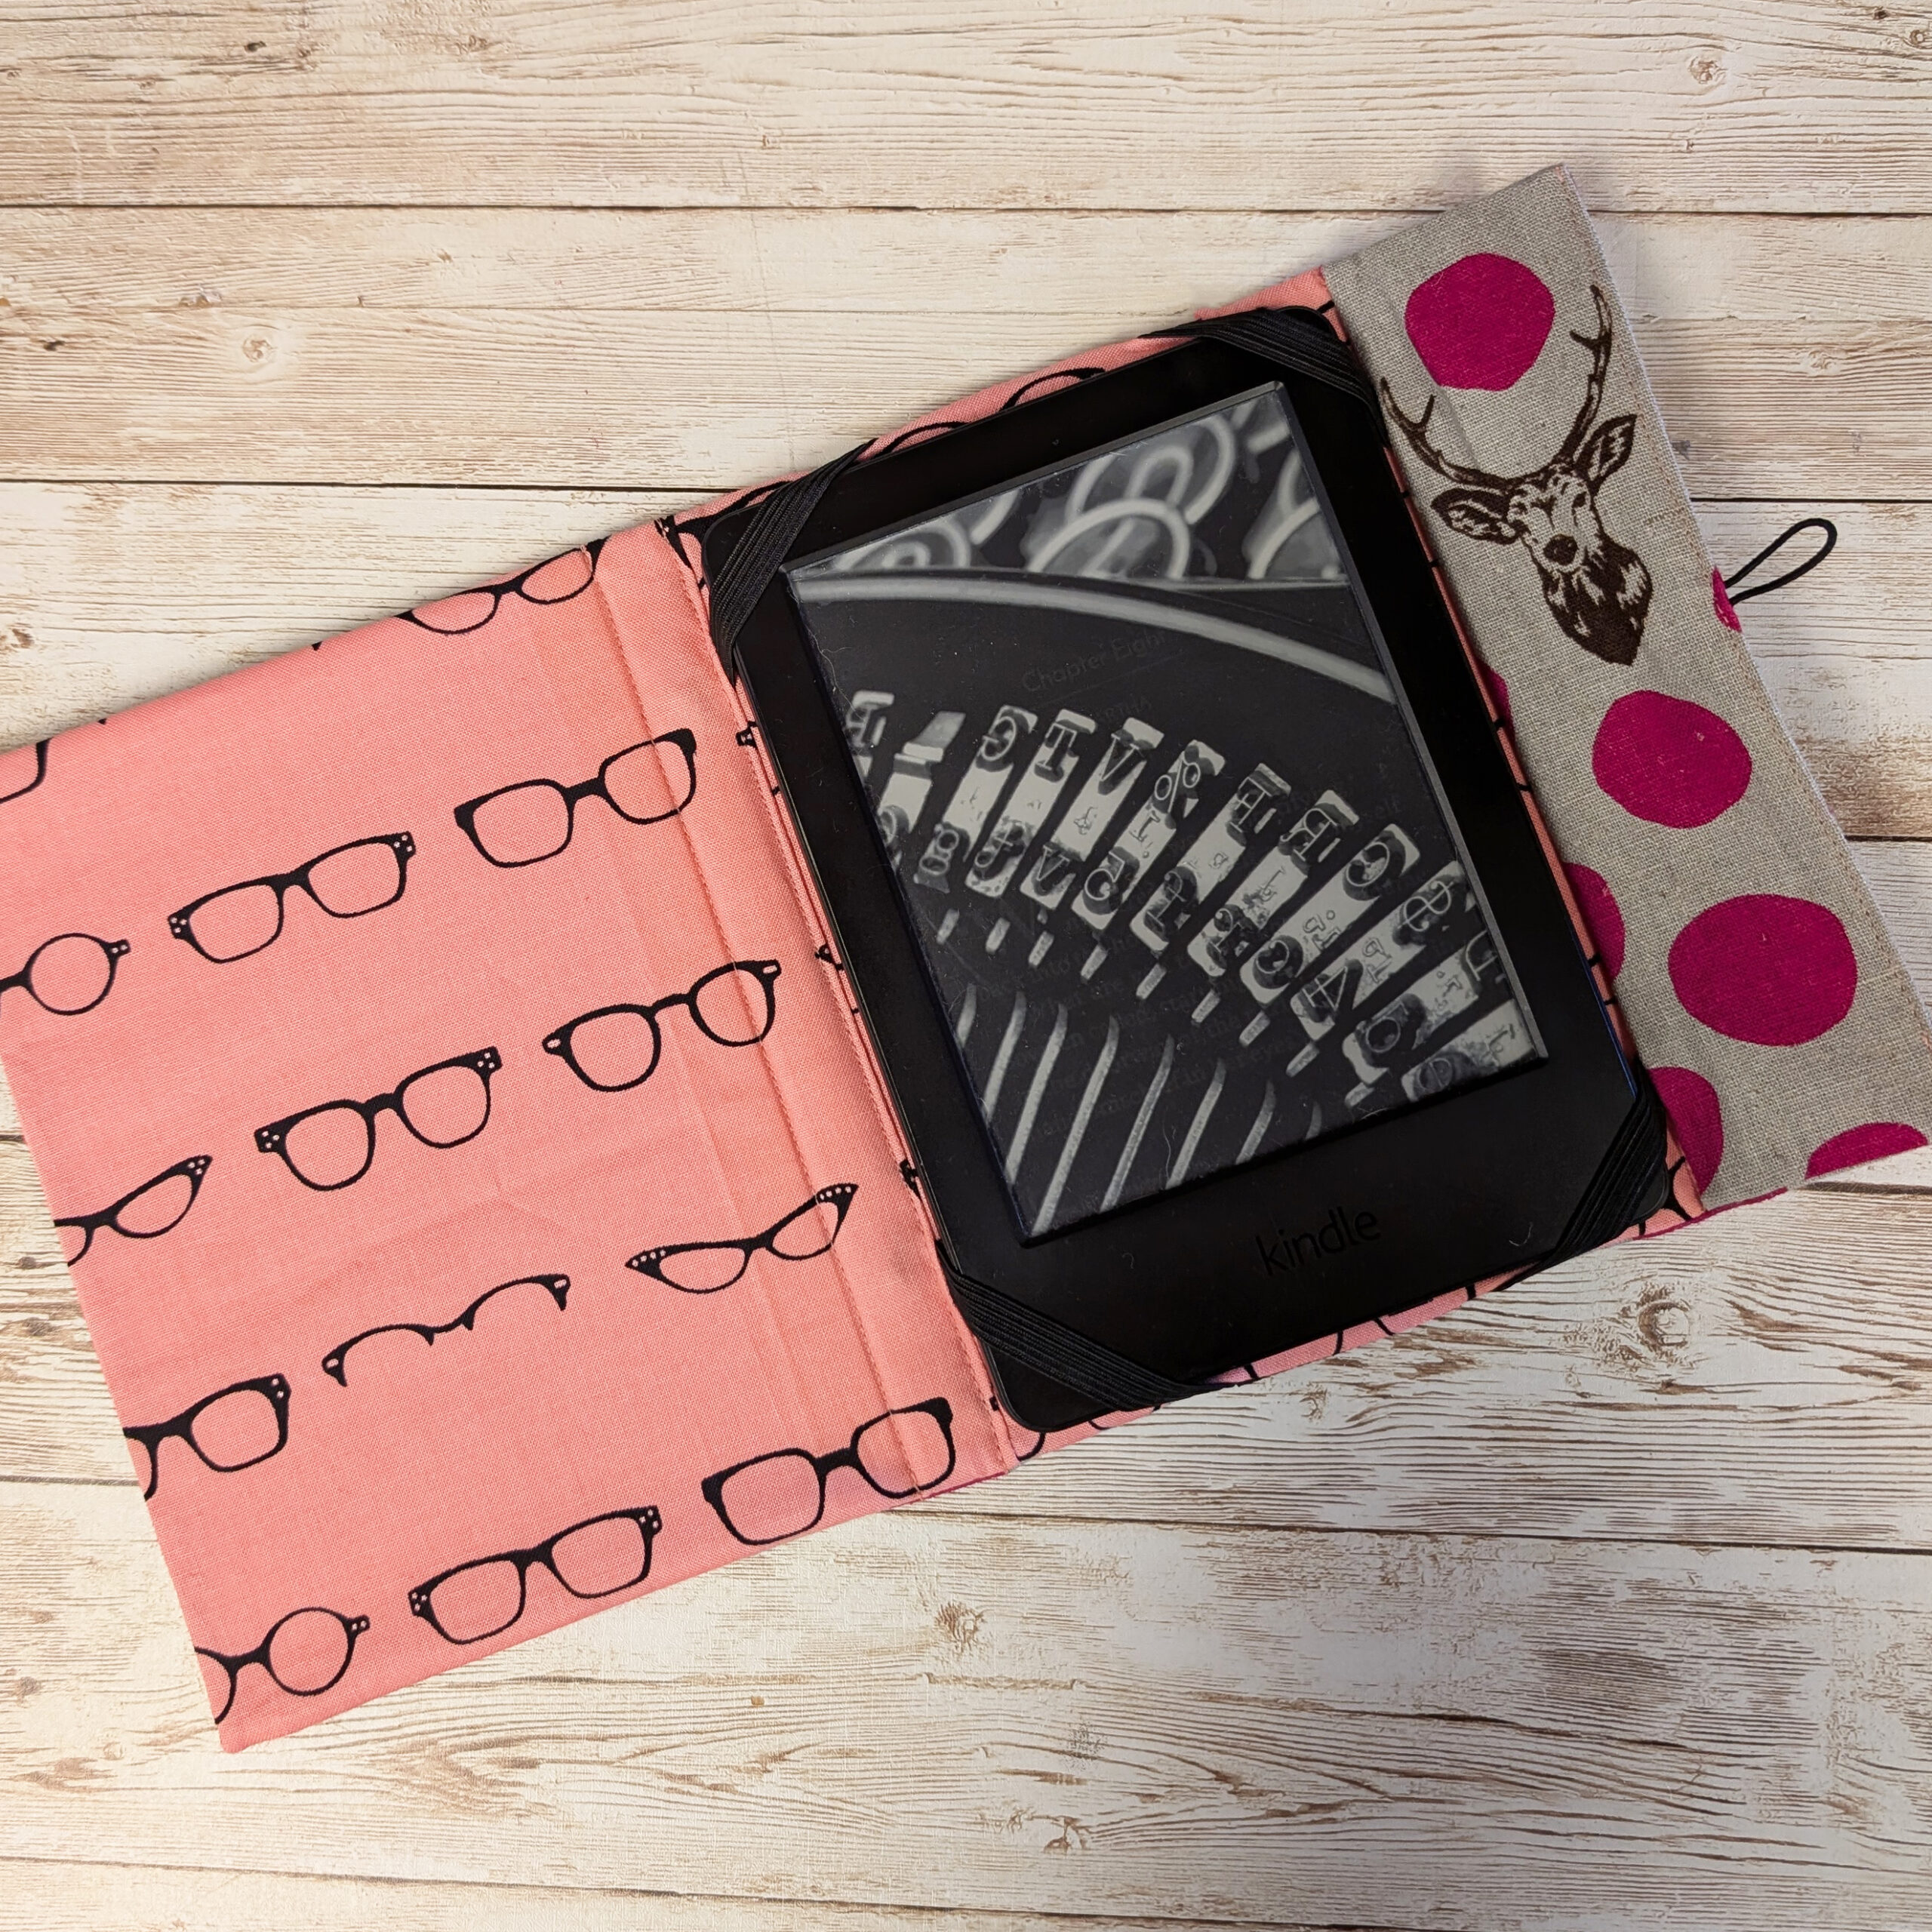
As we begin the run-up to Christmas I thought I’d share a few ideas of things you could make for gifts. I mean this one
I have been pattern cutting for nearly 2 decades, and it’s something I take a huge amount of joy in… helping people have clothing to