Stretch Denim Coord
This fabric is just so me isn’t it, but the fun here is its part of the print on demand service from Minerva.com so I

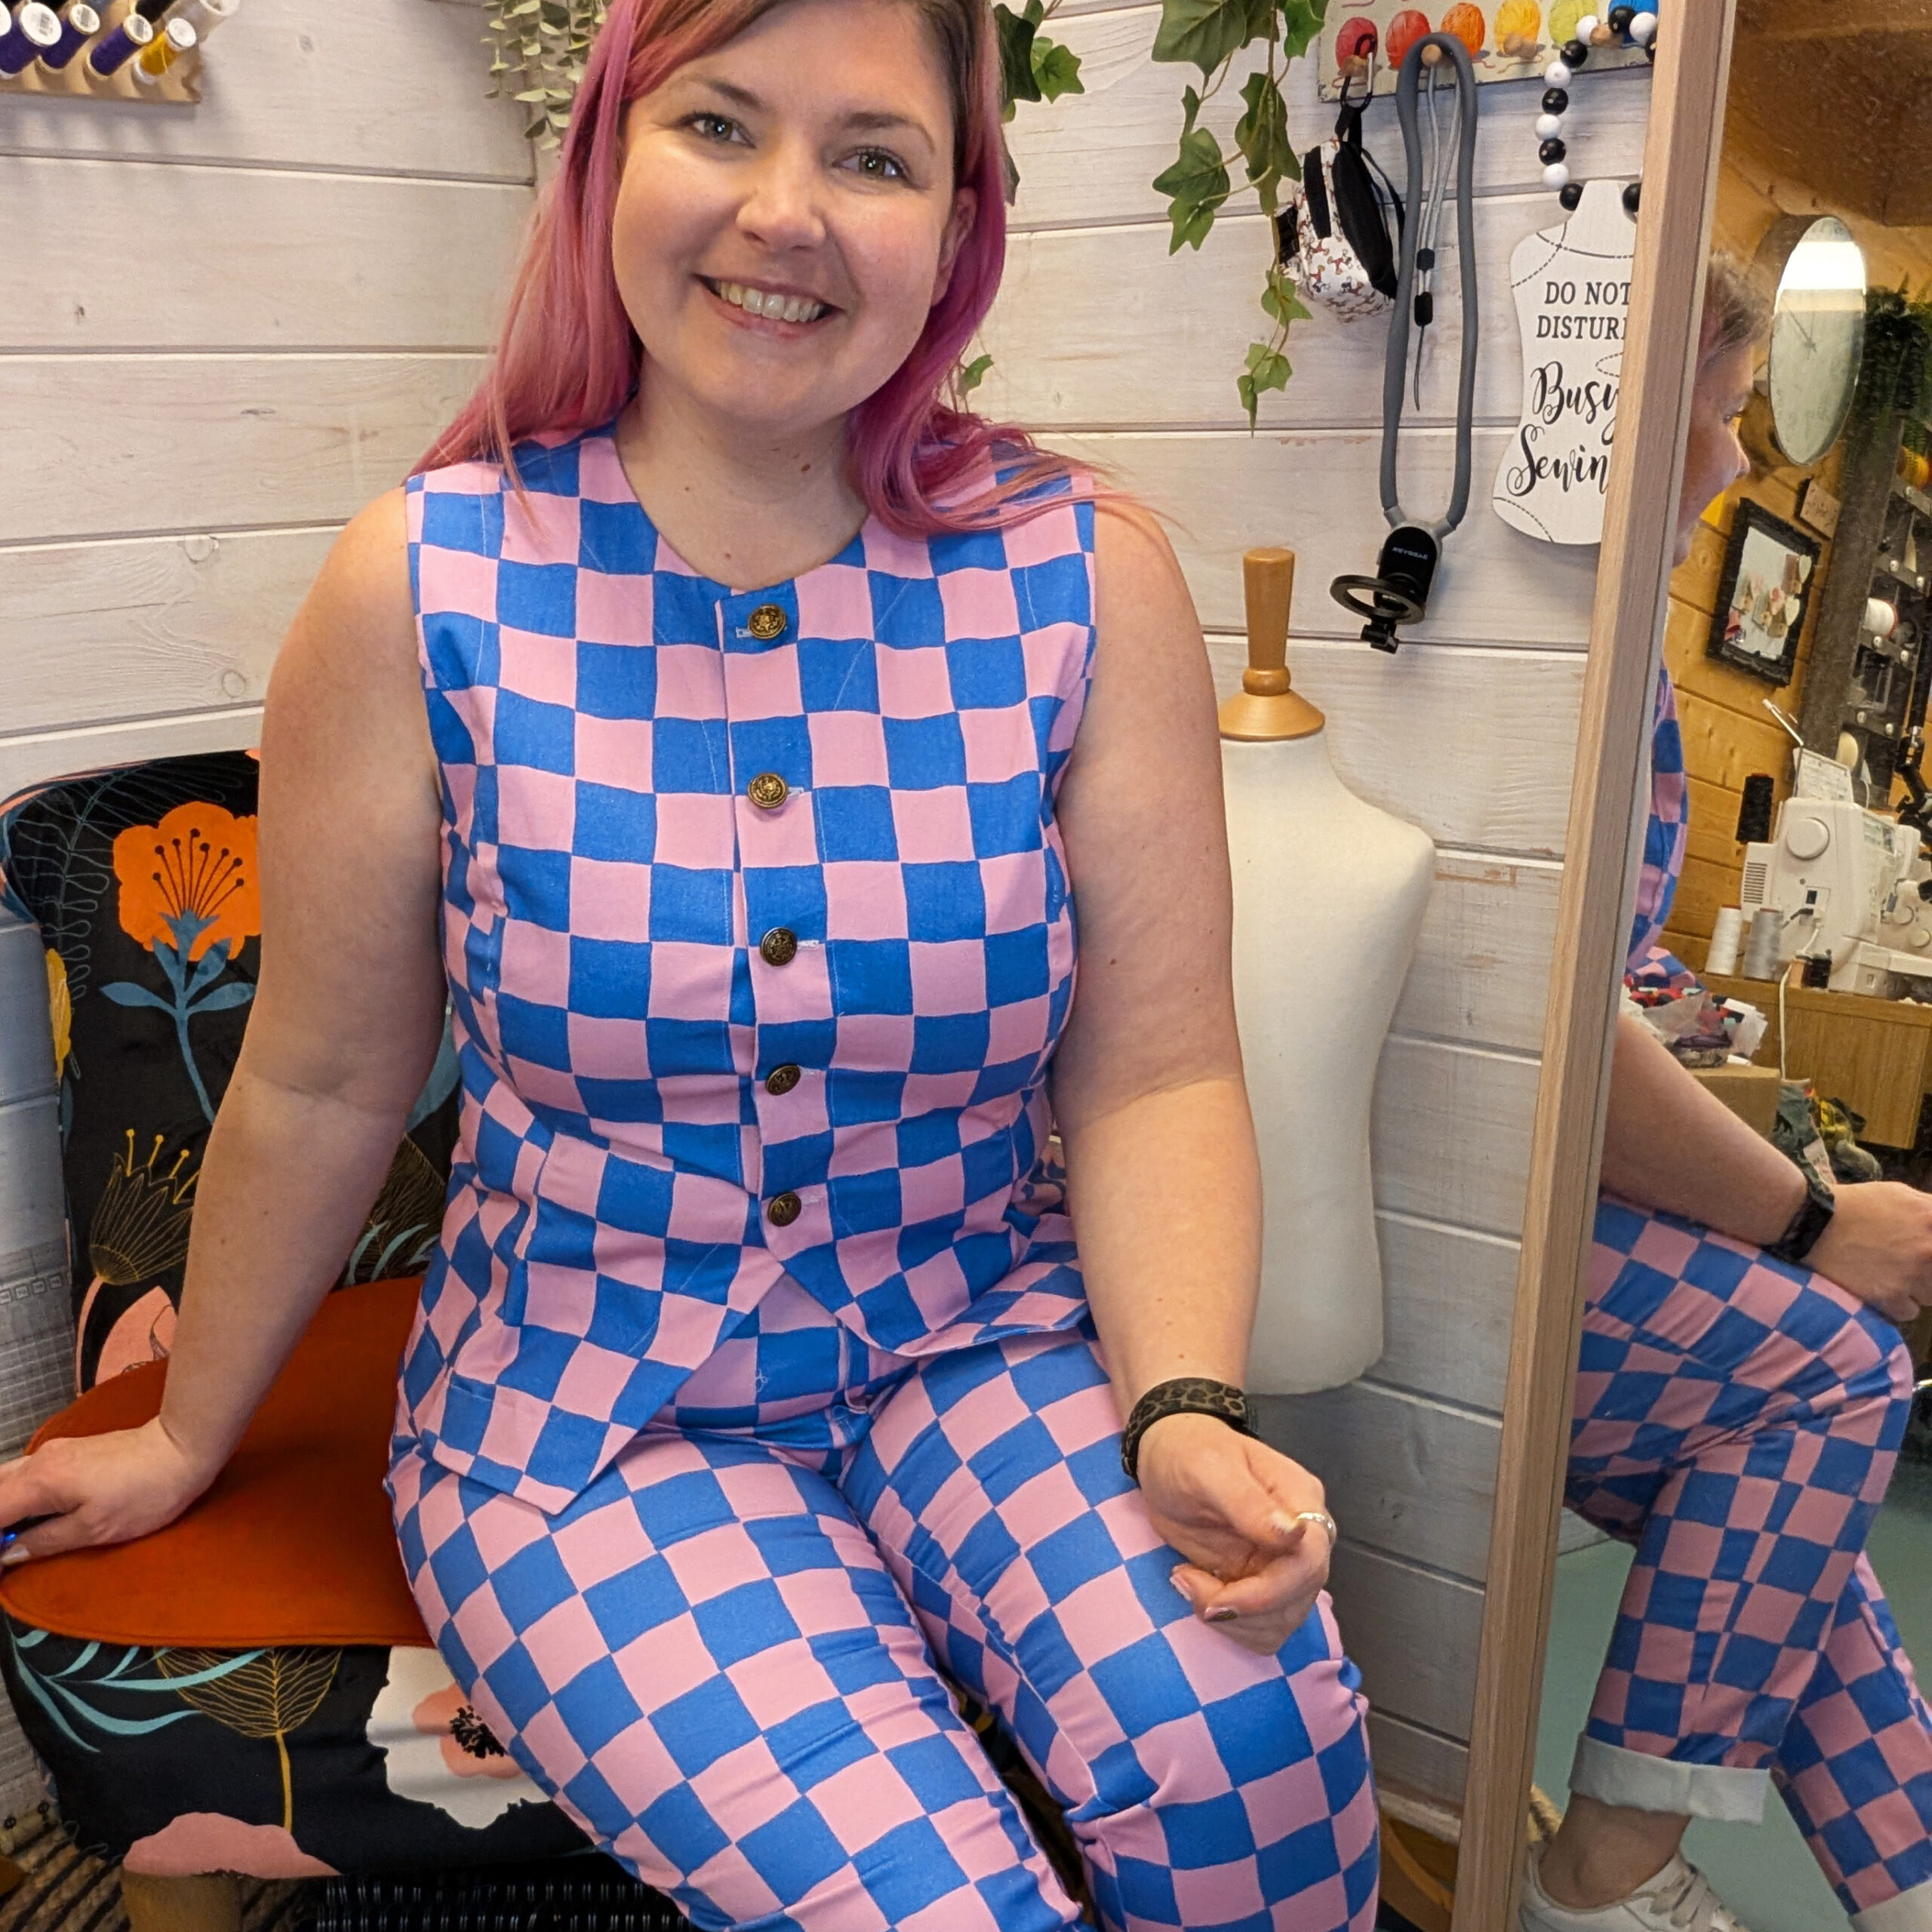
There are certain staple items that my wardrobe is full of, most of which are very useful… for example a standard pair of jeans is great for pairing with a wacky top. The trouble comes when too many items are great basics and the number of items that make an outfit pop seems few by comparison. Sometimes I put items on and feel they need a little jazzing up to bring some life into them so they can be a little more extraordinary.
I first came across this design concept from Sew Yeah (aka Christine Leech) and instantly fell in love with what I’m going to call the “confetti concept”. It’s so simple and yet looked so effective and immediately I knew I wanted to put my own spin on it and create myself something.
So out came my Cricut. If you’ve no idea what this is it’s a die cutter, essentially a printer that instead of printing cuts out. I use it for lots of different craft projects but it’s main use in my studio (and the reason I brought it) is for cutting out iron-on vinyl.
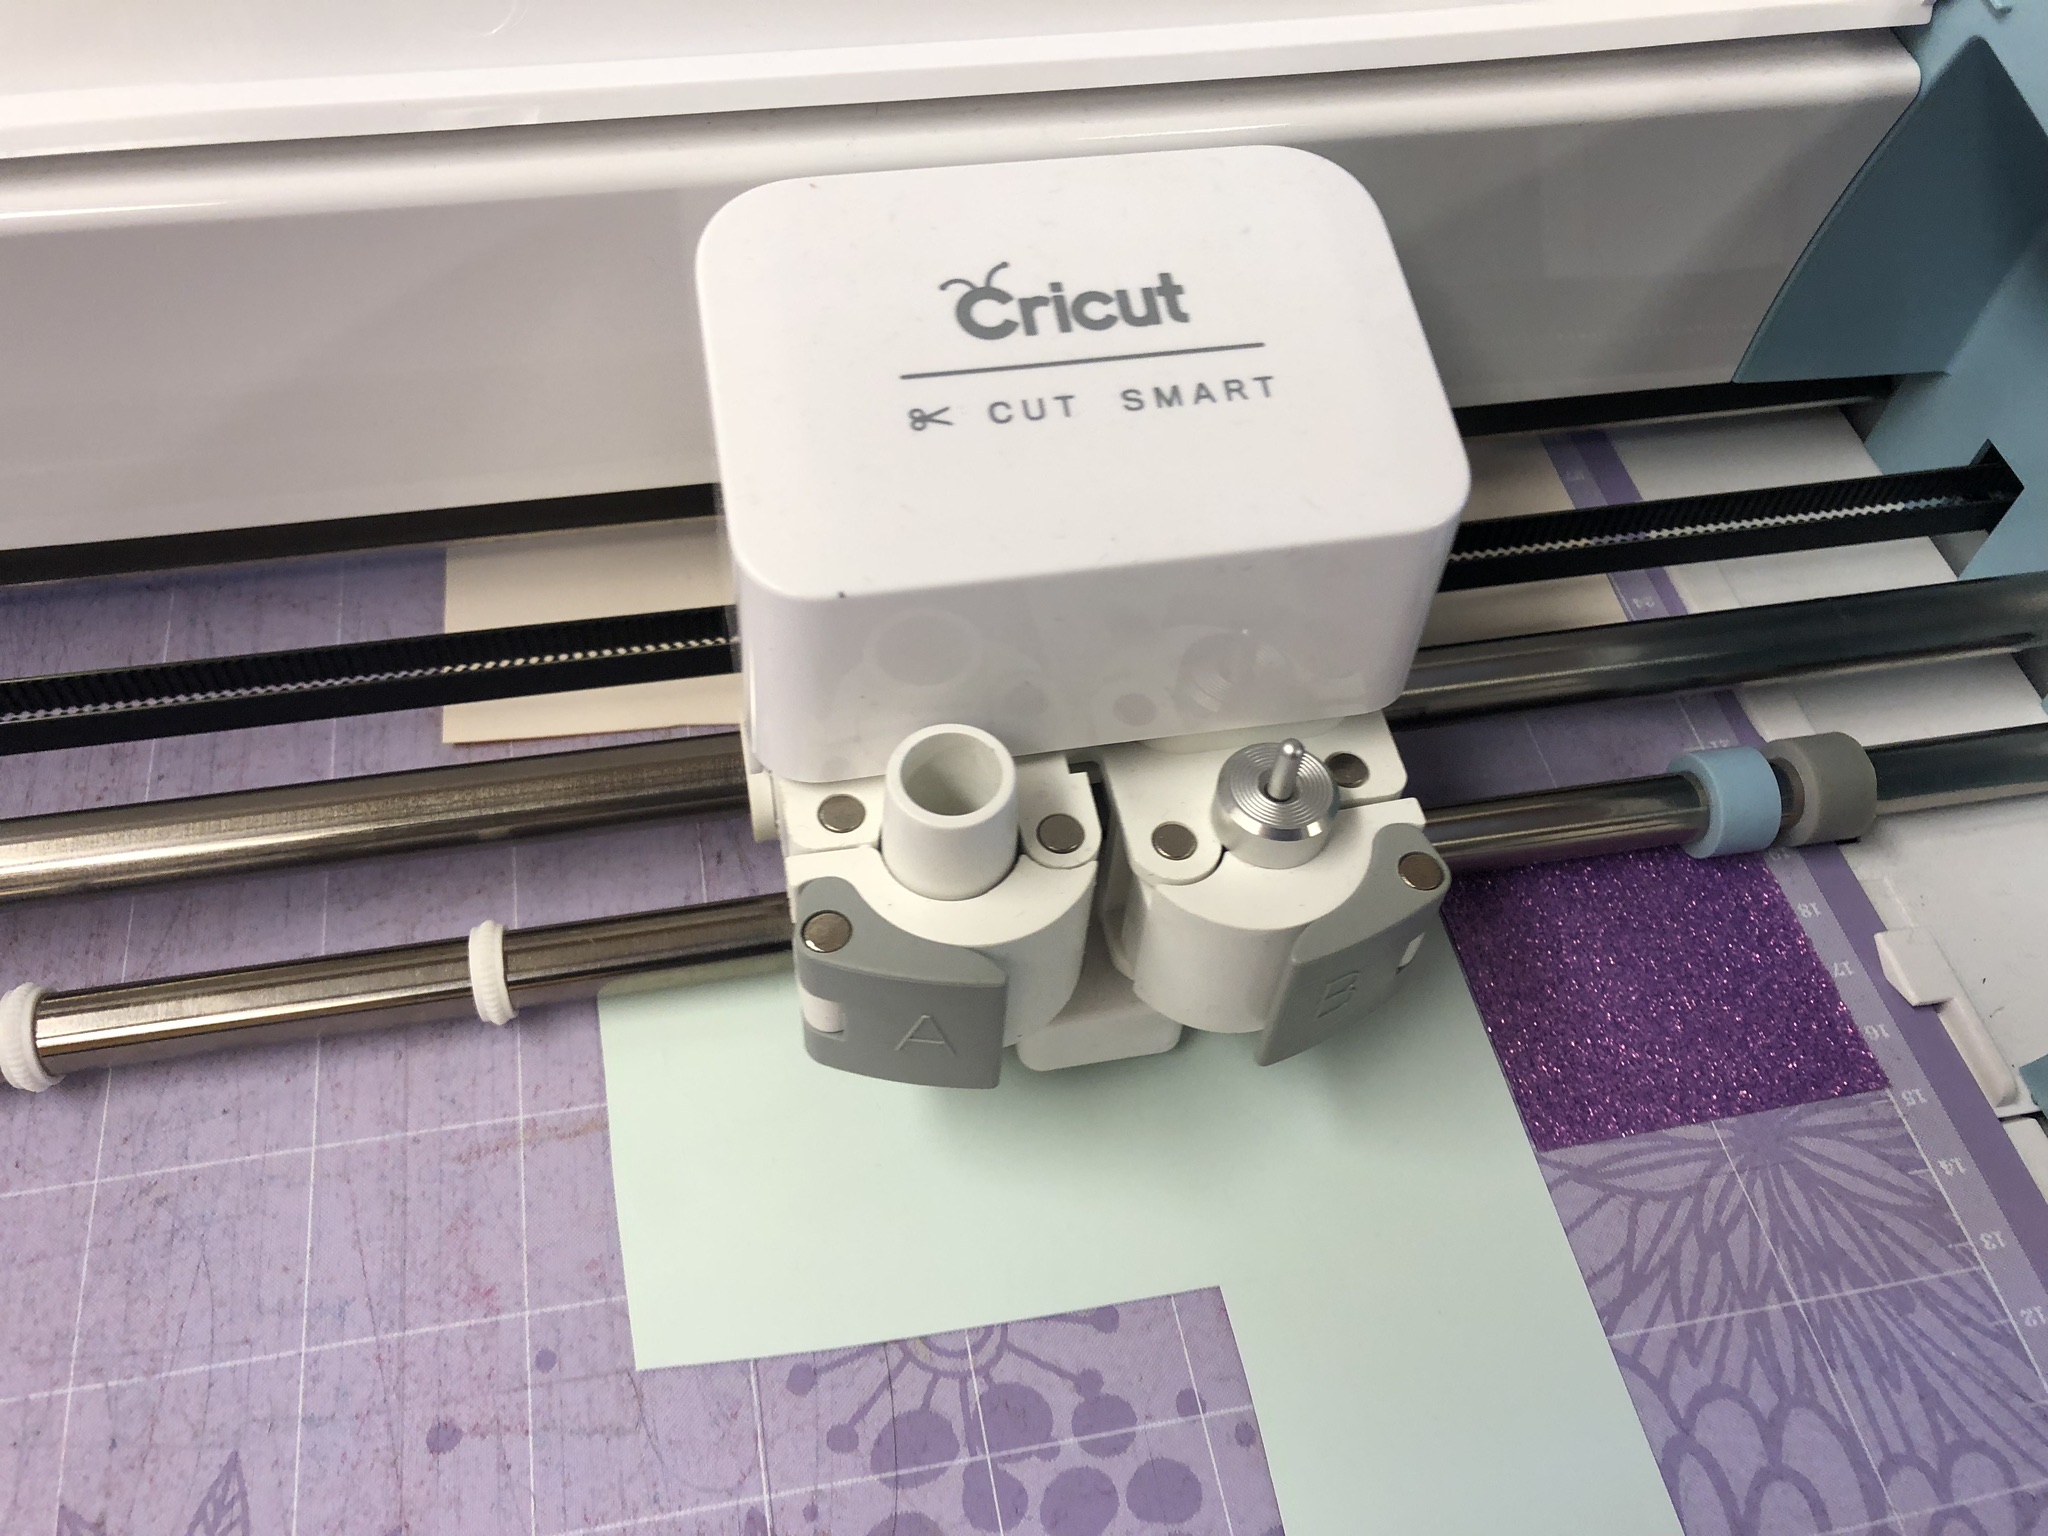
Now let me just say, this project does not need a cricut… it just speeds up the process and meant I didn’t have to cut everything out by hand.
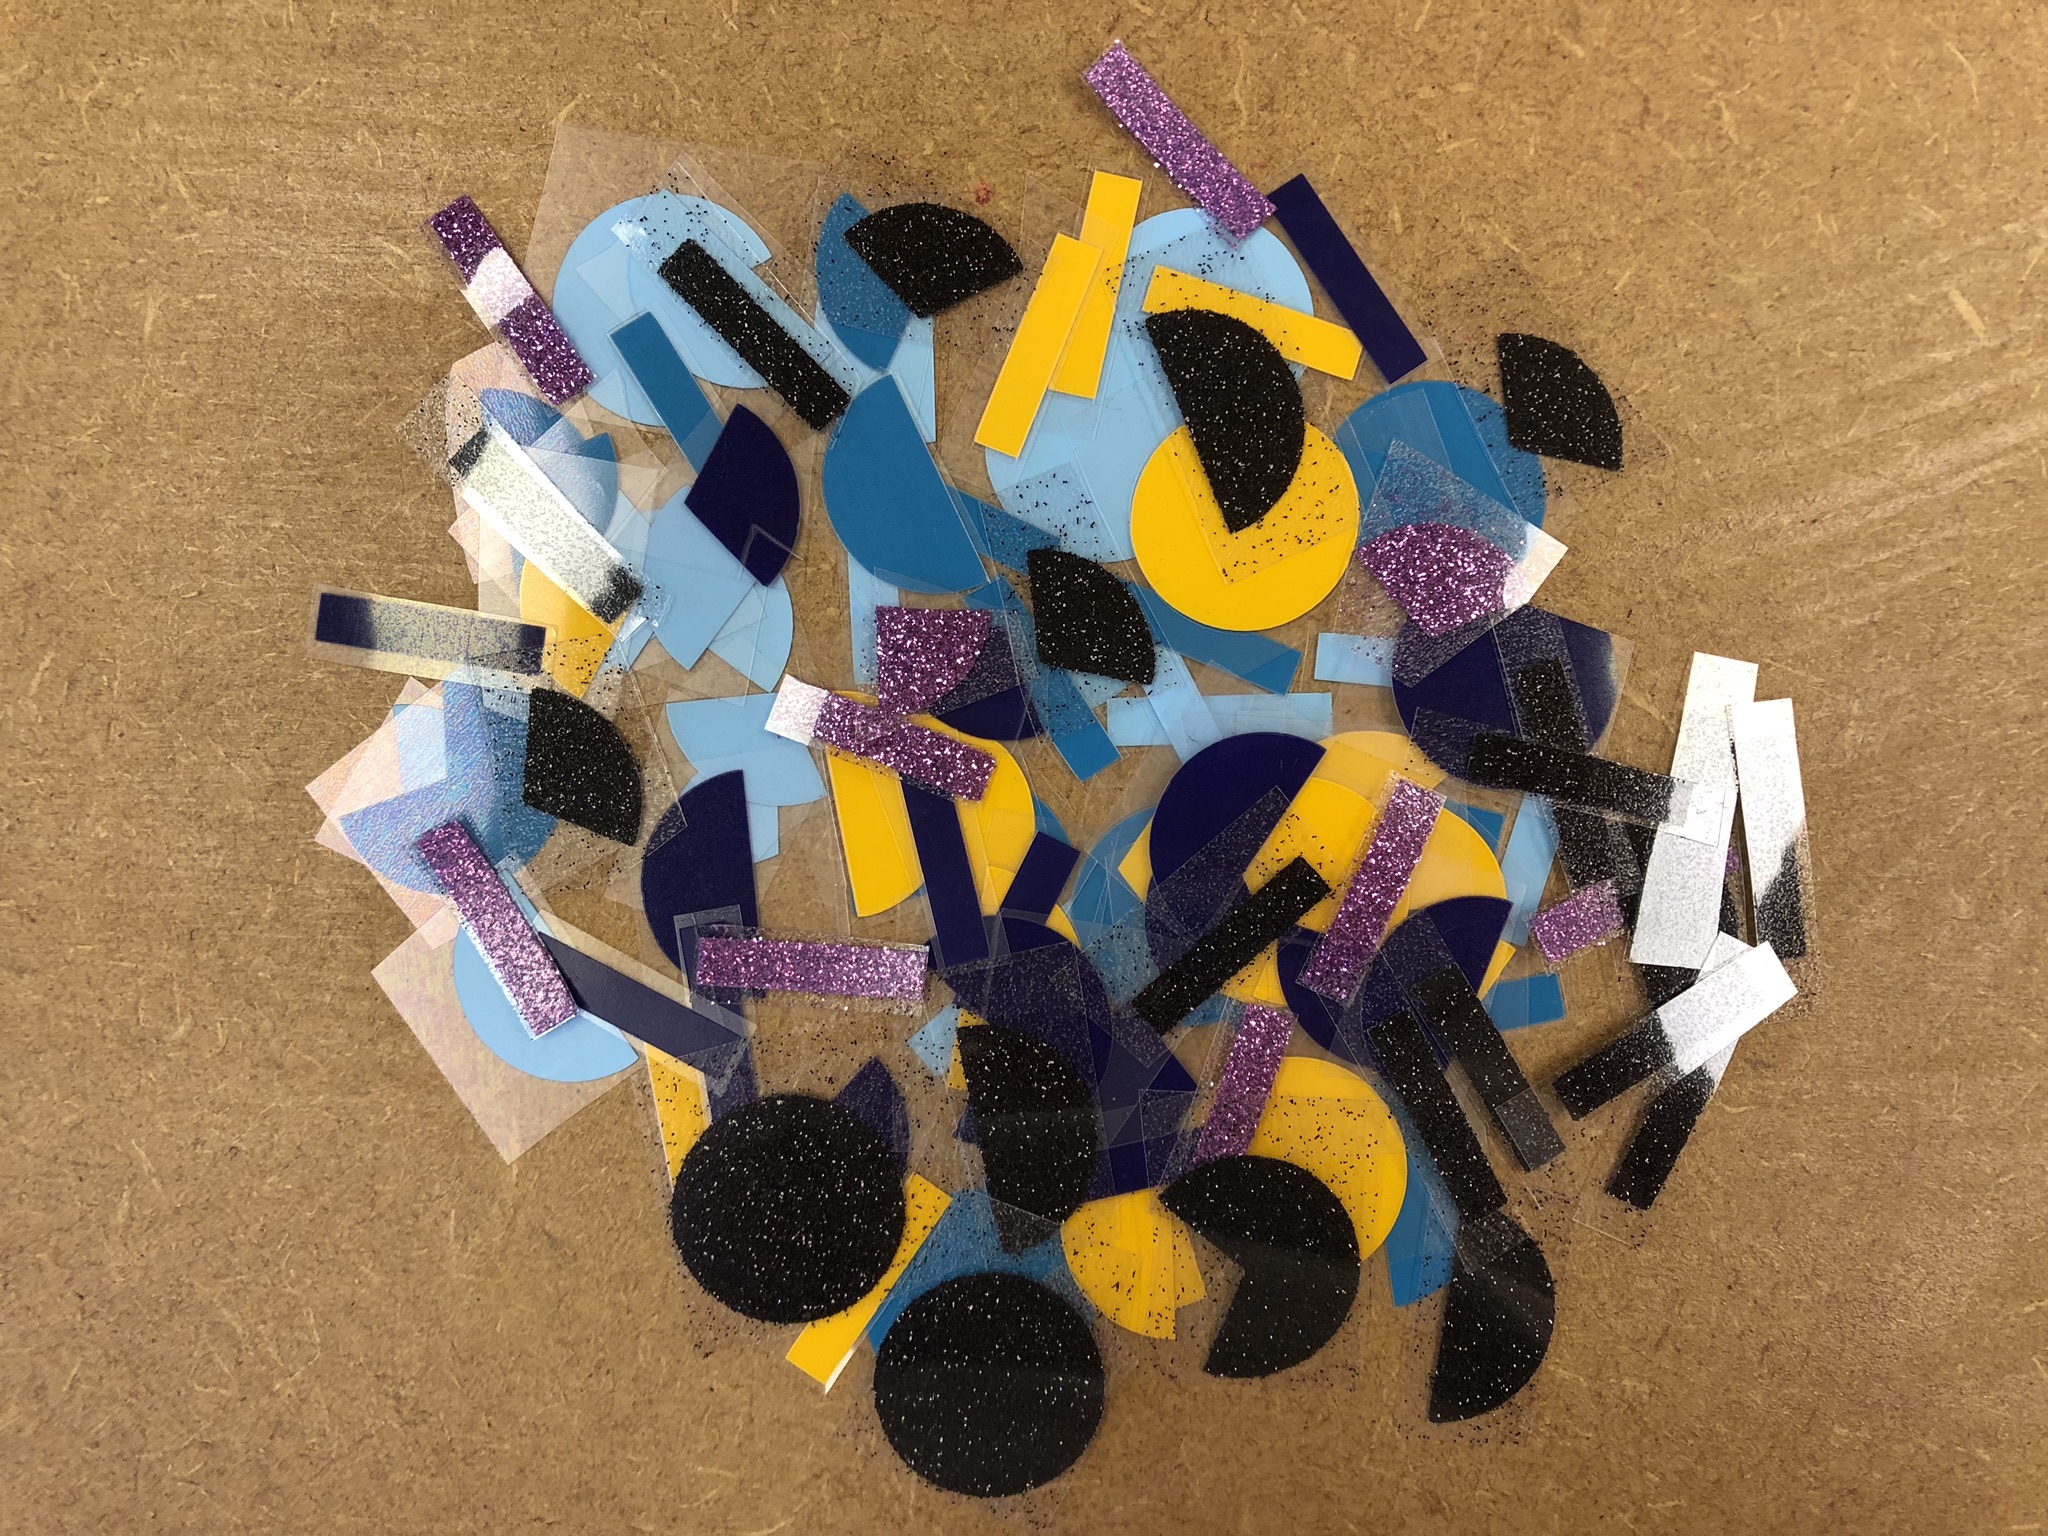
I used this project as a way of using up some of my scrap pieces of vinyl. After choosing the colours I wanted to include I sat myself down at the computer to create the shapes I wanted and most importantly the size of each piece. I decided 1” circles and 1” x 1/4” rectangles was what I was after (of course literally any shape would work). I cut some of the circles in to halves and quarter/three-quarter pieces to emulate that folded/torn confetti look, after setting up the machine it was off whirring away.
If making this without a cricut I would create templates and then begin cutting out the vinyl using either scissors or a knife.
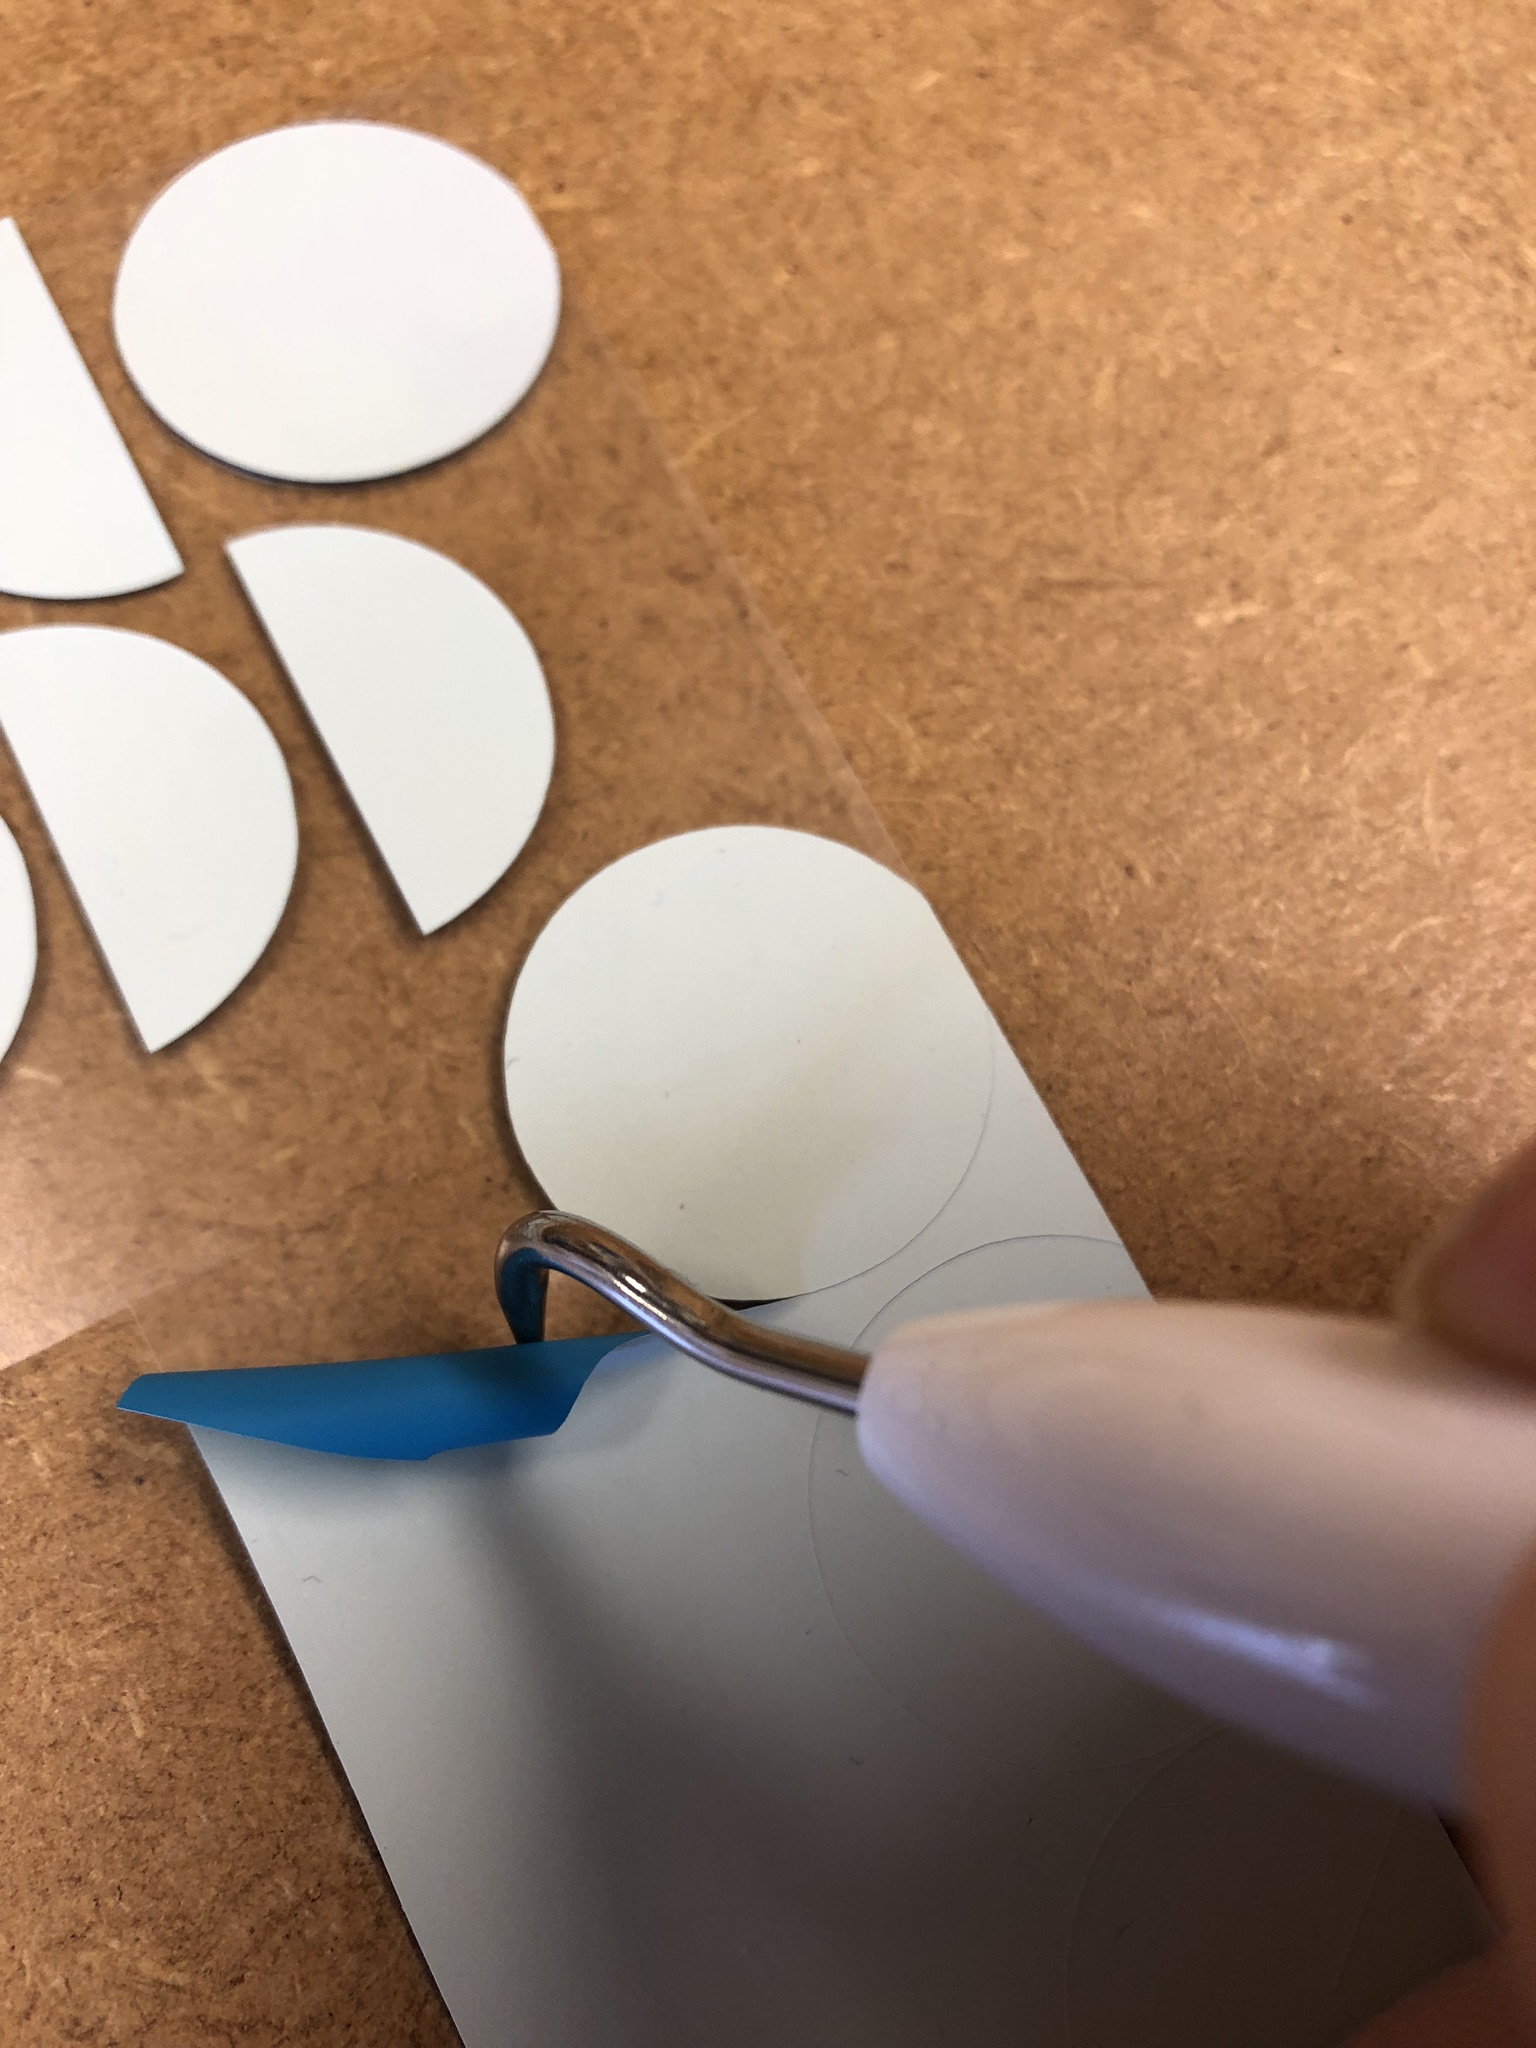
Iron-on vinyl comes as 2 layers, the actual vinyl and a clear backing that gets removed after it has been ironed on. The cricut only cuts the coloured vinyl, meaning you can weed away the vinyl you don’t want leaving you just with what you wanted. This is particularly great for text as it keeps them spaced out and lined up as they were. This is less crucial with a project like this but it did mean that I had larger pieces of backing attached to each piece that made it easier to remove once fused on.
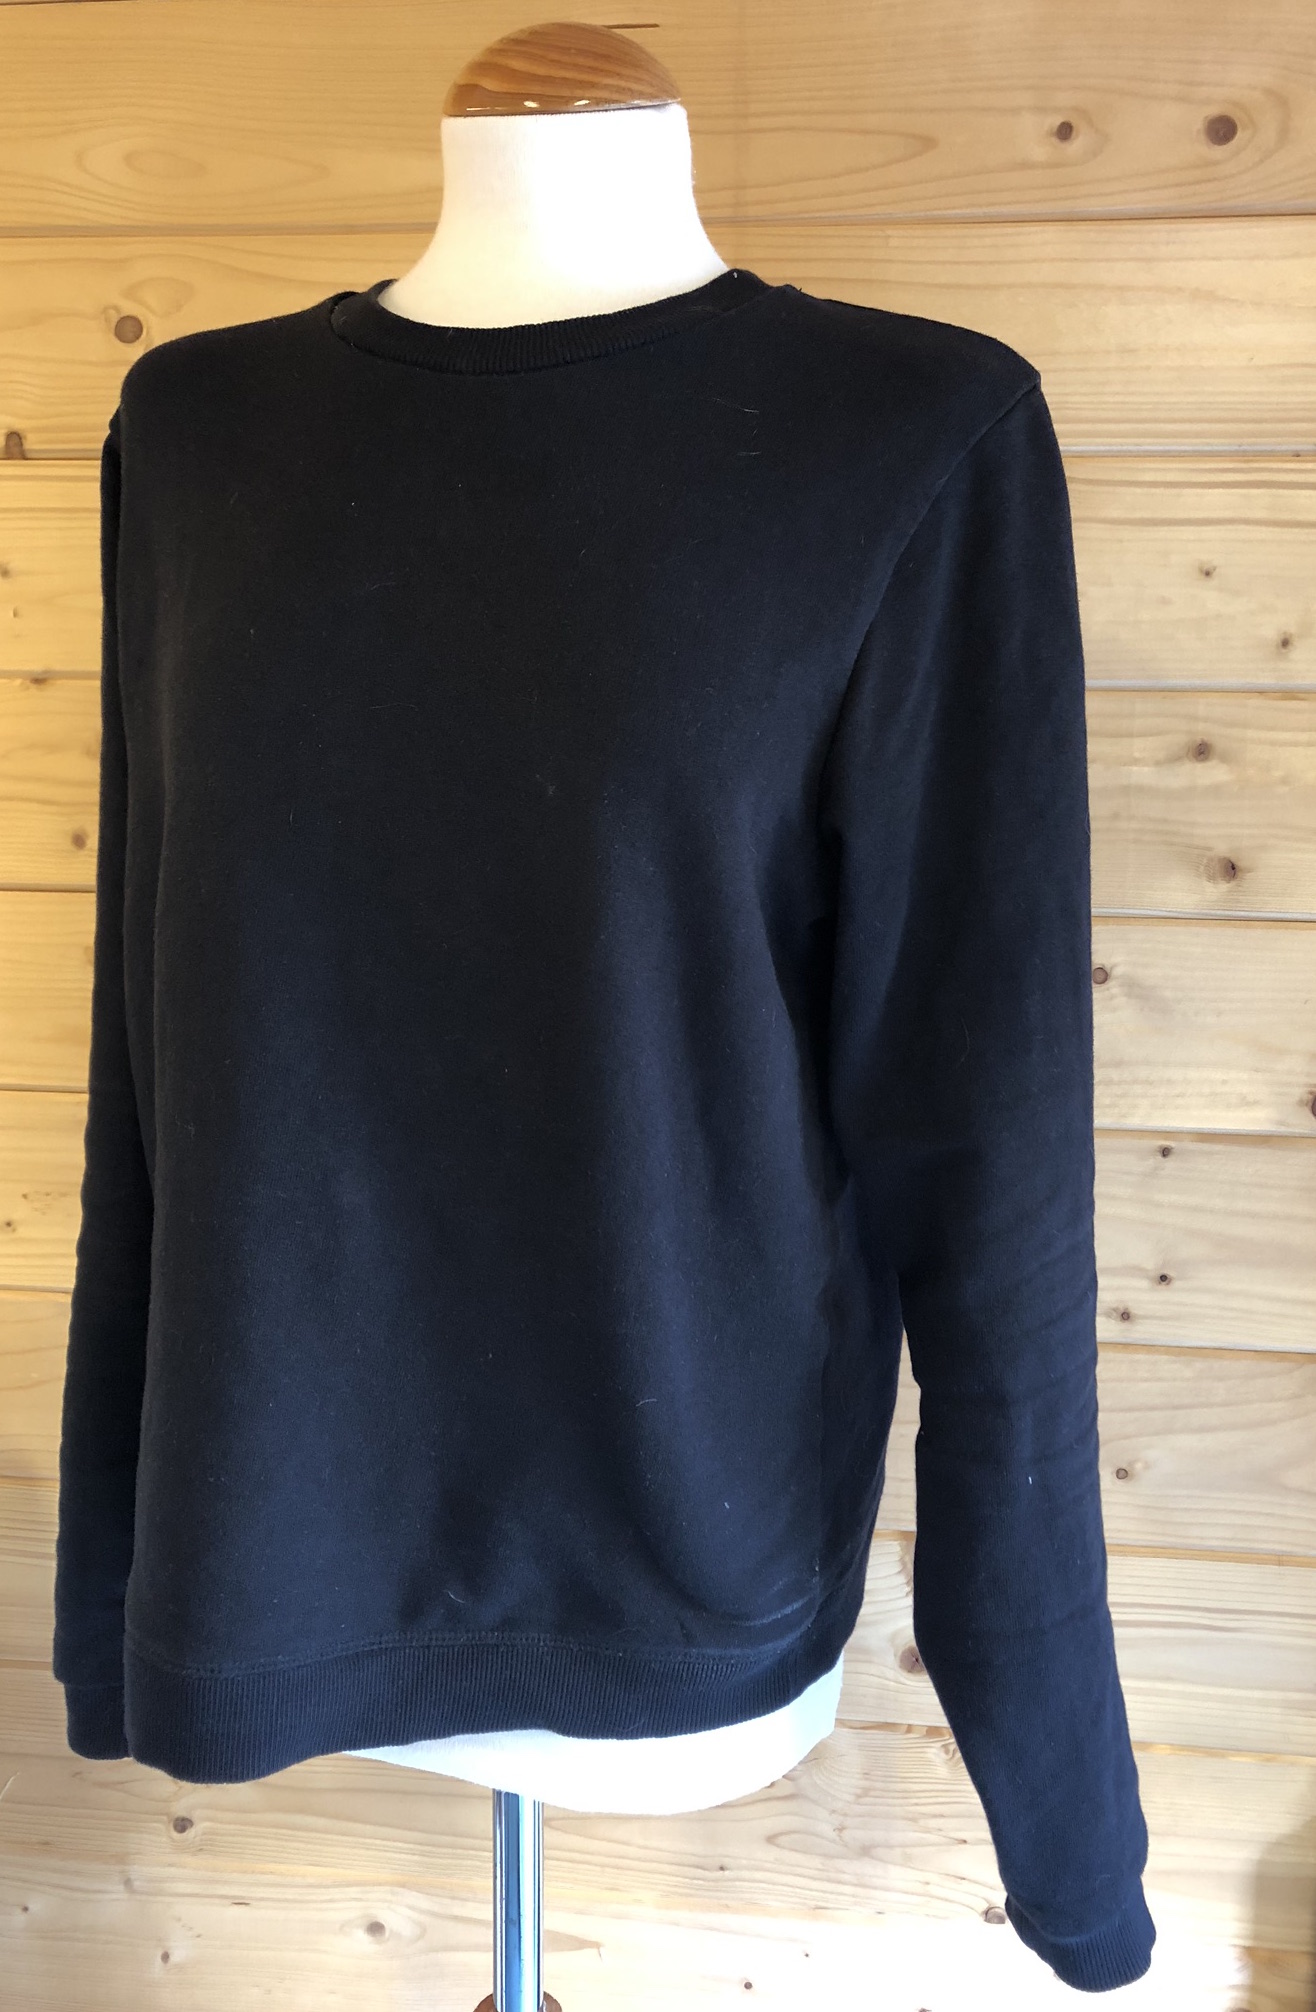
So I had a pile of coloured shapes of vinyl, and a plain jumper… the next debate is where to put them! Fortunately, I had a plan… I liked the idea of an asymmetric design where the confetti went from a shoulder and predominately just down one arm, so that’s what I set about doing.
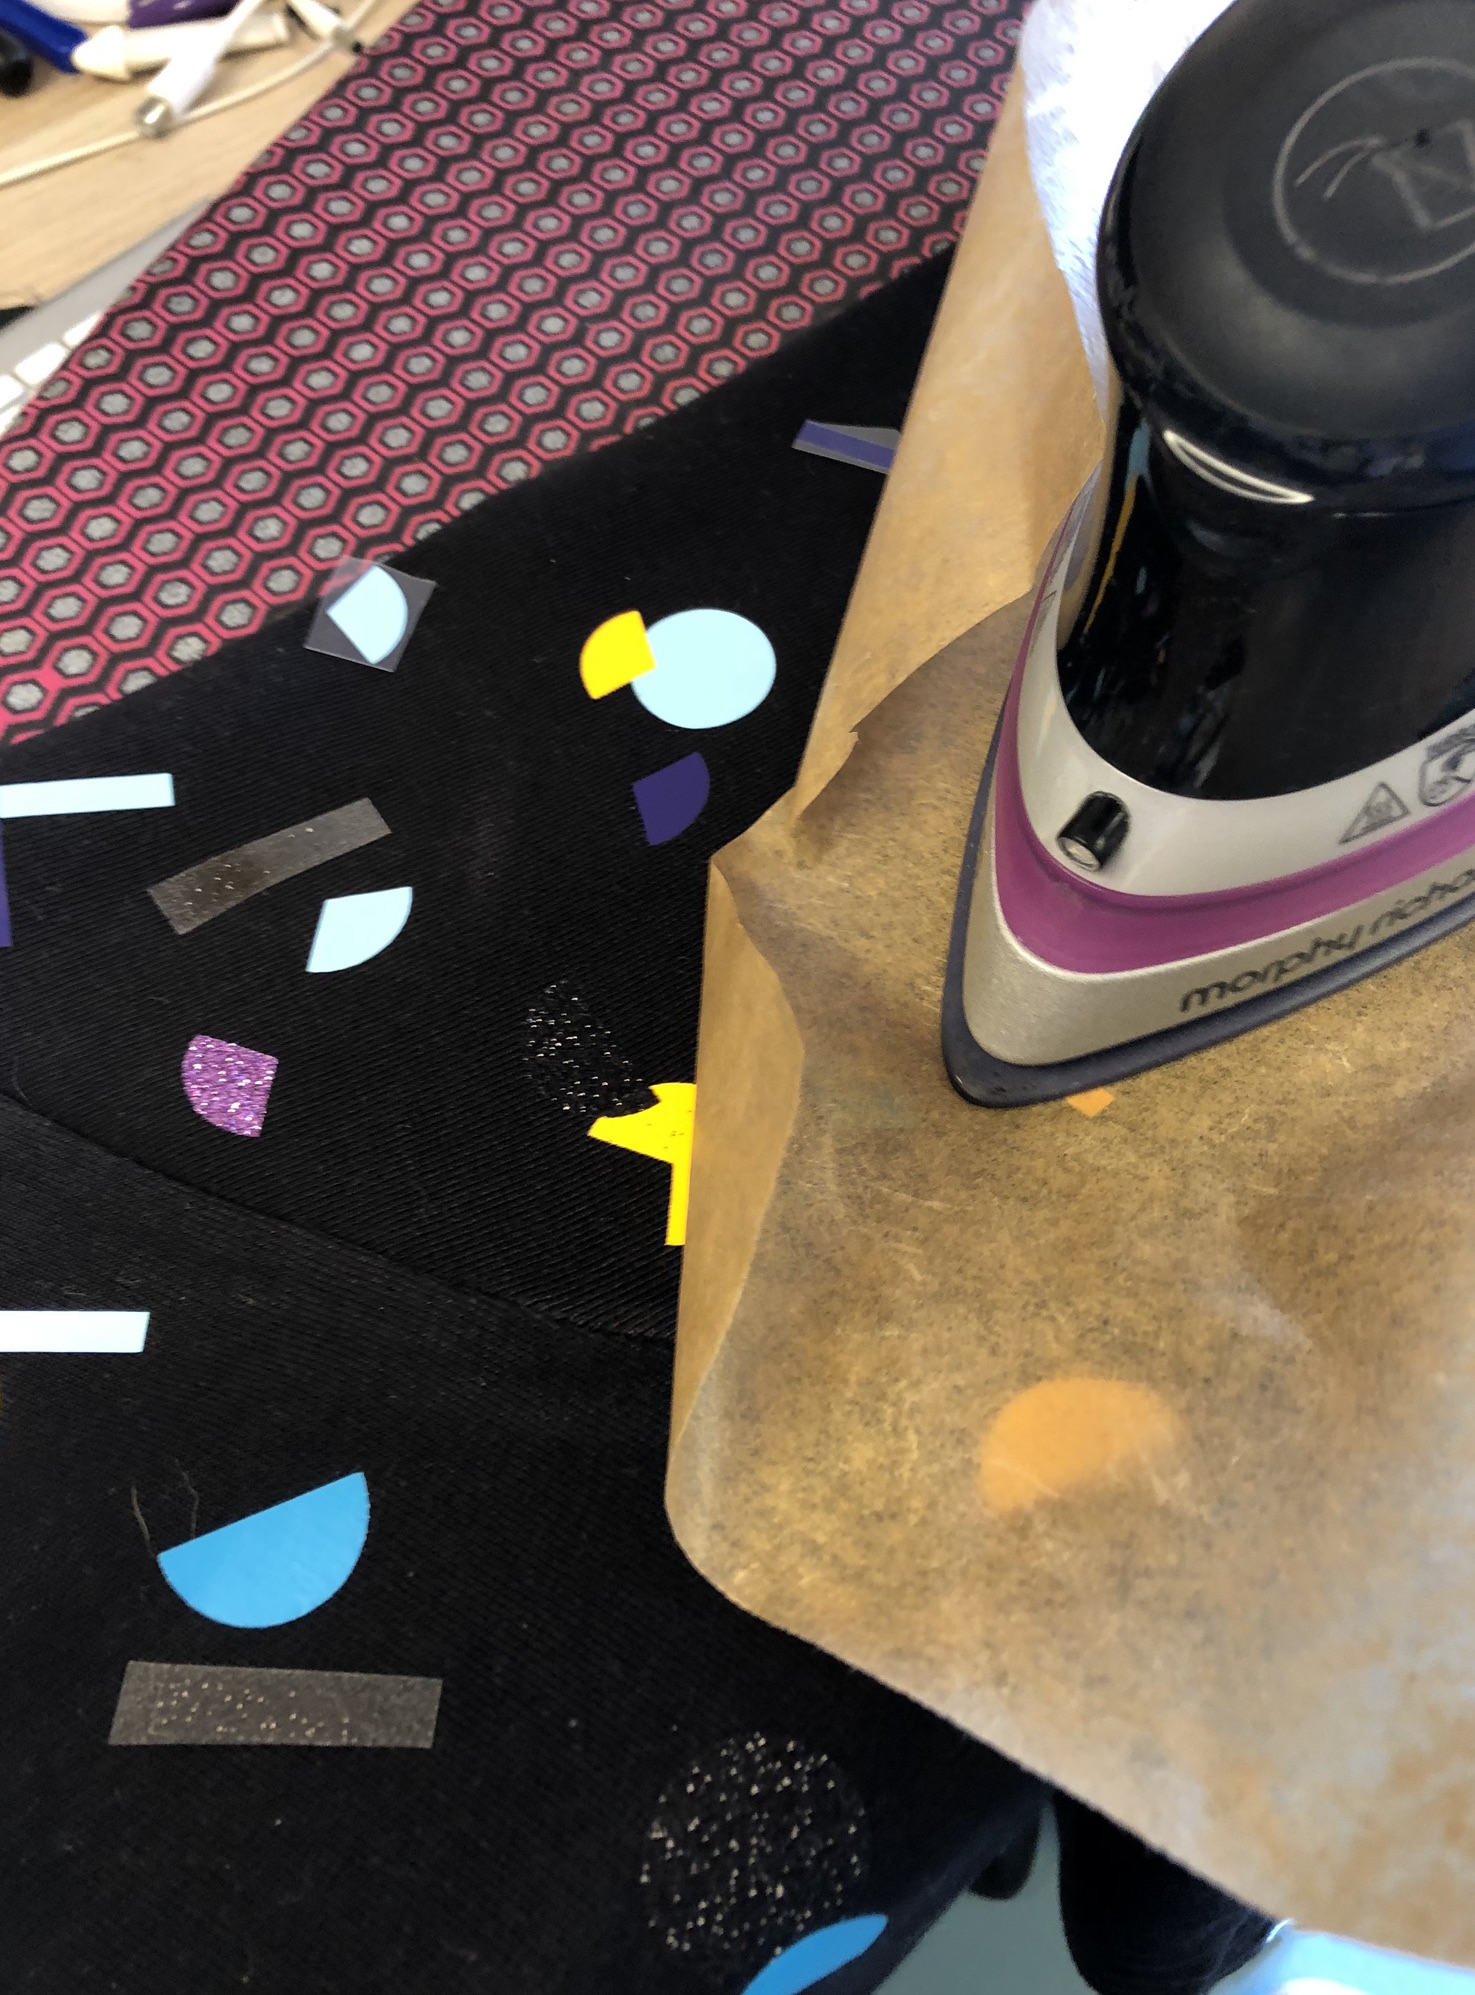
The tricky part about doing this, is making it look random! The only advice I can give for this is just don’t over-think it. I place a few down at a time, place a piece of baking paper over the top (to protect the vinyl from the iron) and then ironed those on. I’d then remove the backing from each and then place the next few, repeating the process till I had used up all my confetti pieces. My aim was to have the pieces more tightly together up the top and then spreading out towards the cuff (making sure to keep positioning the jumper in different ways so there wasn’t a solid blank line at the top where it had been folded). A good thing to do once they’re all attached is to turn it inside out and give it a really good ironing to ensure everything is really well fused on.
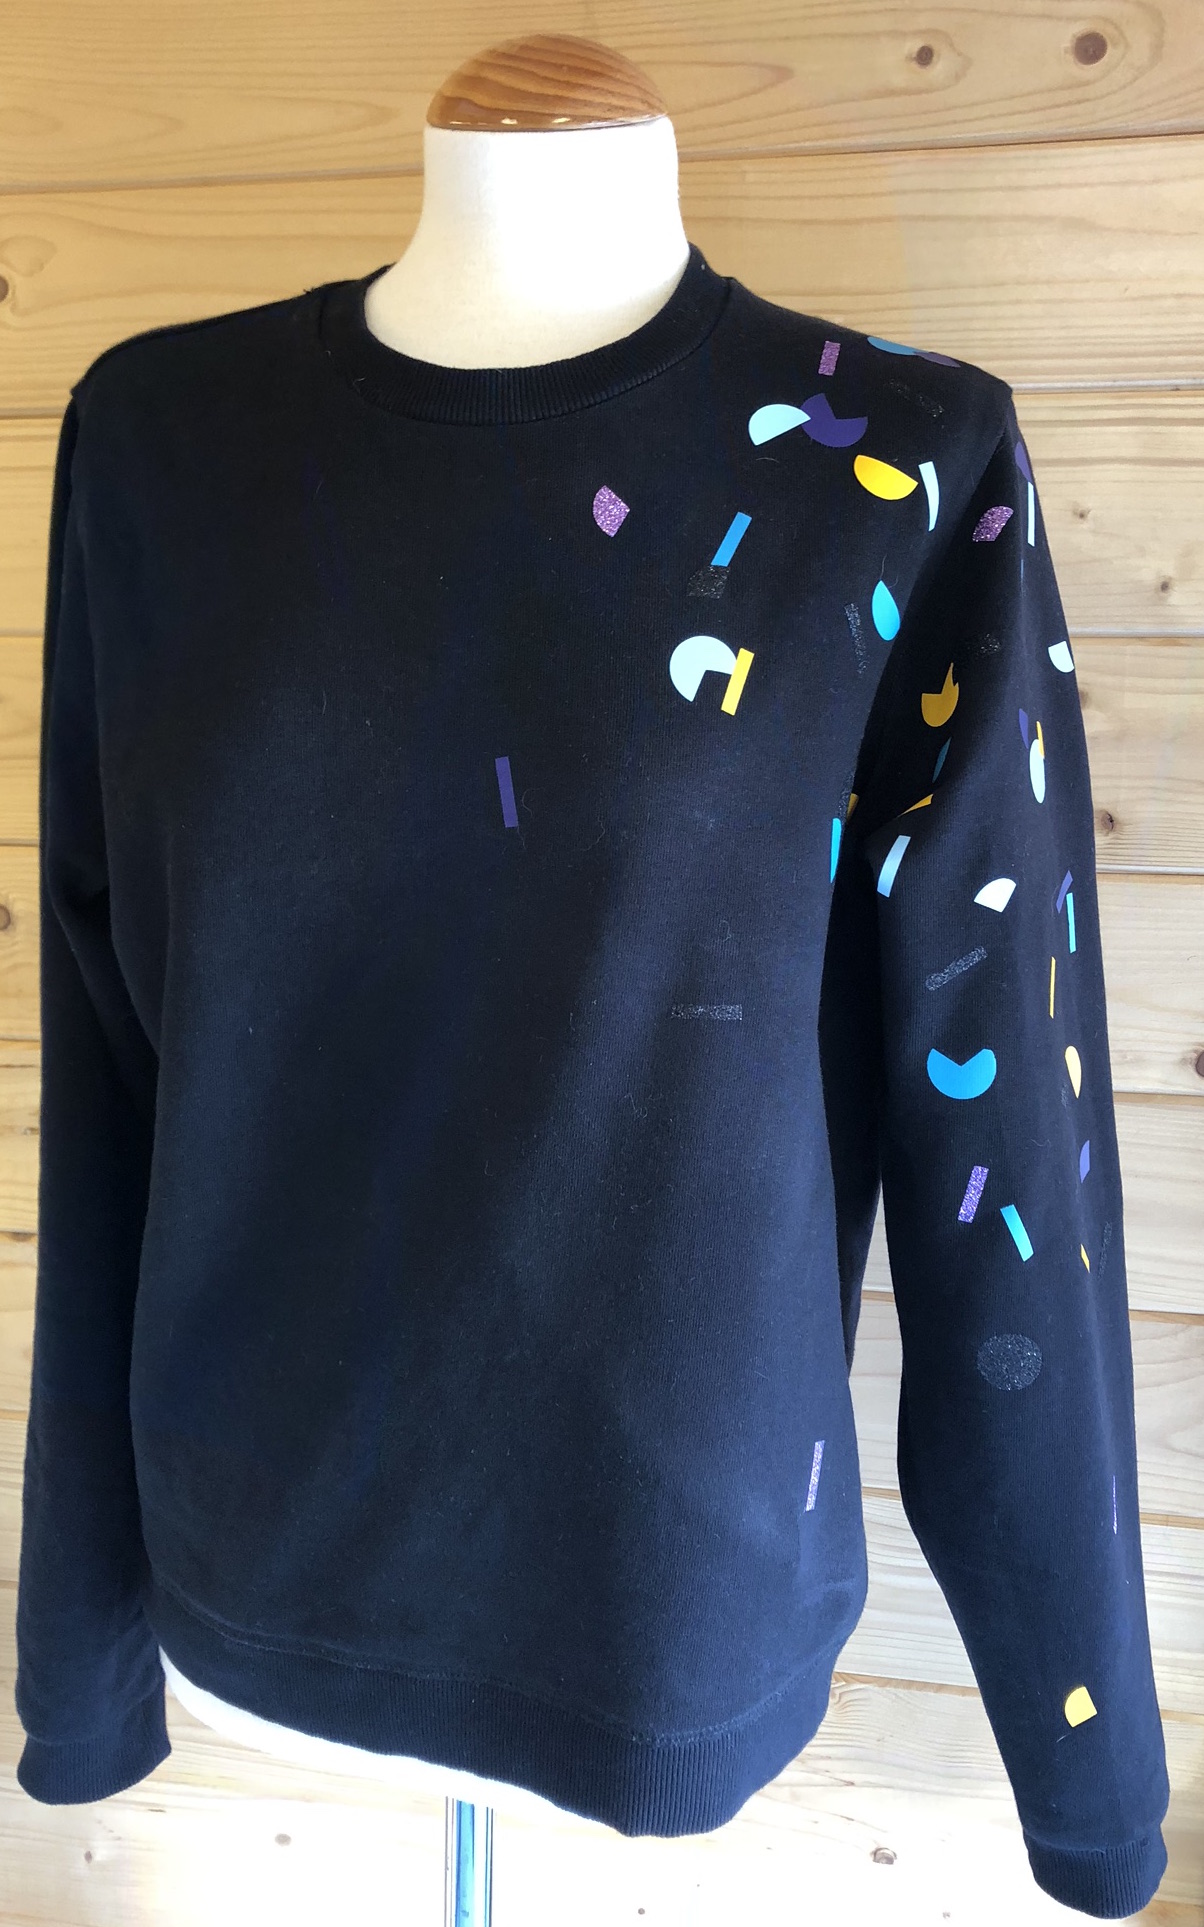
And that’s it! That is as complicated as this project gets. I’m thrilled with how its come out though, it has done exactly what I wanted it to do to the very plain jumper in really making it pop and stand out. We’ll ignore the comment my partner made about looking like my son had just covered me in stickers, my vision was clearly just lost on him (Men eh!)
Iron-on vinyl is so versatile and I’ve used it for lots of different things over the years, its a great thing to have in the stash for adding a little logo/image to quite frankly anything. I have brought it from various places, and it does come in different qualities in my opinon so I’ll link a couple of options that I know are great: Cricut, Yolo Creative
This fabric is just so me isn’t it, but the fun here is its part of the print on demand service from Minerva.com so I
The Style Arc Hope Dress is super versatile with the extension pattern, and this time I’ve changed the skirt entirely putting on a tiered gathered
The biggest issue I have with the changes to what I understand to be a very British tradition of Christmas crackers in order to make
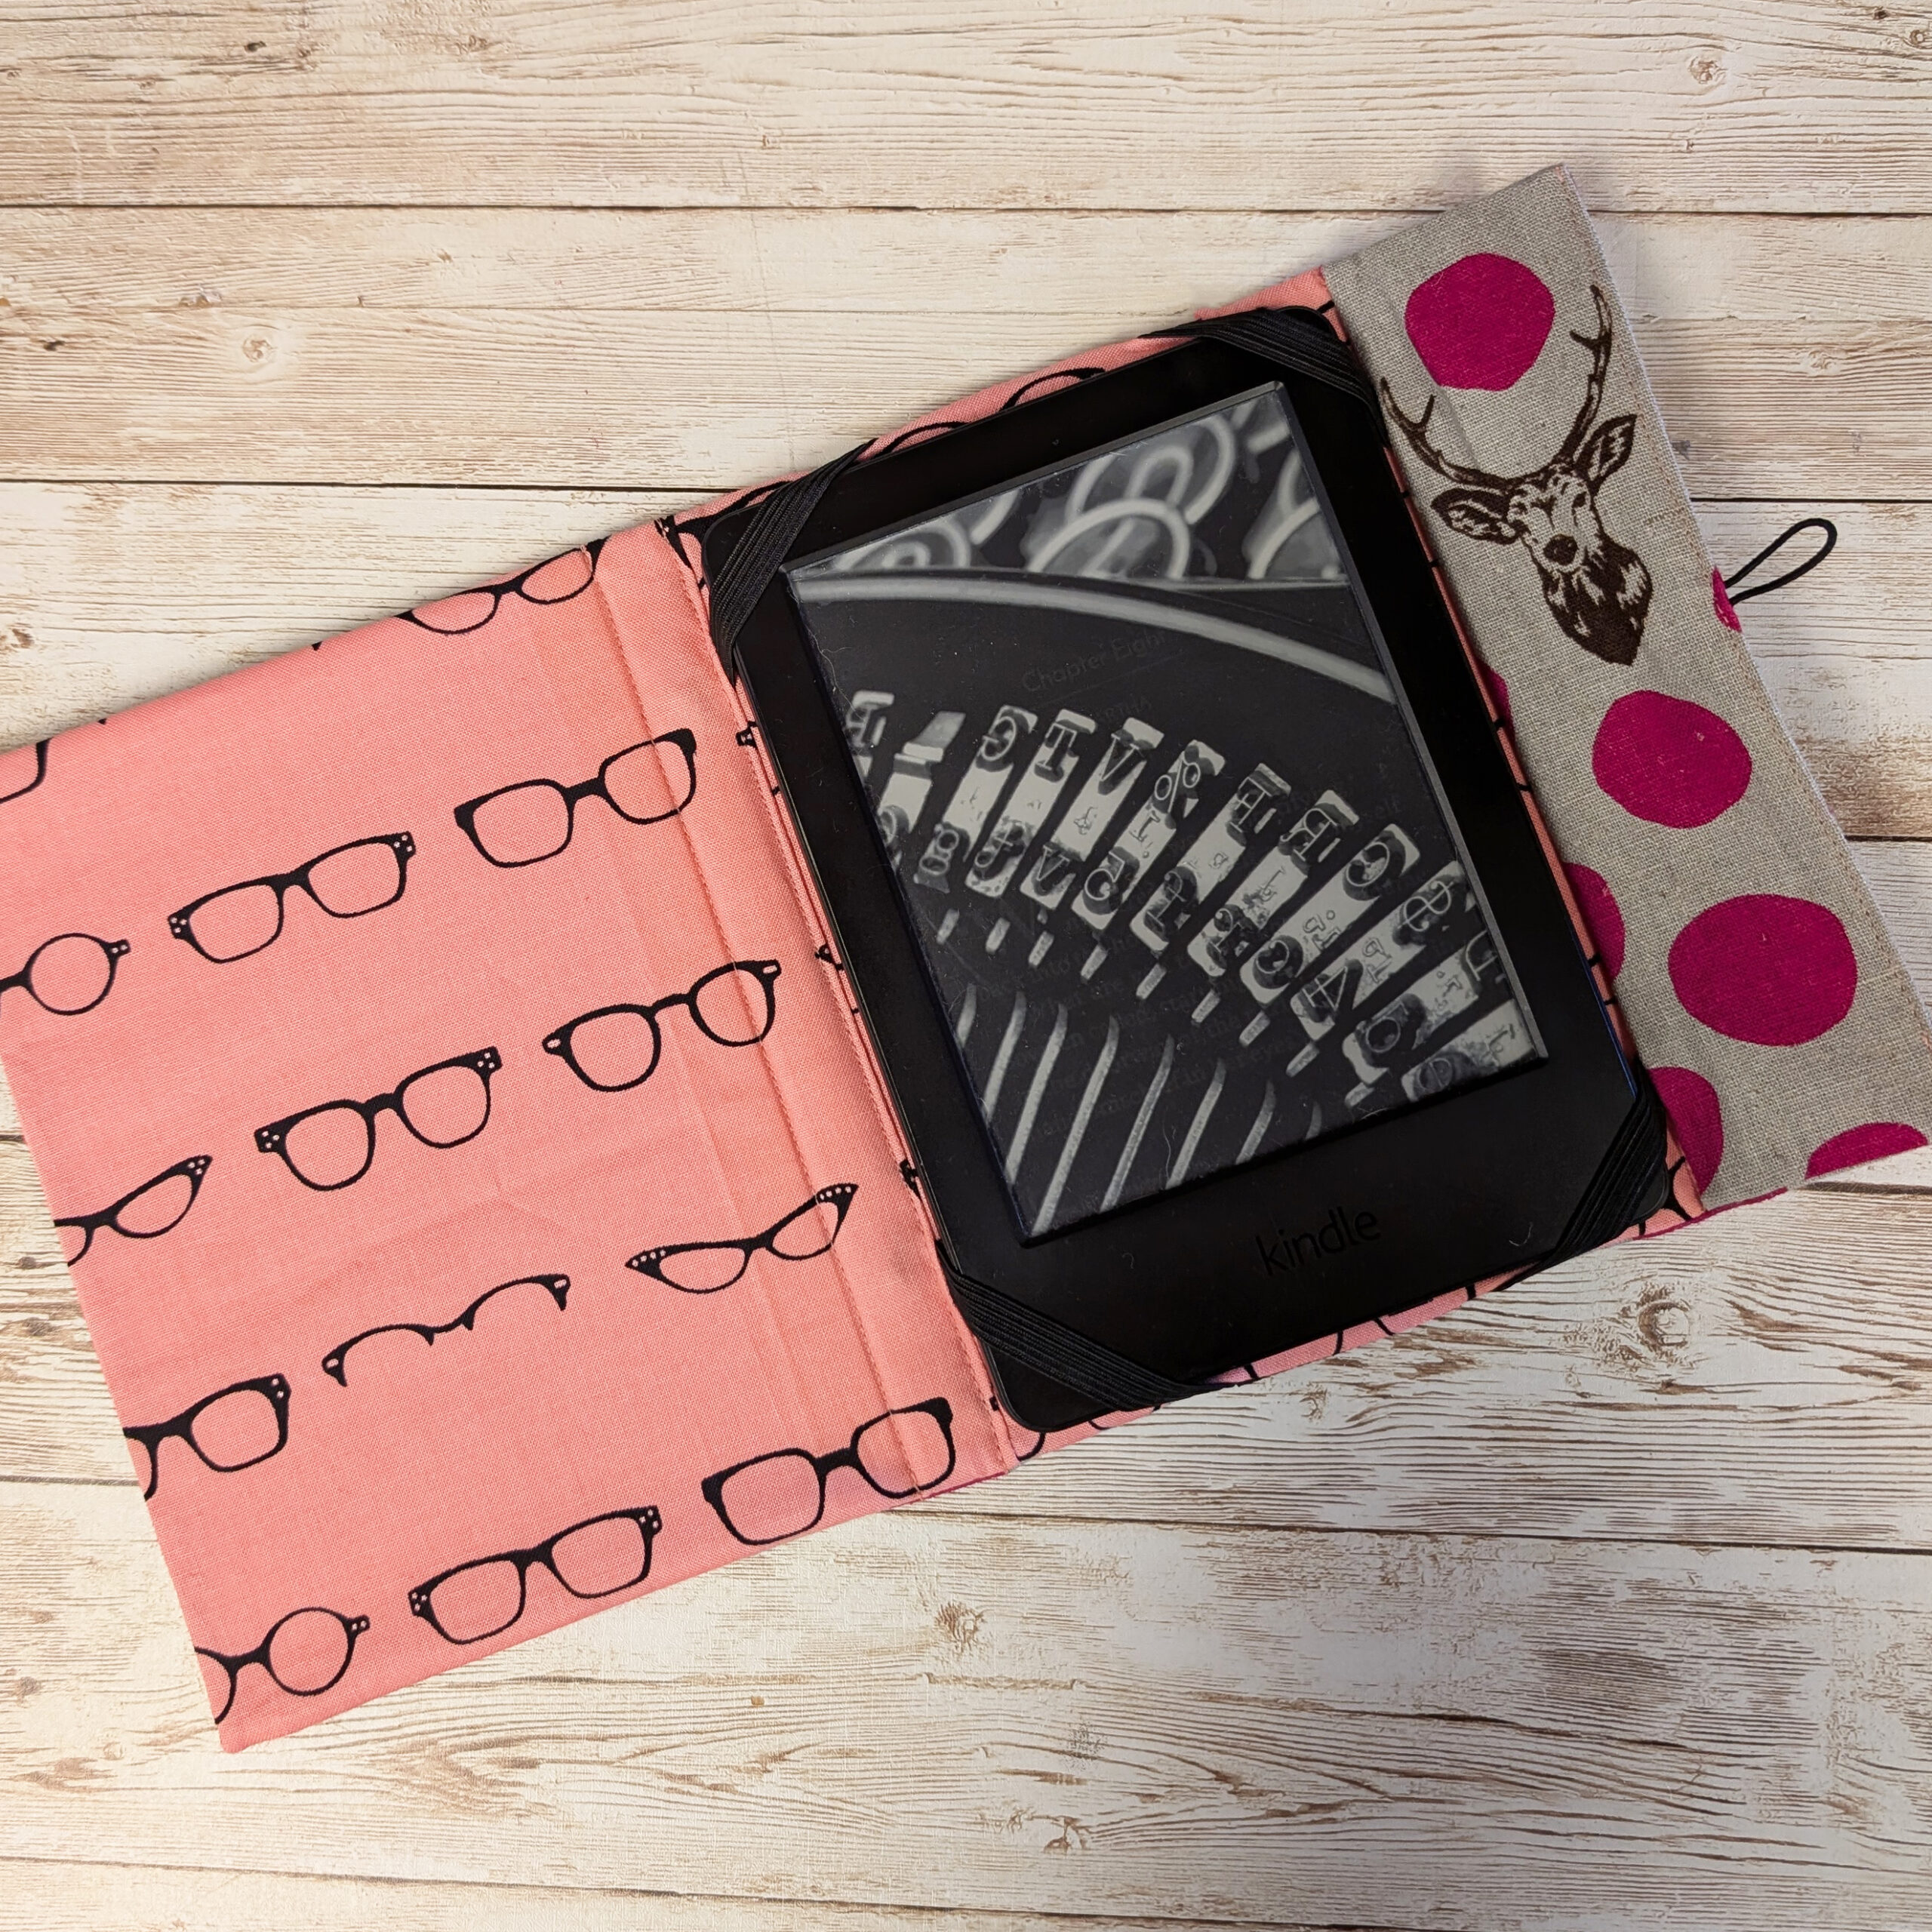
As we begin the run-up to Christmas I thought I’d share a few ideas of things you could make for gifts. I mean this one
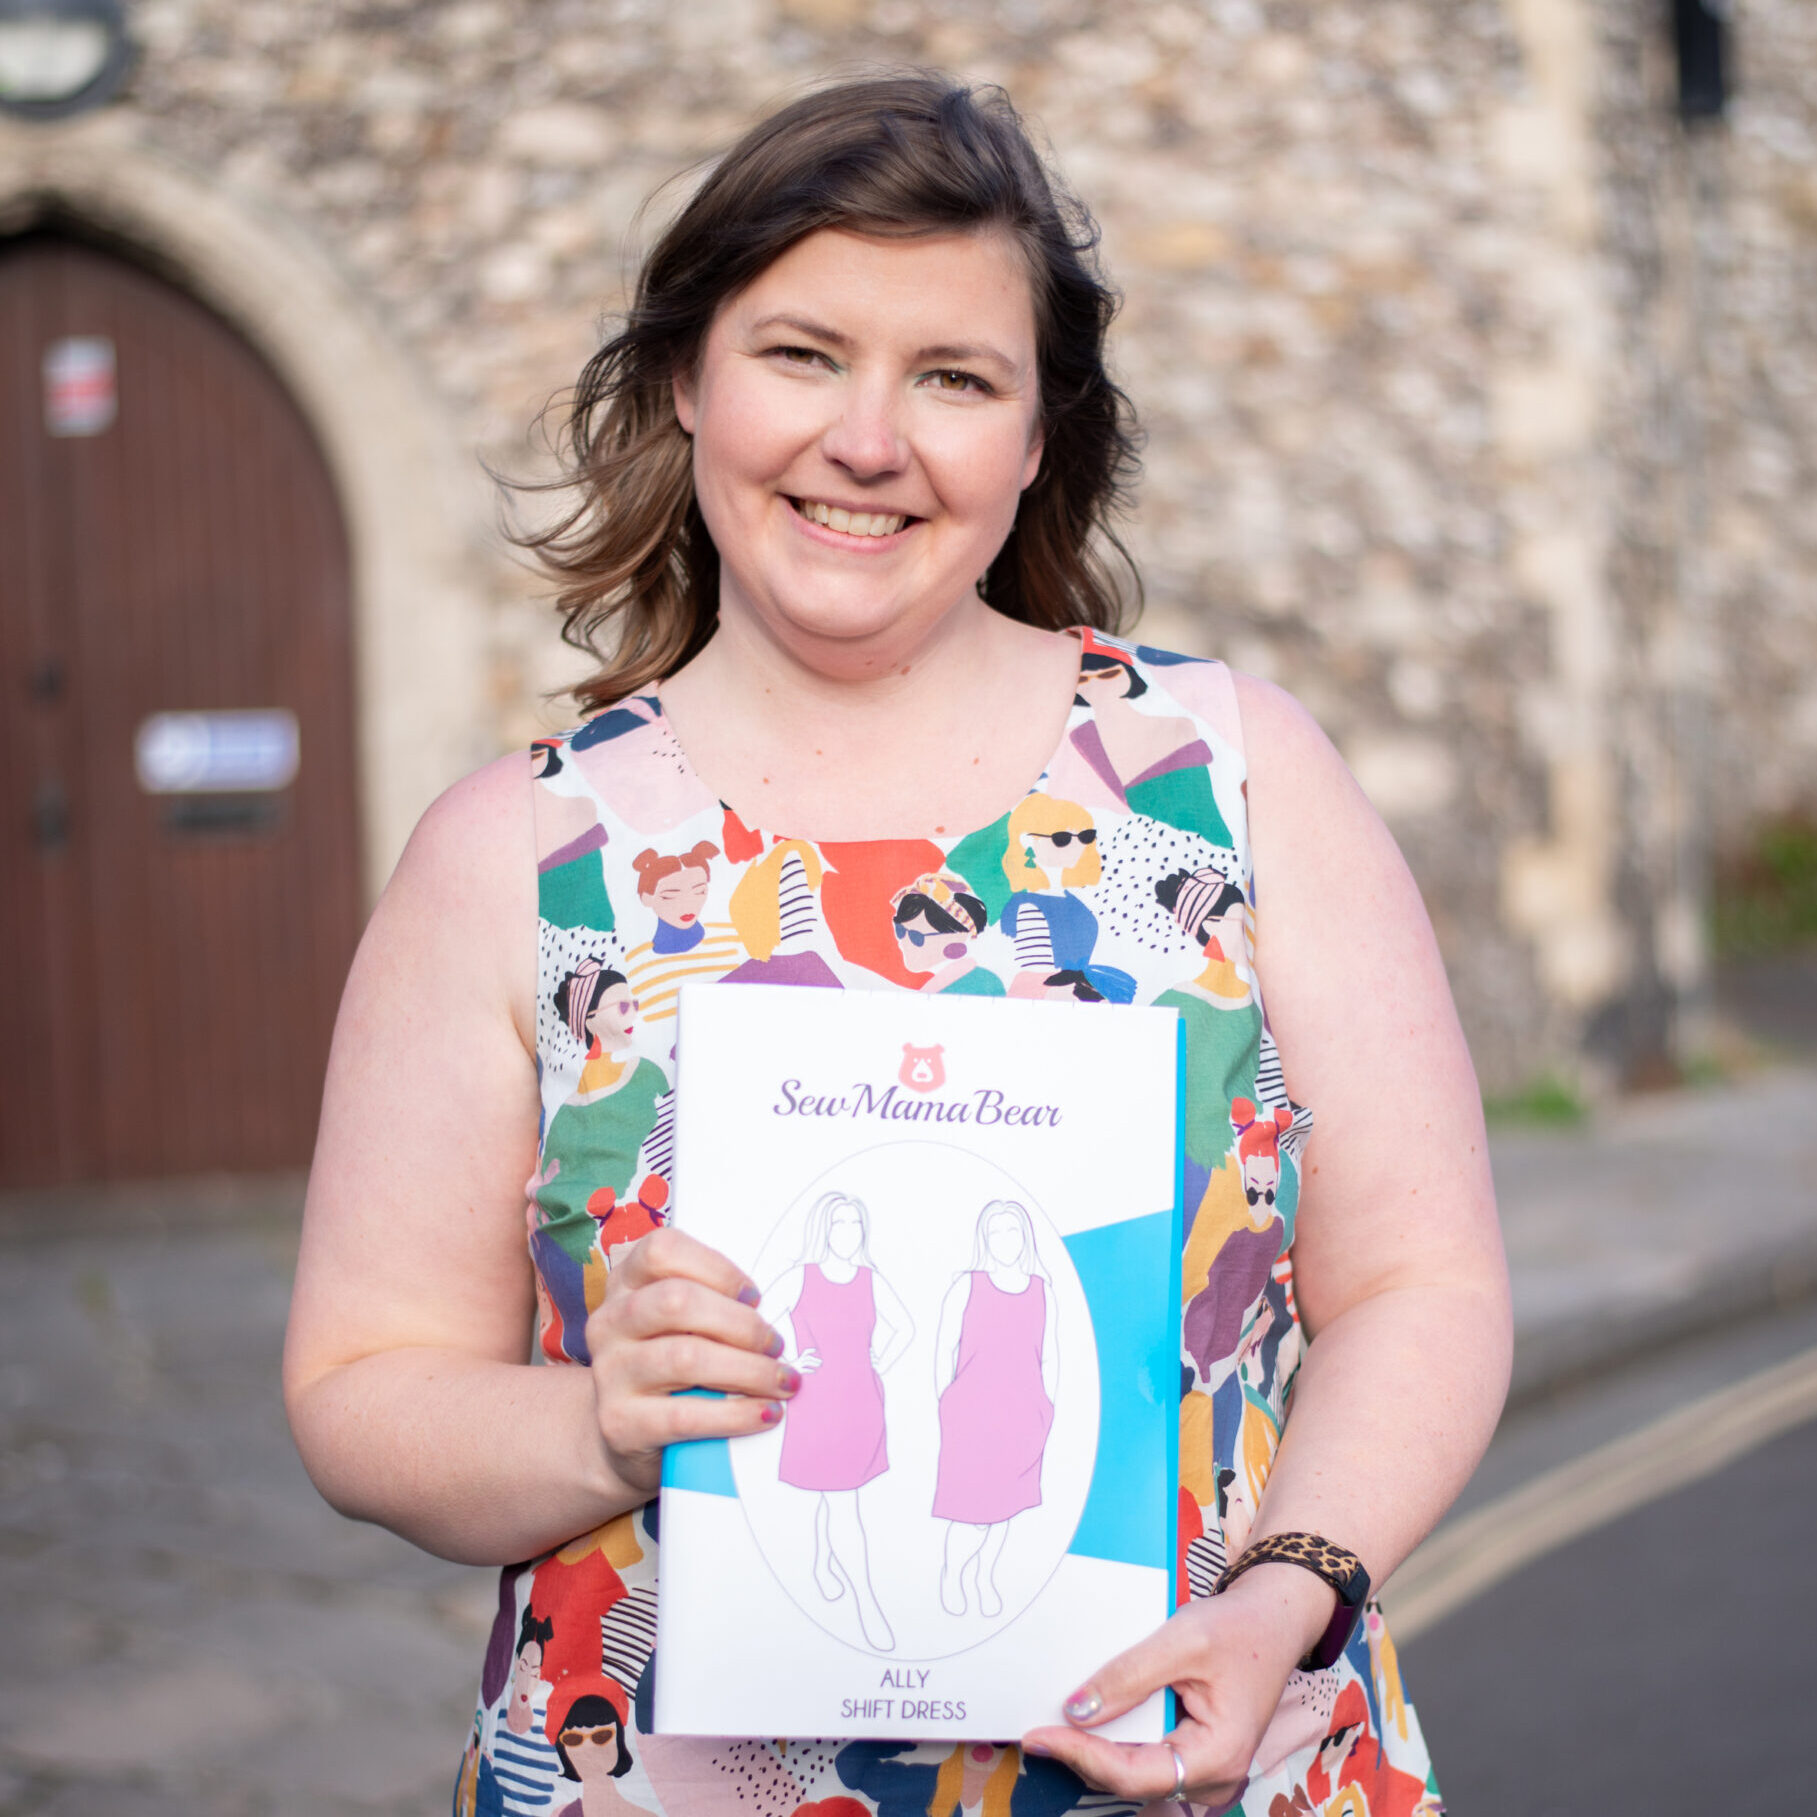
I have been pattern cutting for nearly 2 decades, and it’s something I take a huge amount of joy in… helping people have clothing to