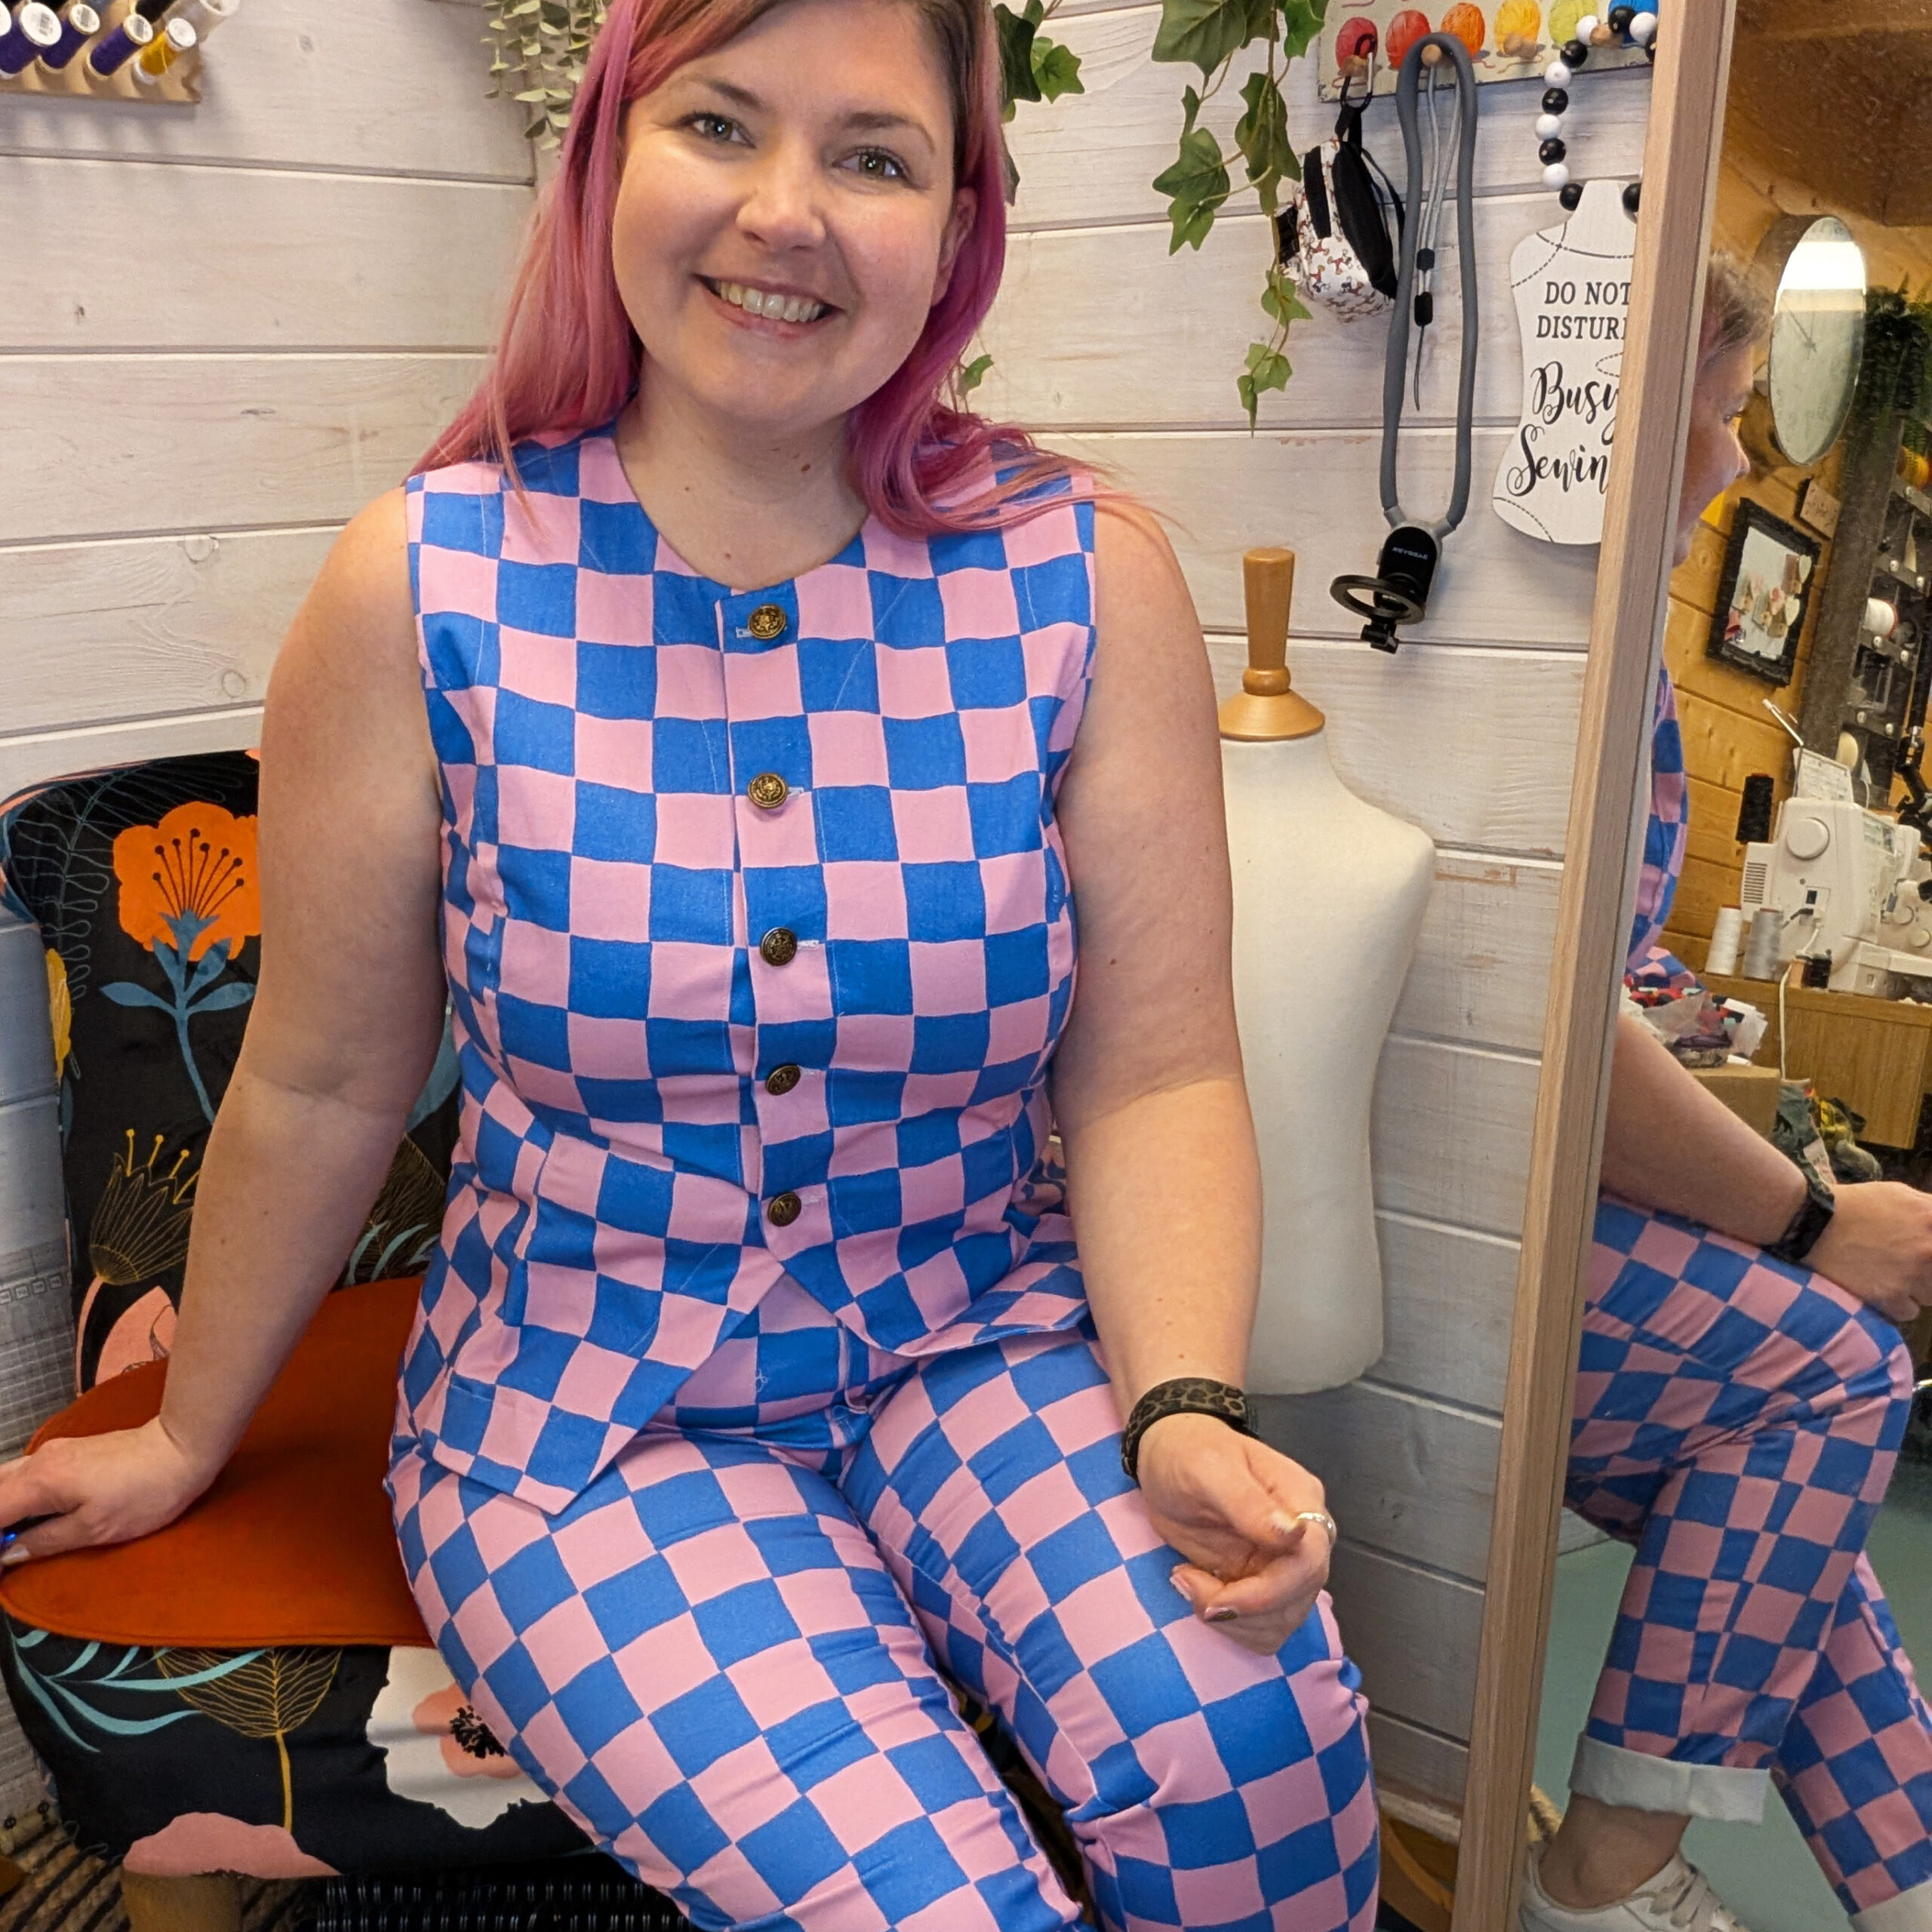
Stretch Denim Coord
This fabric is just so me isn’t it, but the fun here is its part of the print on demand service from Minerva.com so I

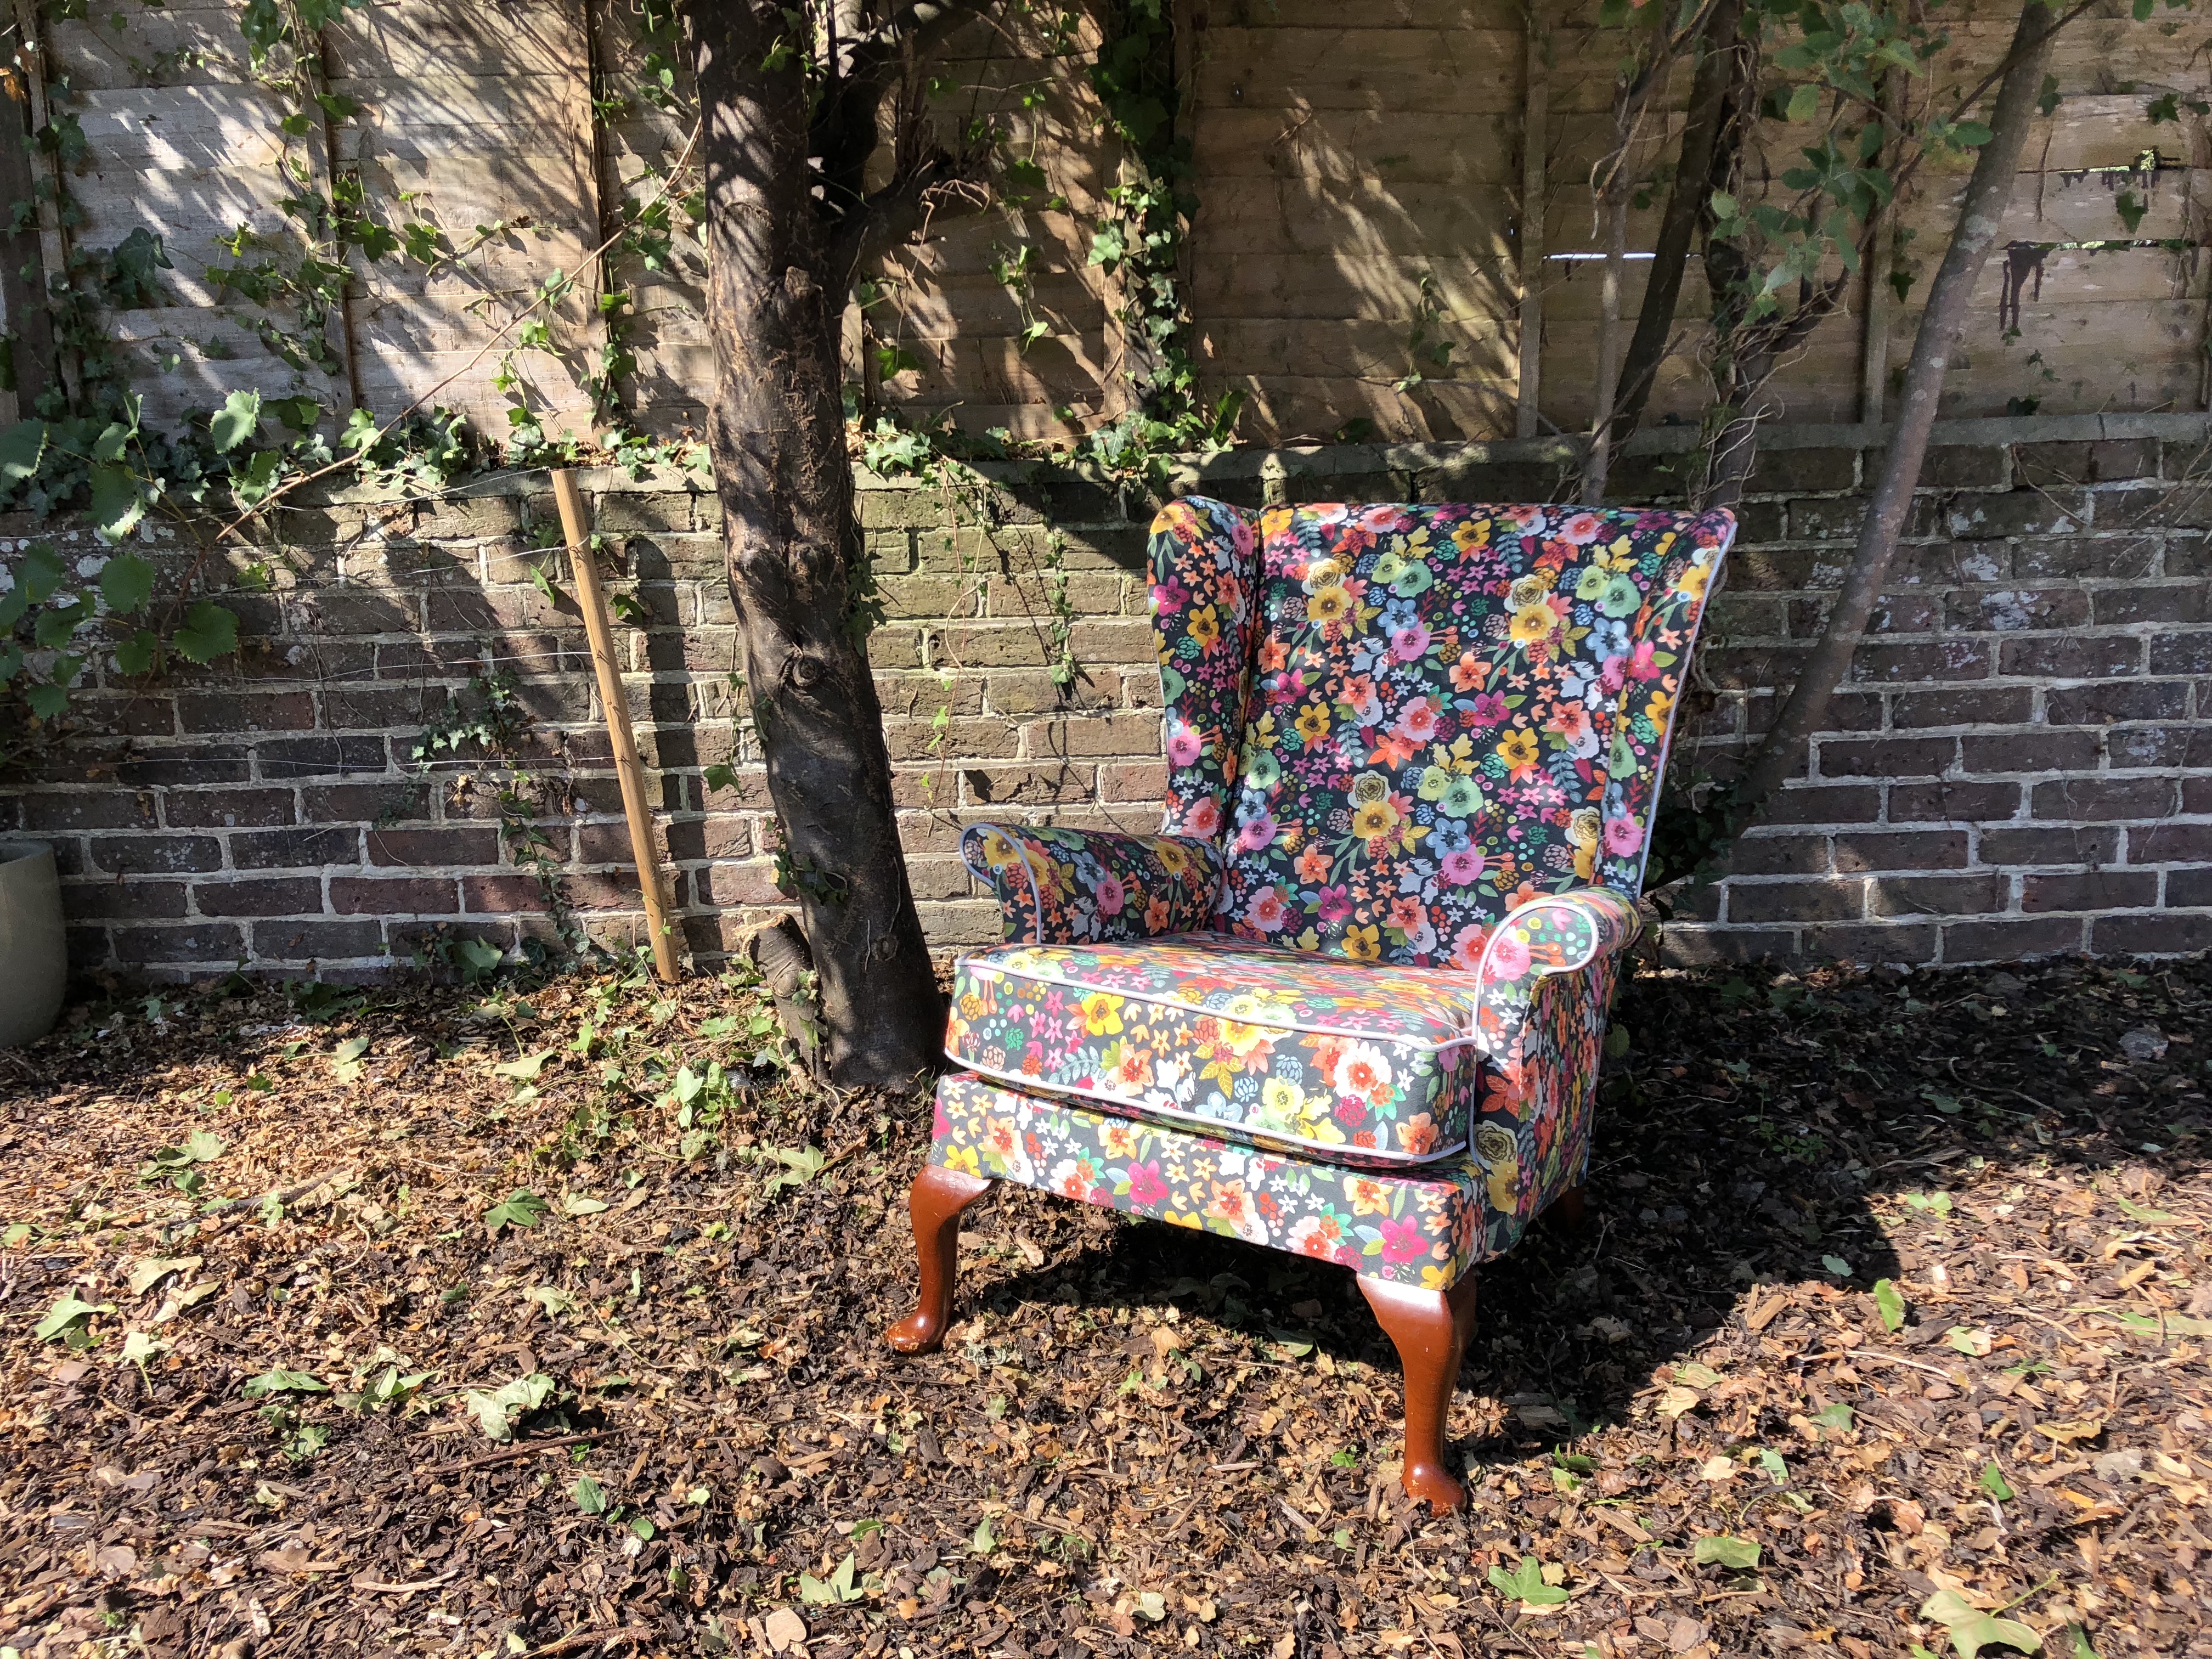
I imagined my summer being full of sun cream, beach days and playing outside. And don’t get me wrong, there was of course a lot of all of those things (sadly mum life doesn’t leave any time for relaxing on a sun lounger but I’ve already made my piece with that). What I wasn’t expecting to spend my summer doing was reupholstering a Parker Knoll wing-back chair.
Upholstery is something I’ve barely even dabbled in before. I’m quite happy with recovering a standard dining room chair seat pad (following a 1 hour workshop I did a few years ago) but when I found this chair on EBay I knew it was way beyond my limits. I did consider trying to figure out how to do it through lots of YouTube videos and googling but I really didn’t want to make a hash of it so set off hunting down an upholsterer who didn’t think I was completely mental (it really wasn’t the beginner project some thought I should be doing)
After a lot more searching than I imagined I’d have to do (it seems upholsterers who teach in my area are few and far between) I found someone who had sessions running through the summer… and that’s how this summer project started.
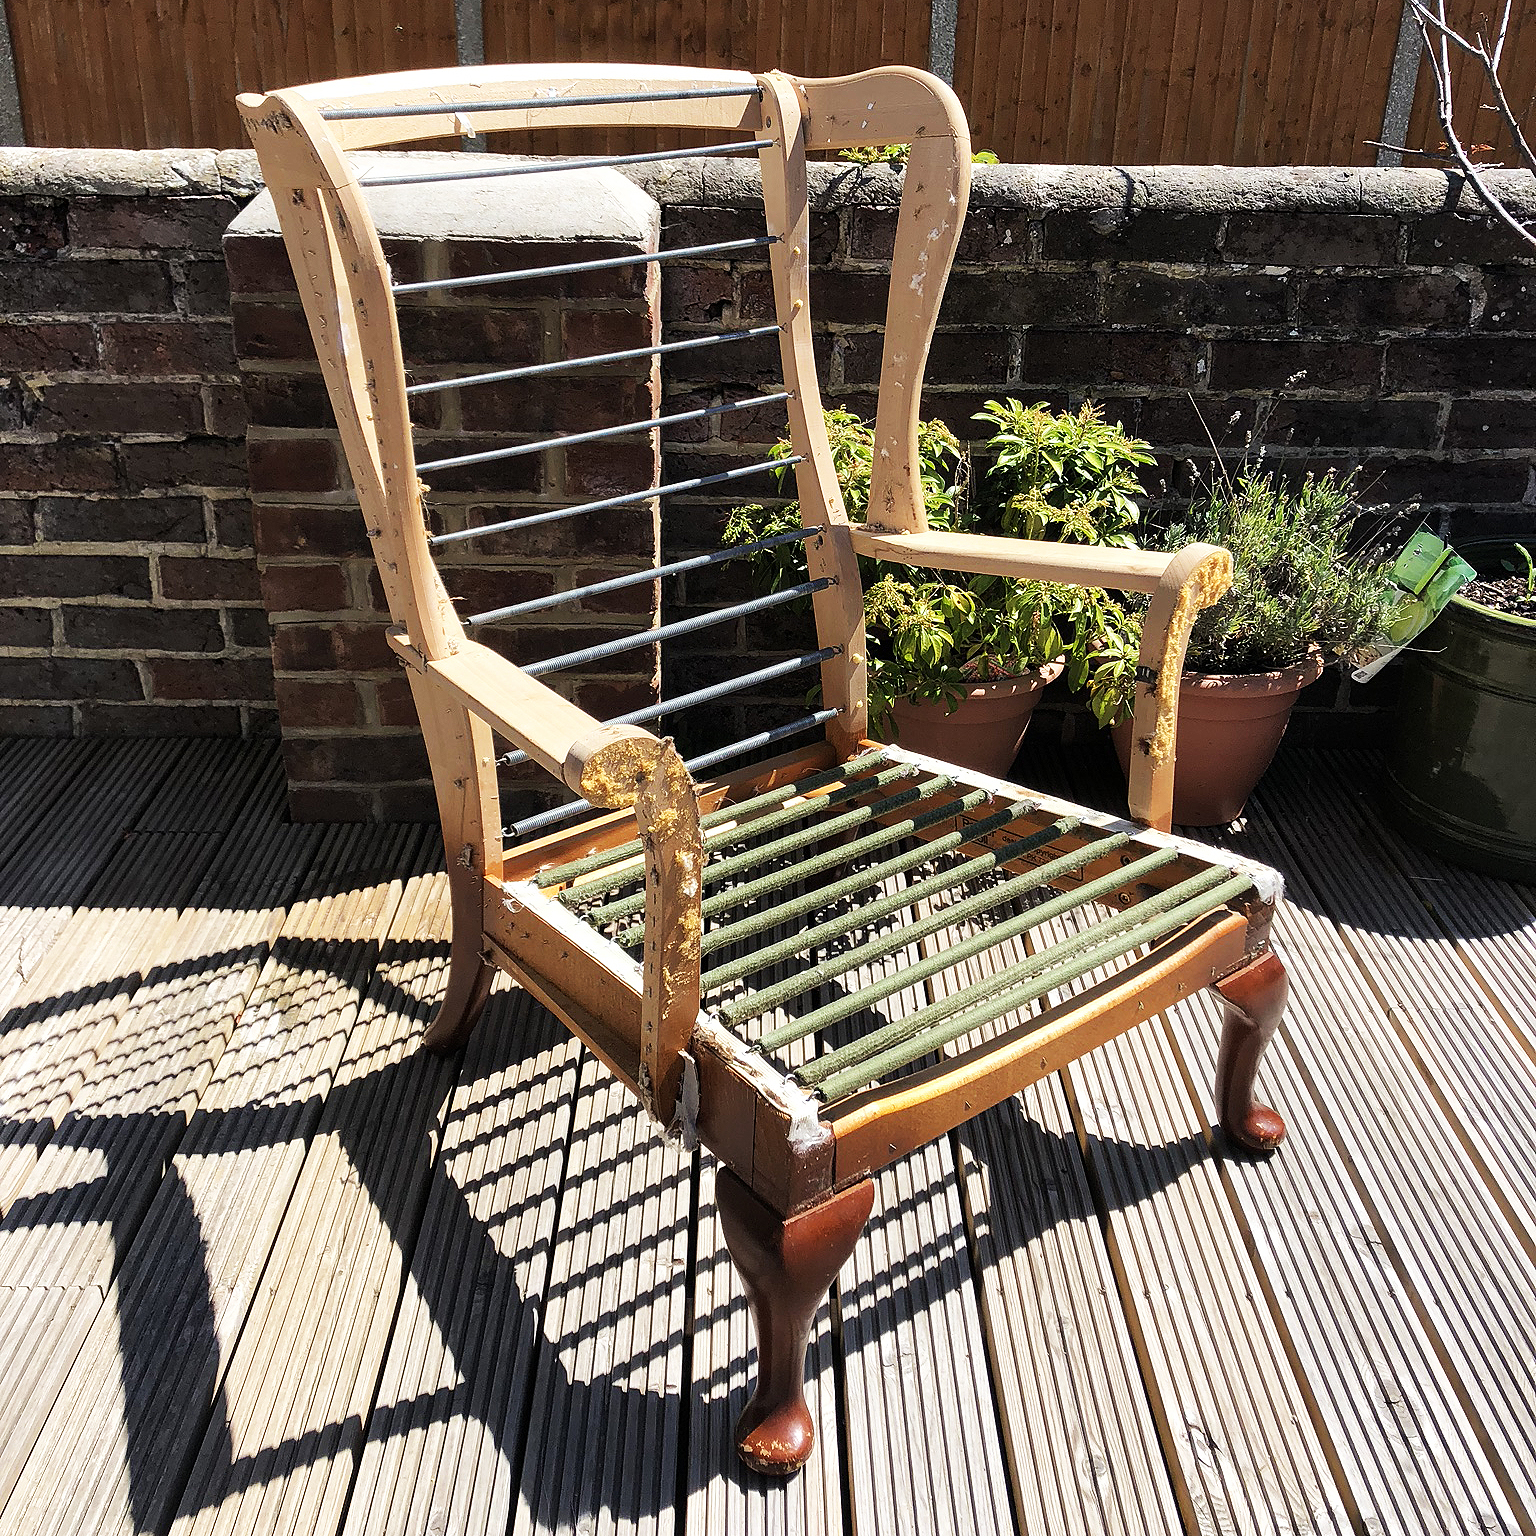
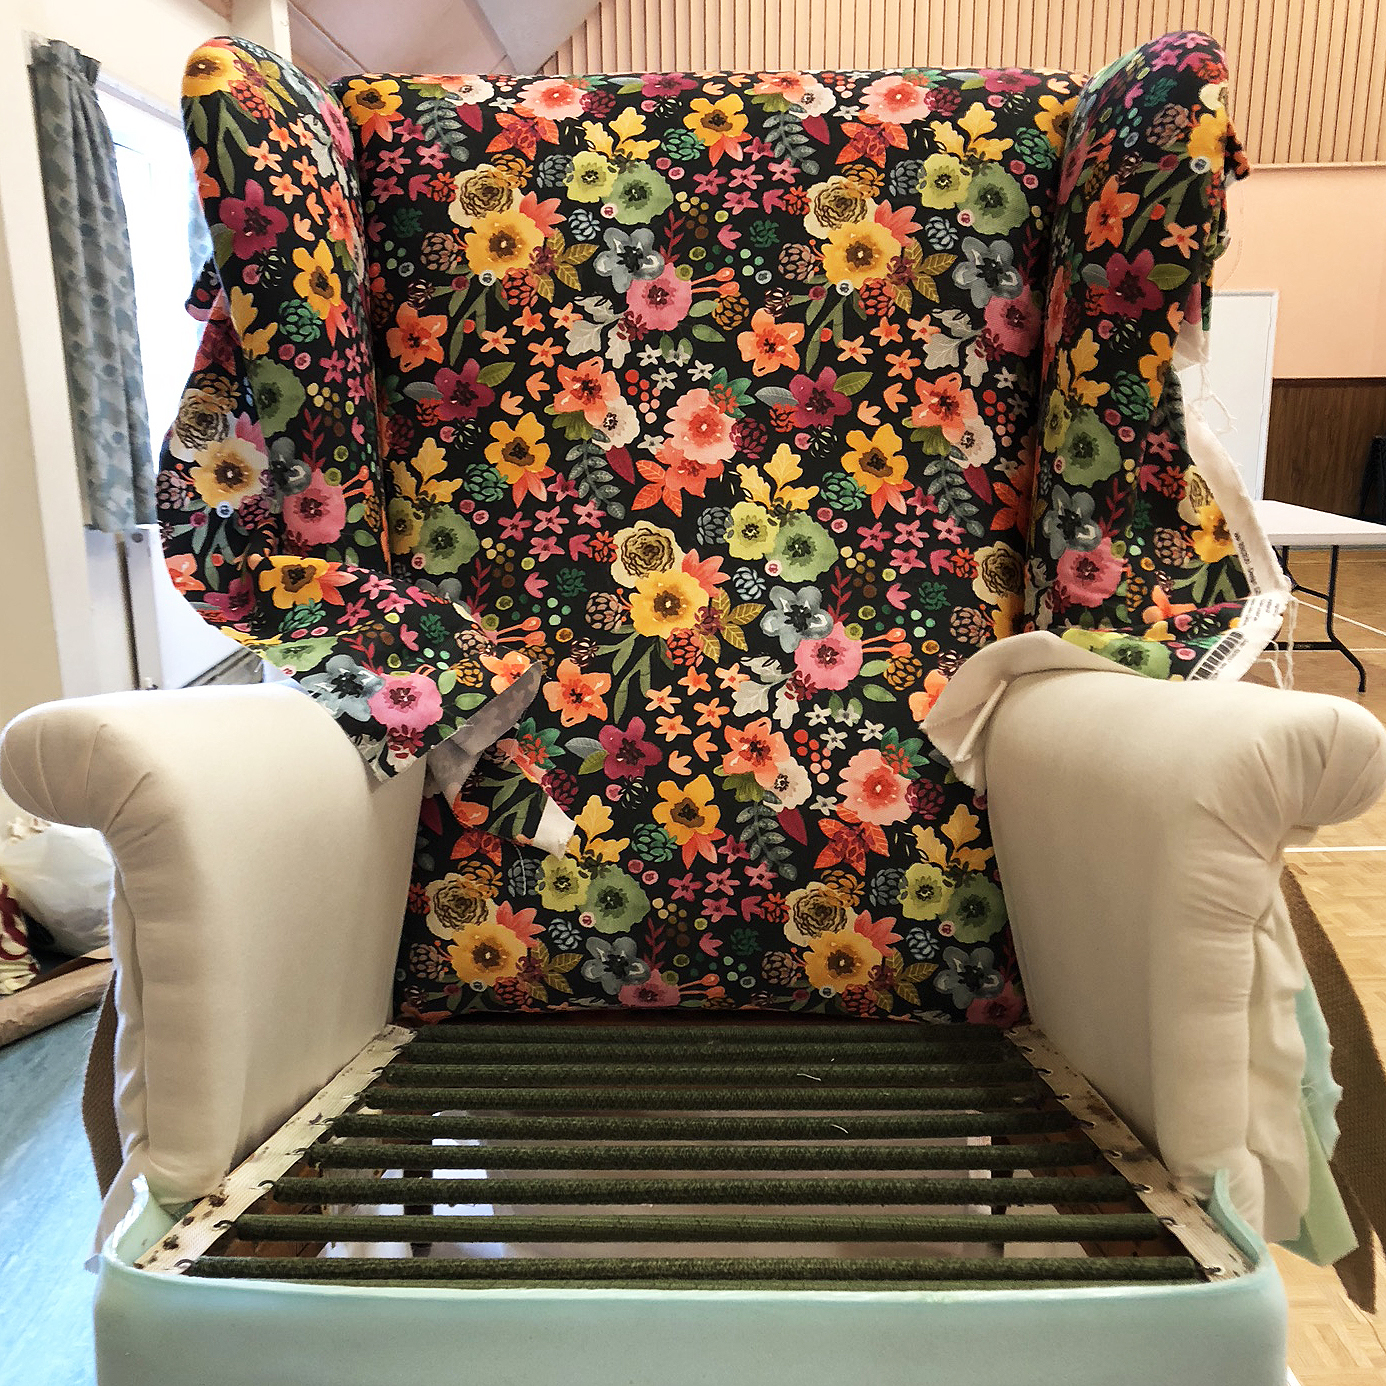
After some advice over emails in the run up to the course I successfully stripped the chair back to the frame and purchased all the foam and fabric I’d need before I began.
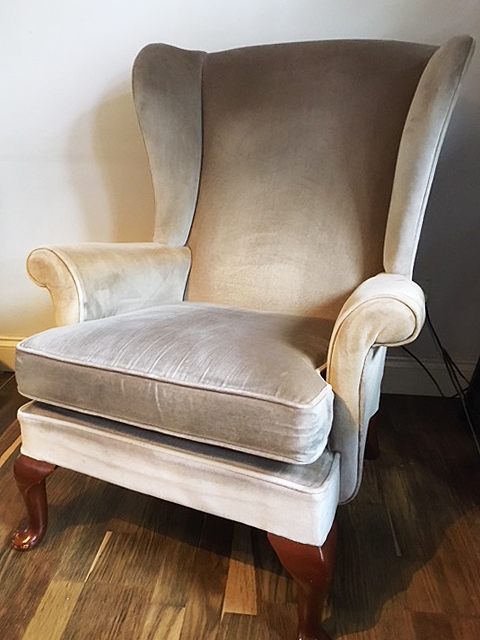
The process of reupholstering this chair was a lengthy one. There were a lot more steps than I anticipated, and I did look back at times and consider whether it really needed it. When you look at the original chair, yes its just a beige chair but it only showed a few signs of wear and it was perfectly usable. The biggest issue I had with it was it just wasn’t really my style, though when I began stripping it back it did become quite clear that the foam was starting to disintegrate and was unlikely to have lasted many more years as it was, so it really has been given a huge new lease of life.
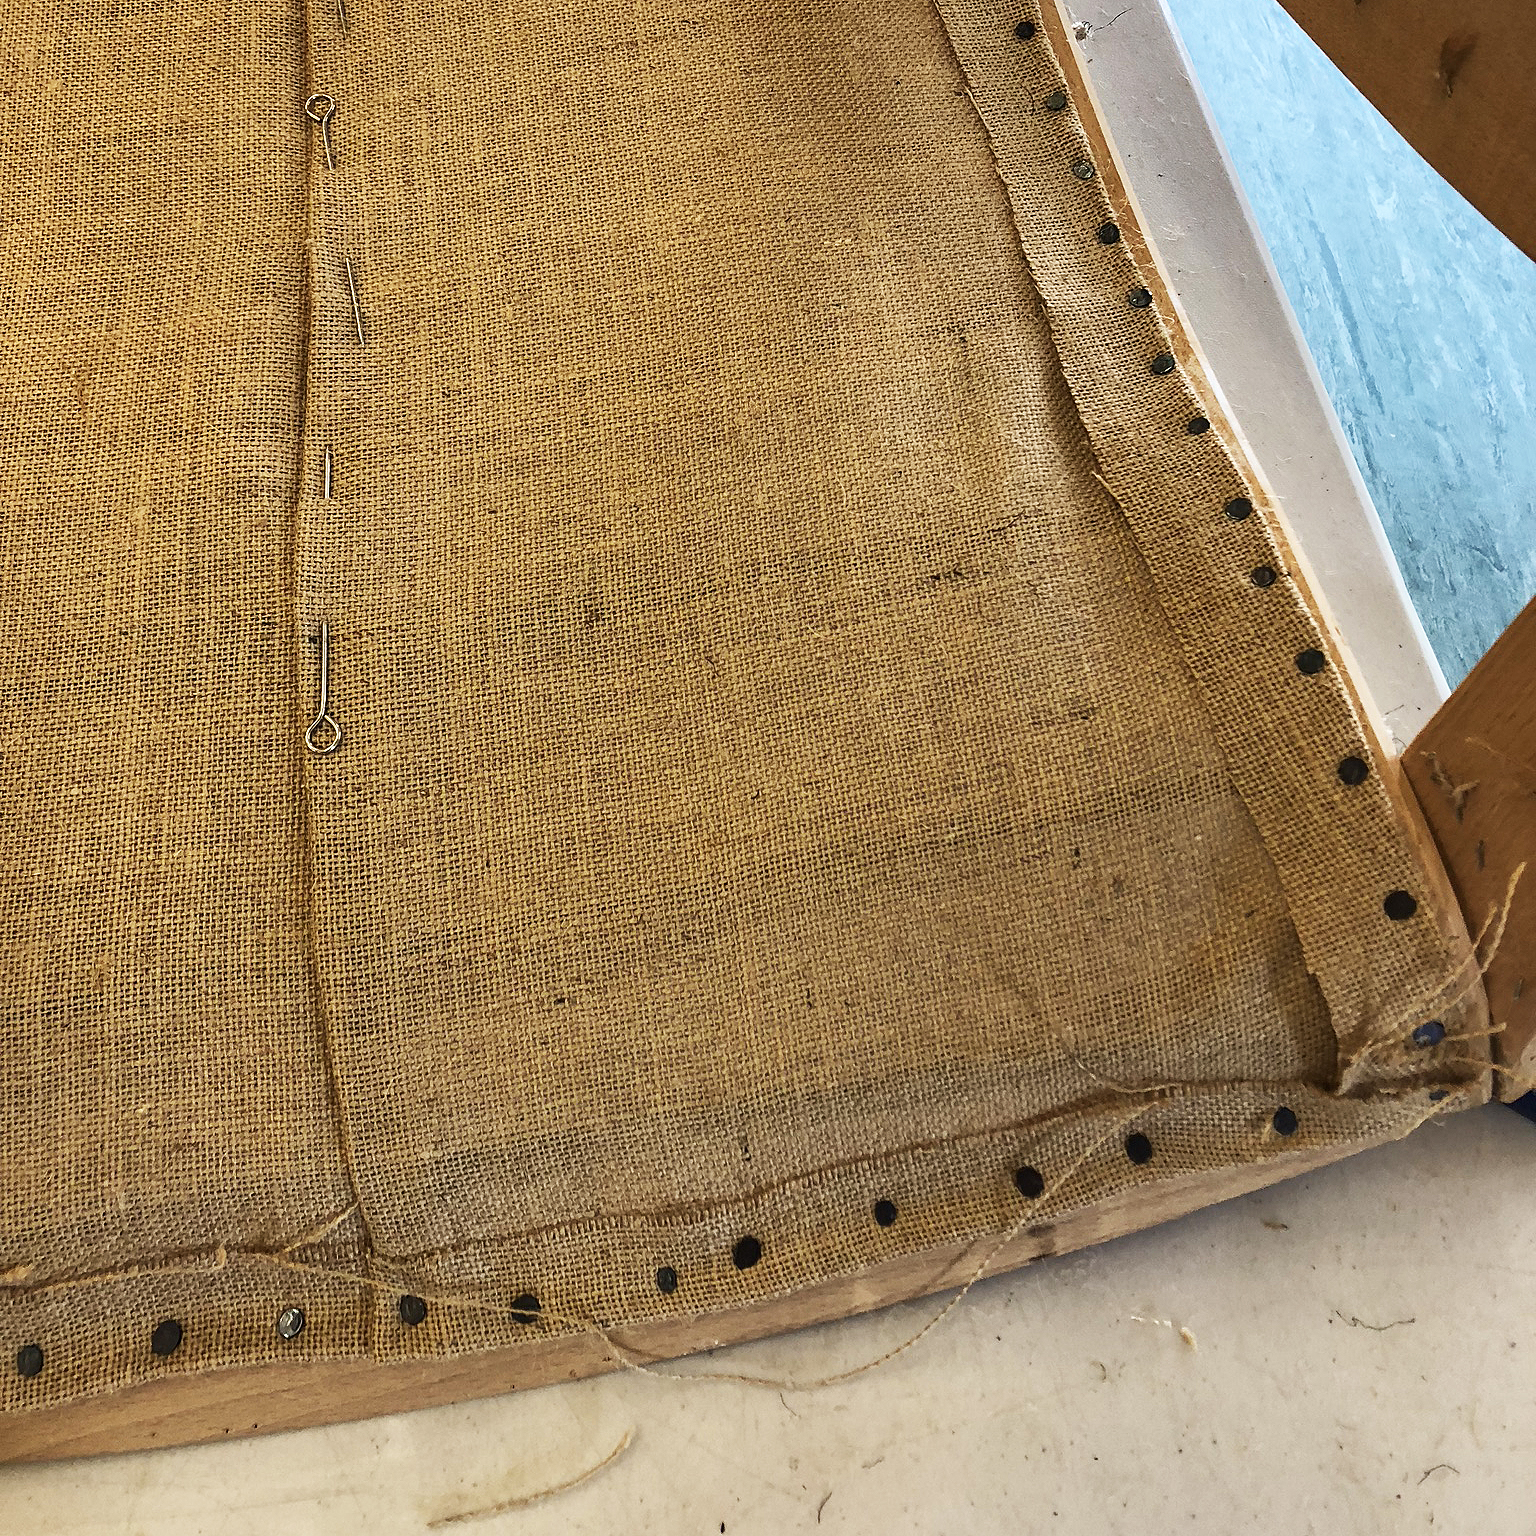
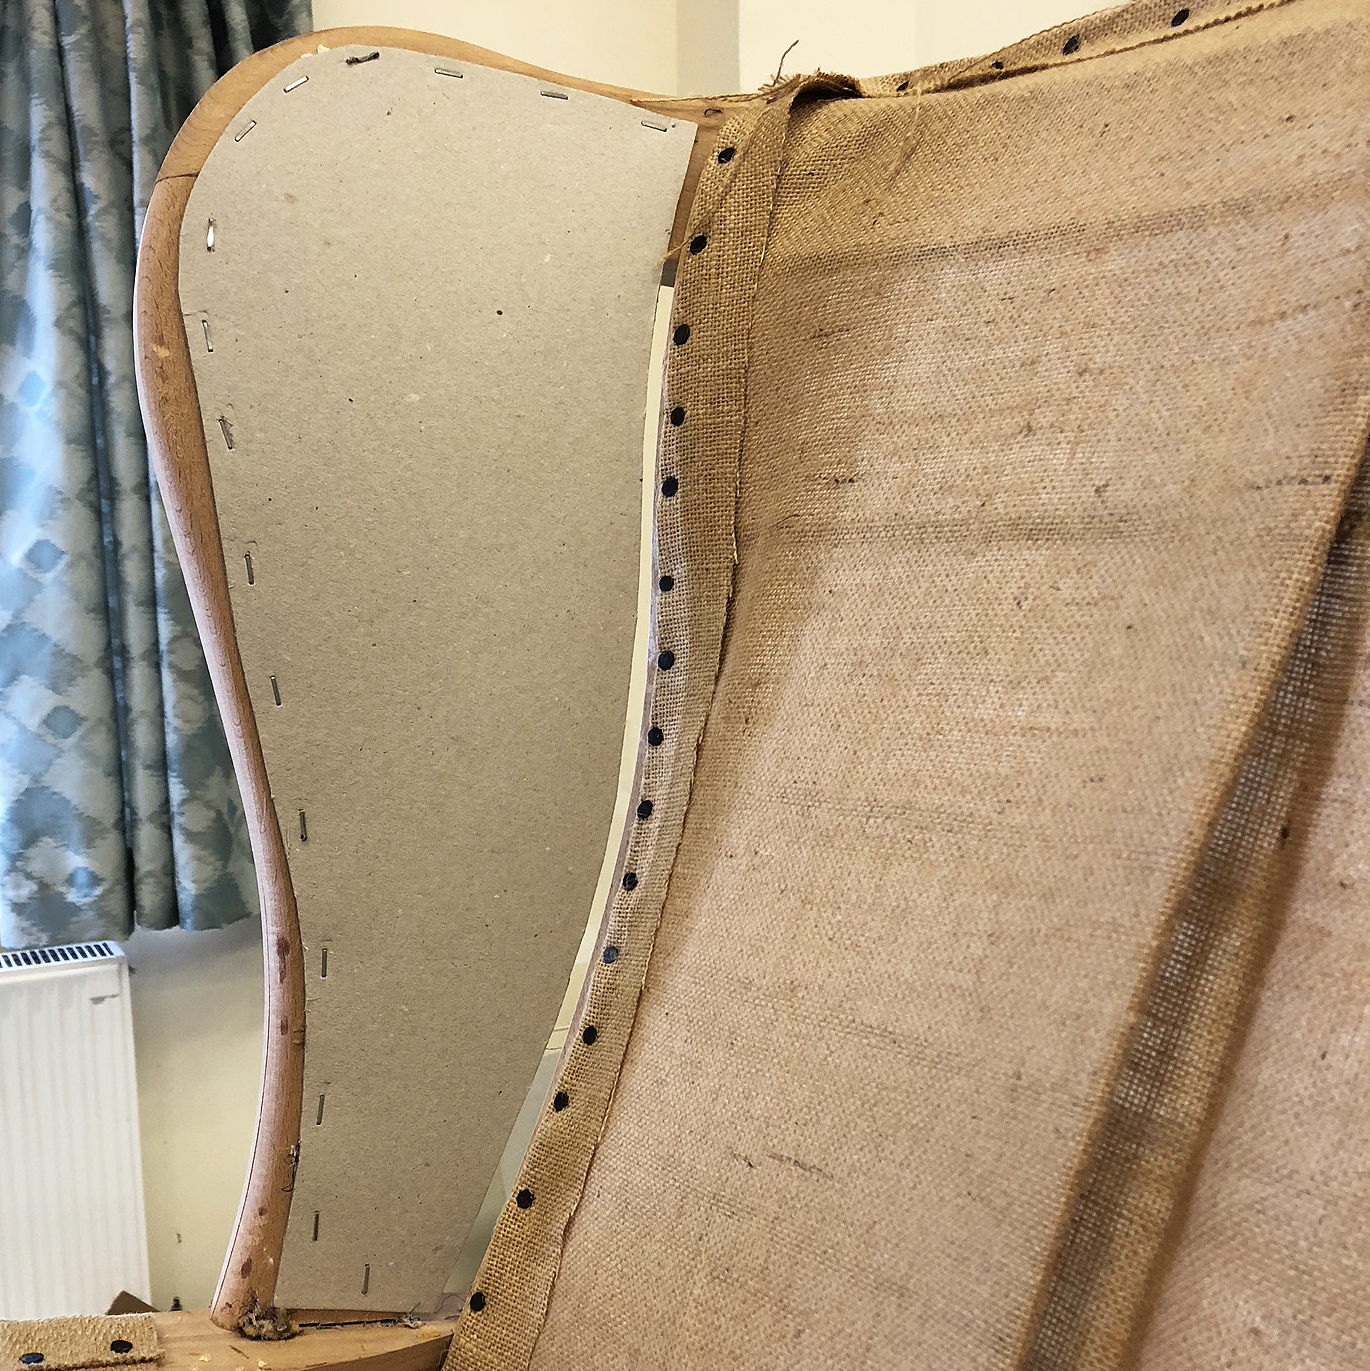
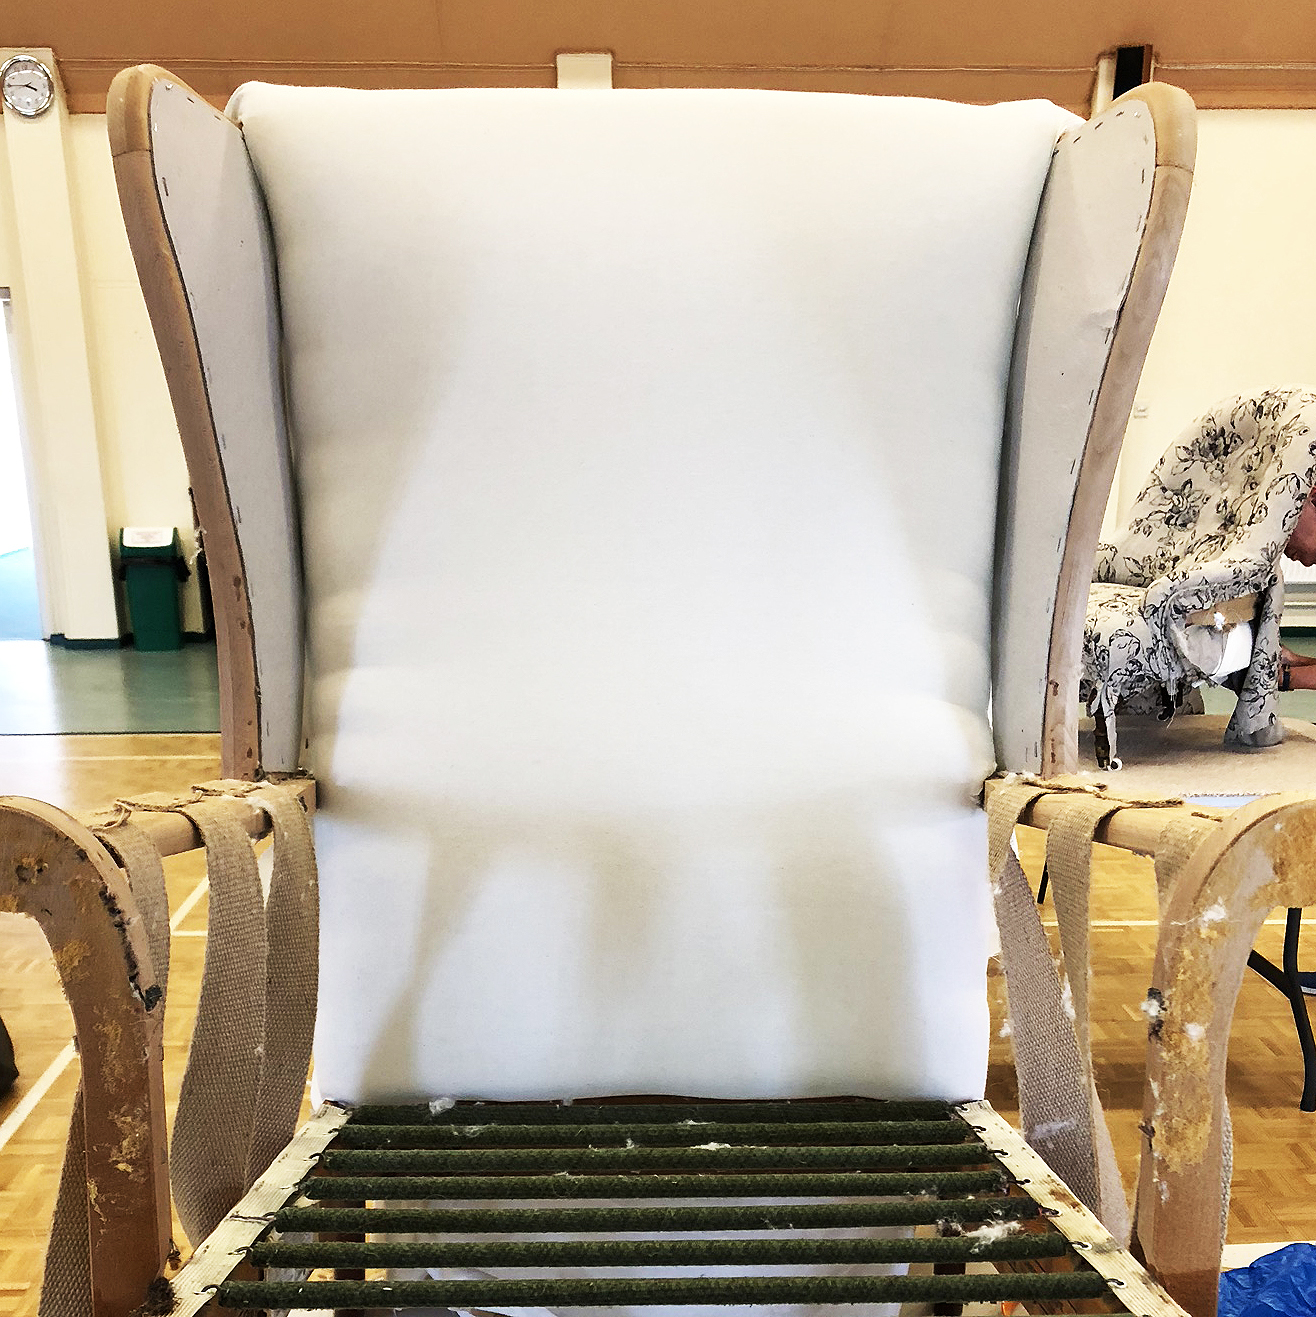
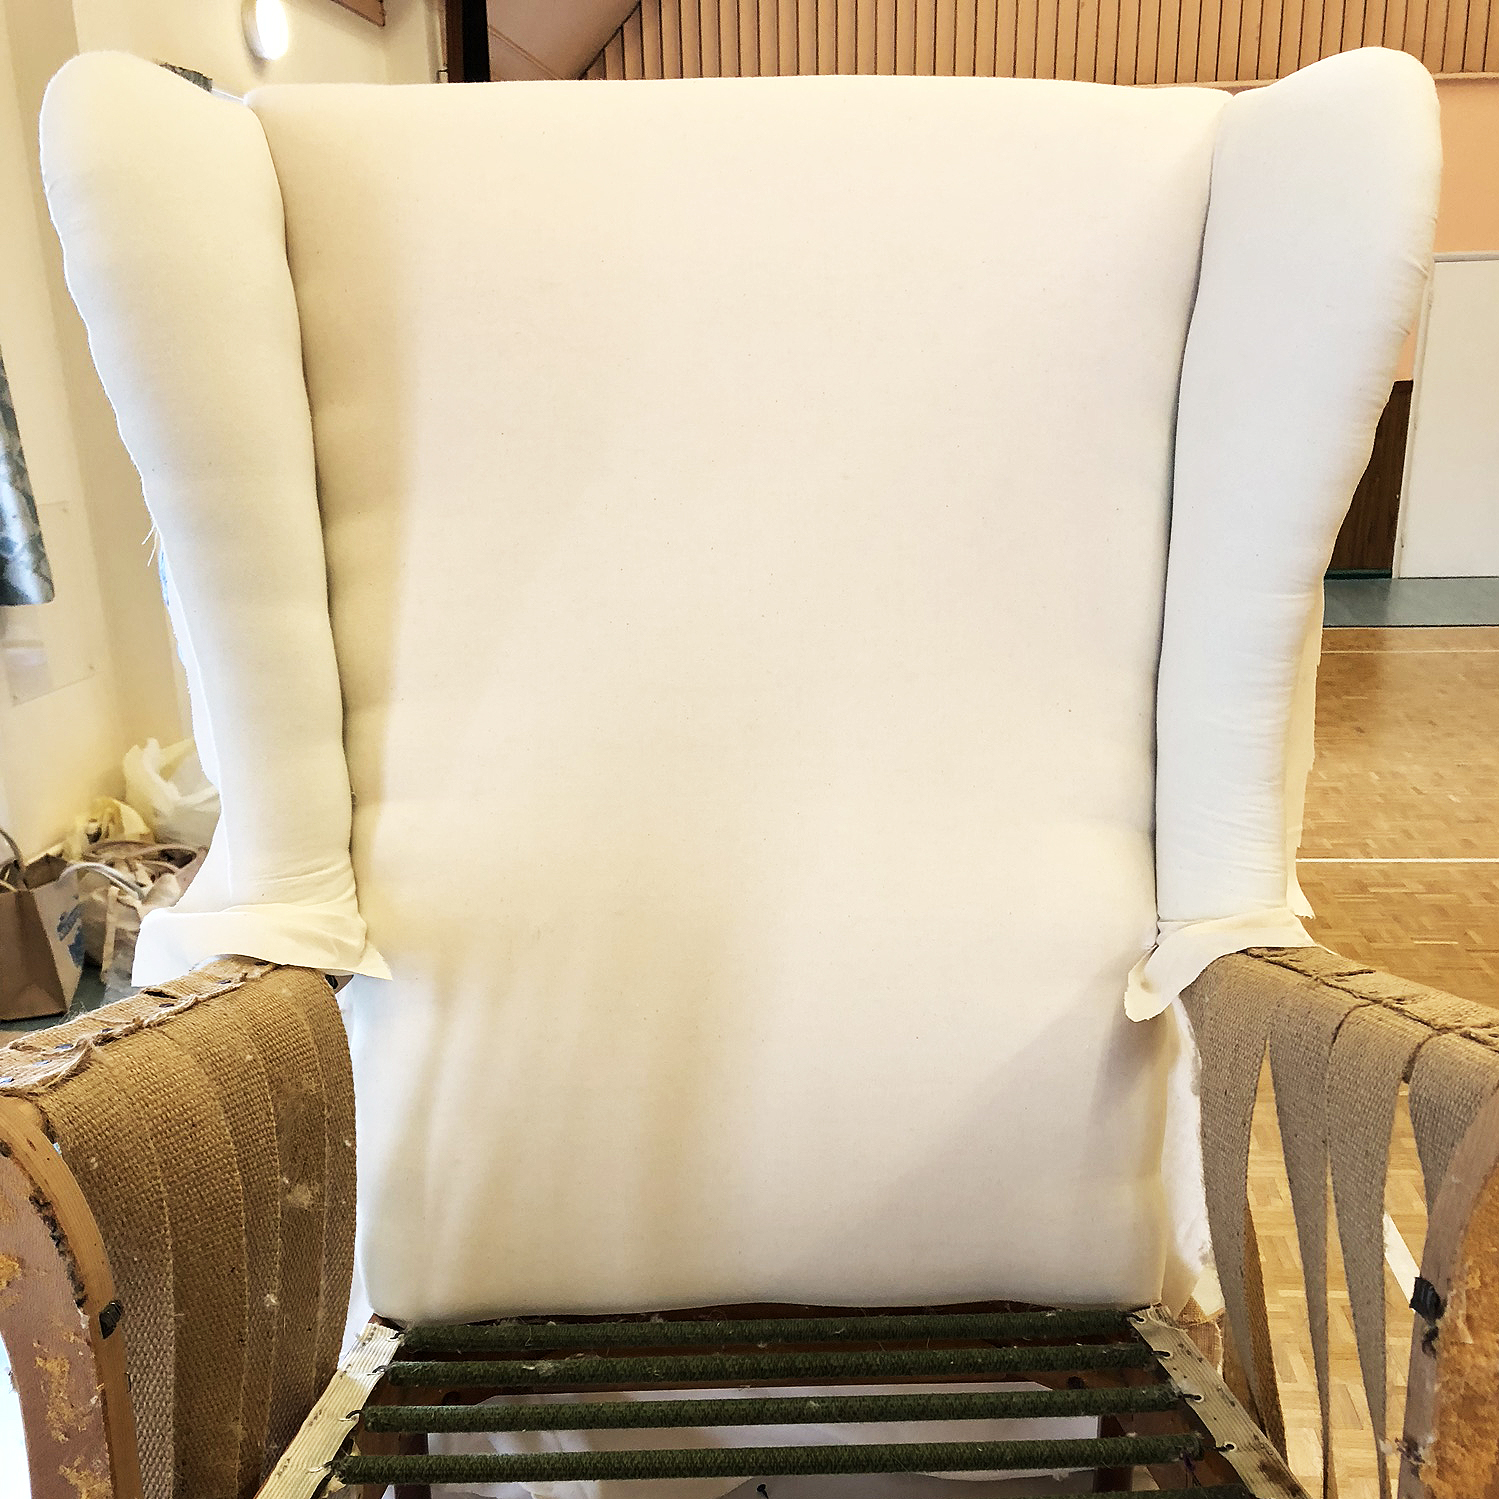
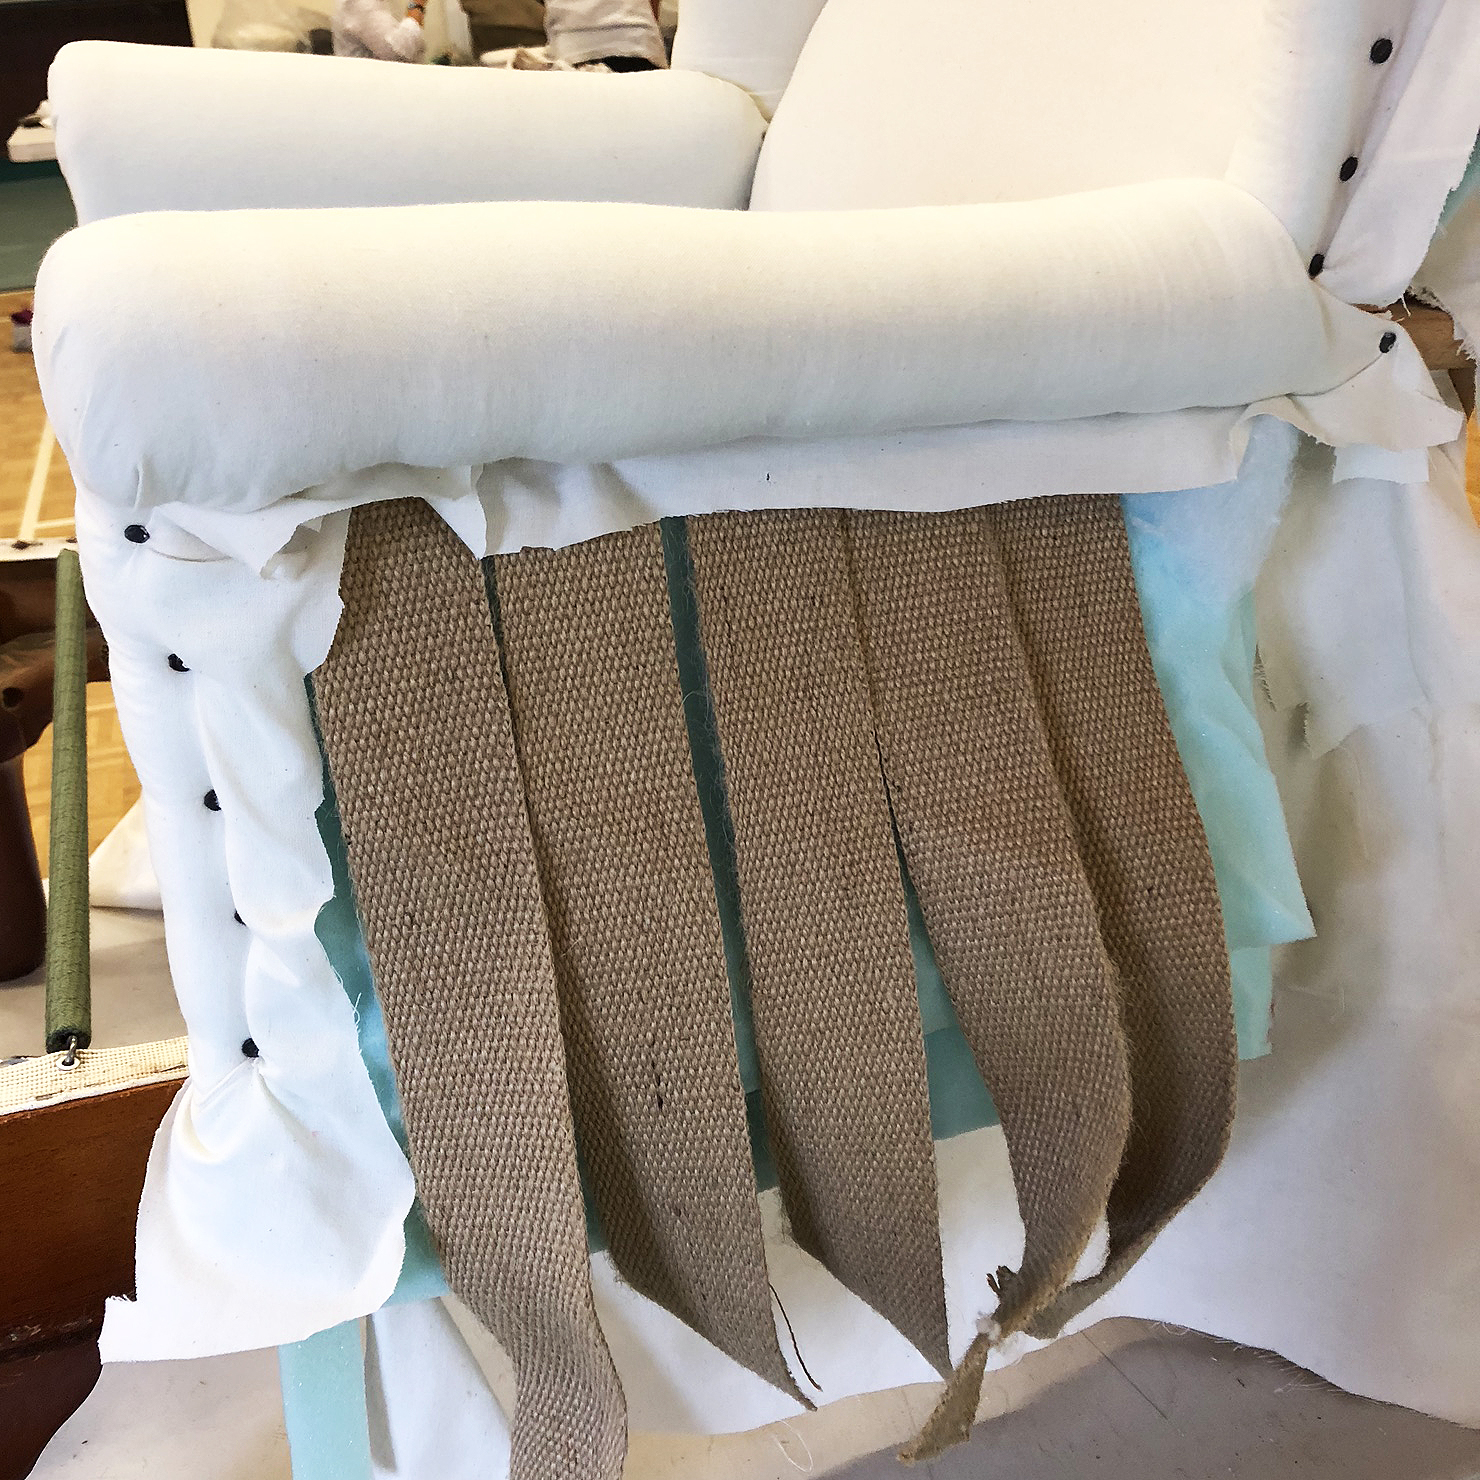
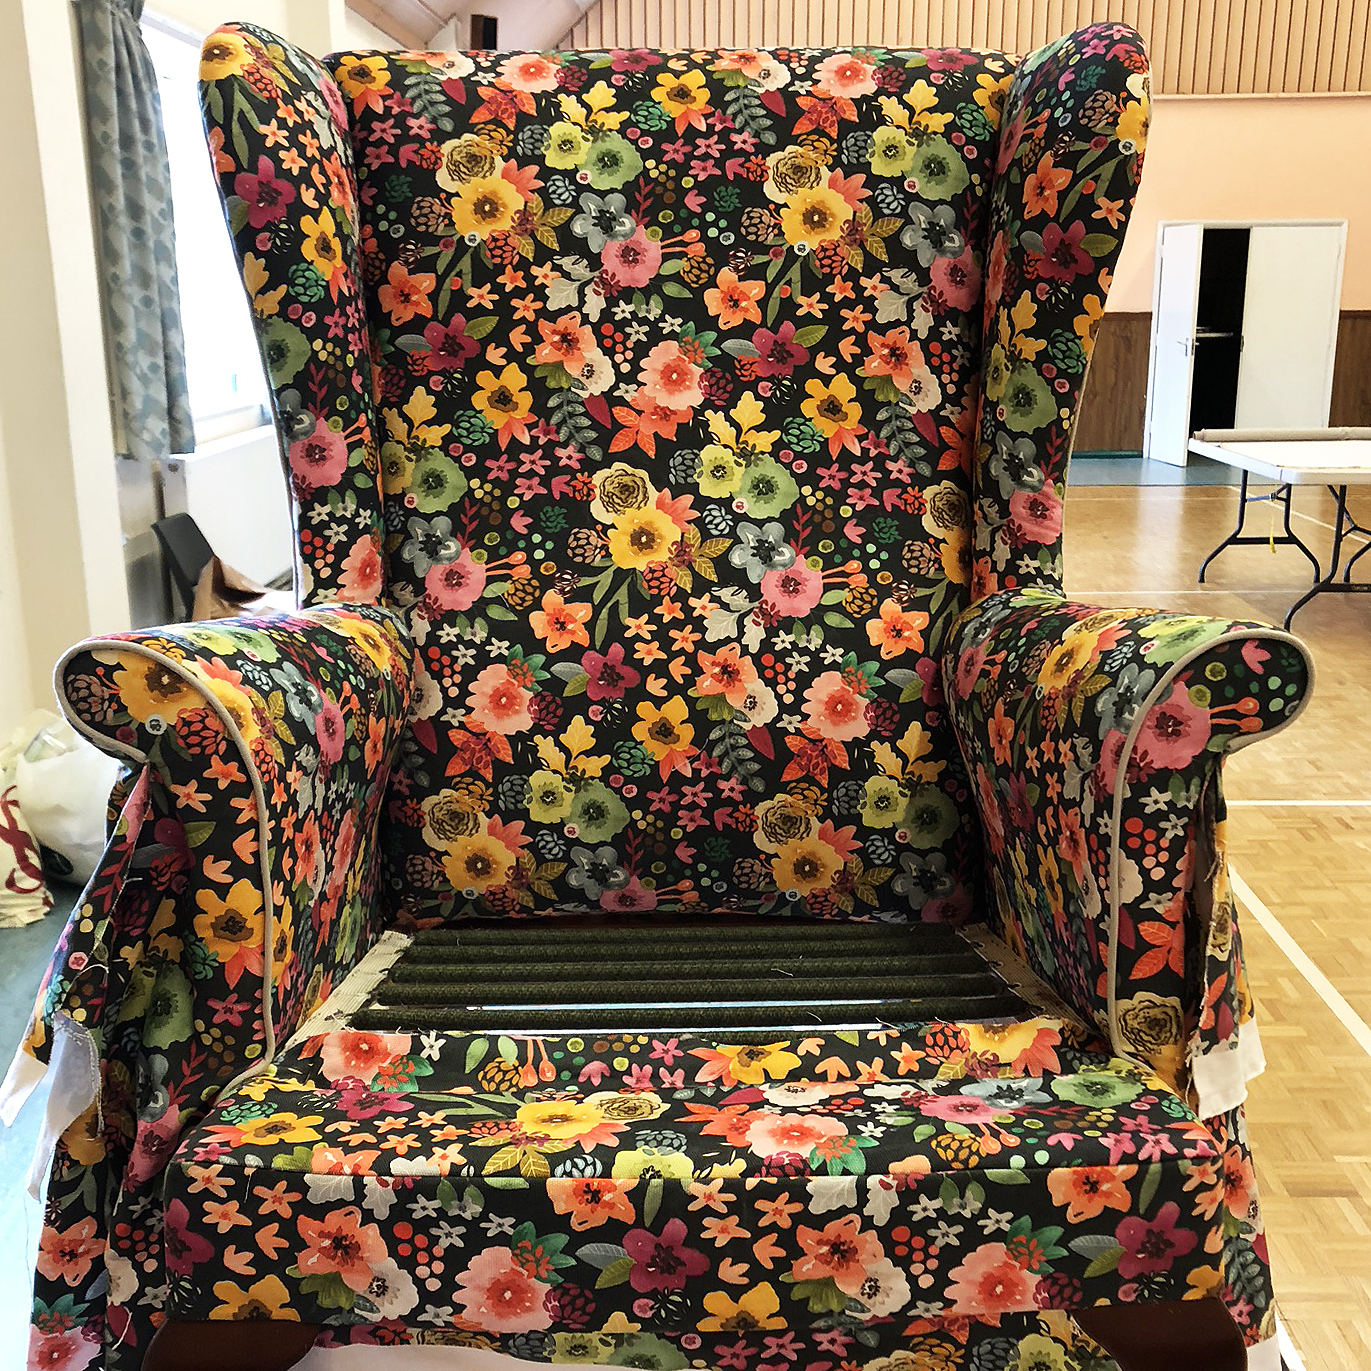
Now I’m not going to talk you through every step of the process… I’d be here all week and I’m not an expert on this by any stretch of the imagination. Below are a few photos of the process; from supporting under-layers (hessian and webbing), to foam, calico underlays and then adding the top fabric and finishing it all off.

Some very important things I learnt about re-upholstering along the way (other than how to do it)…
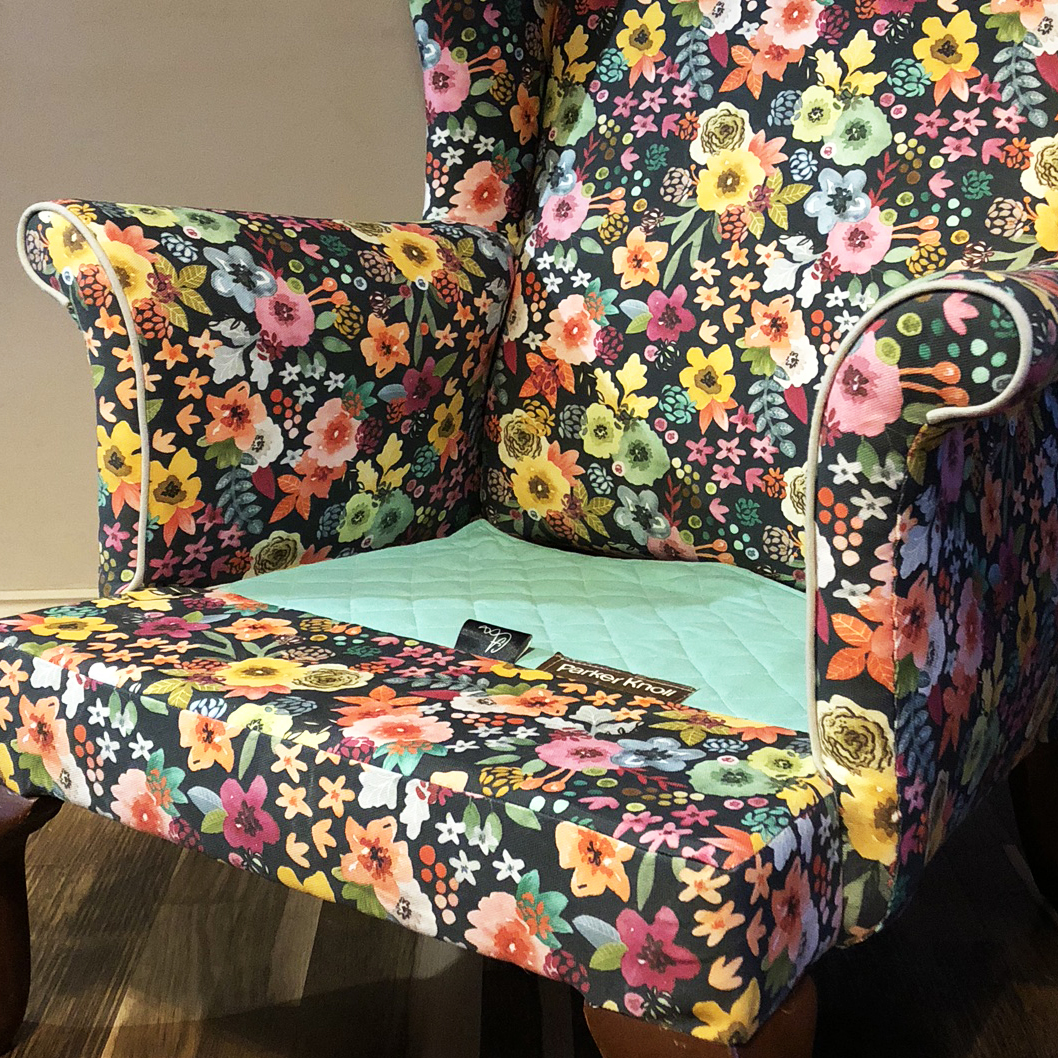
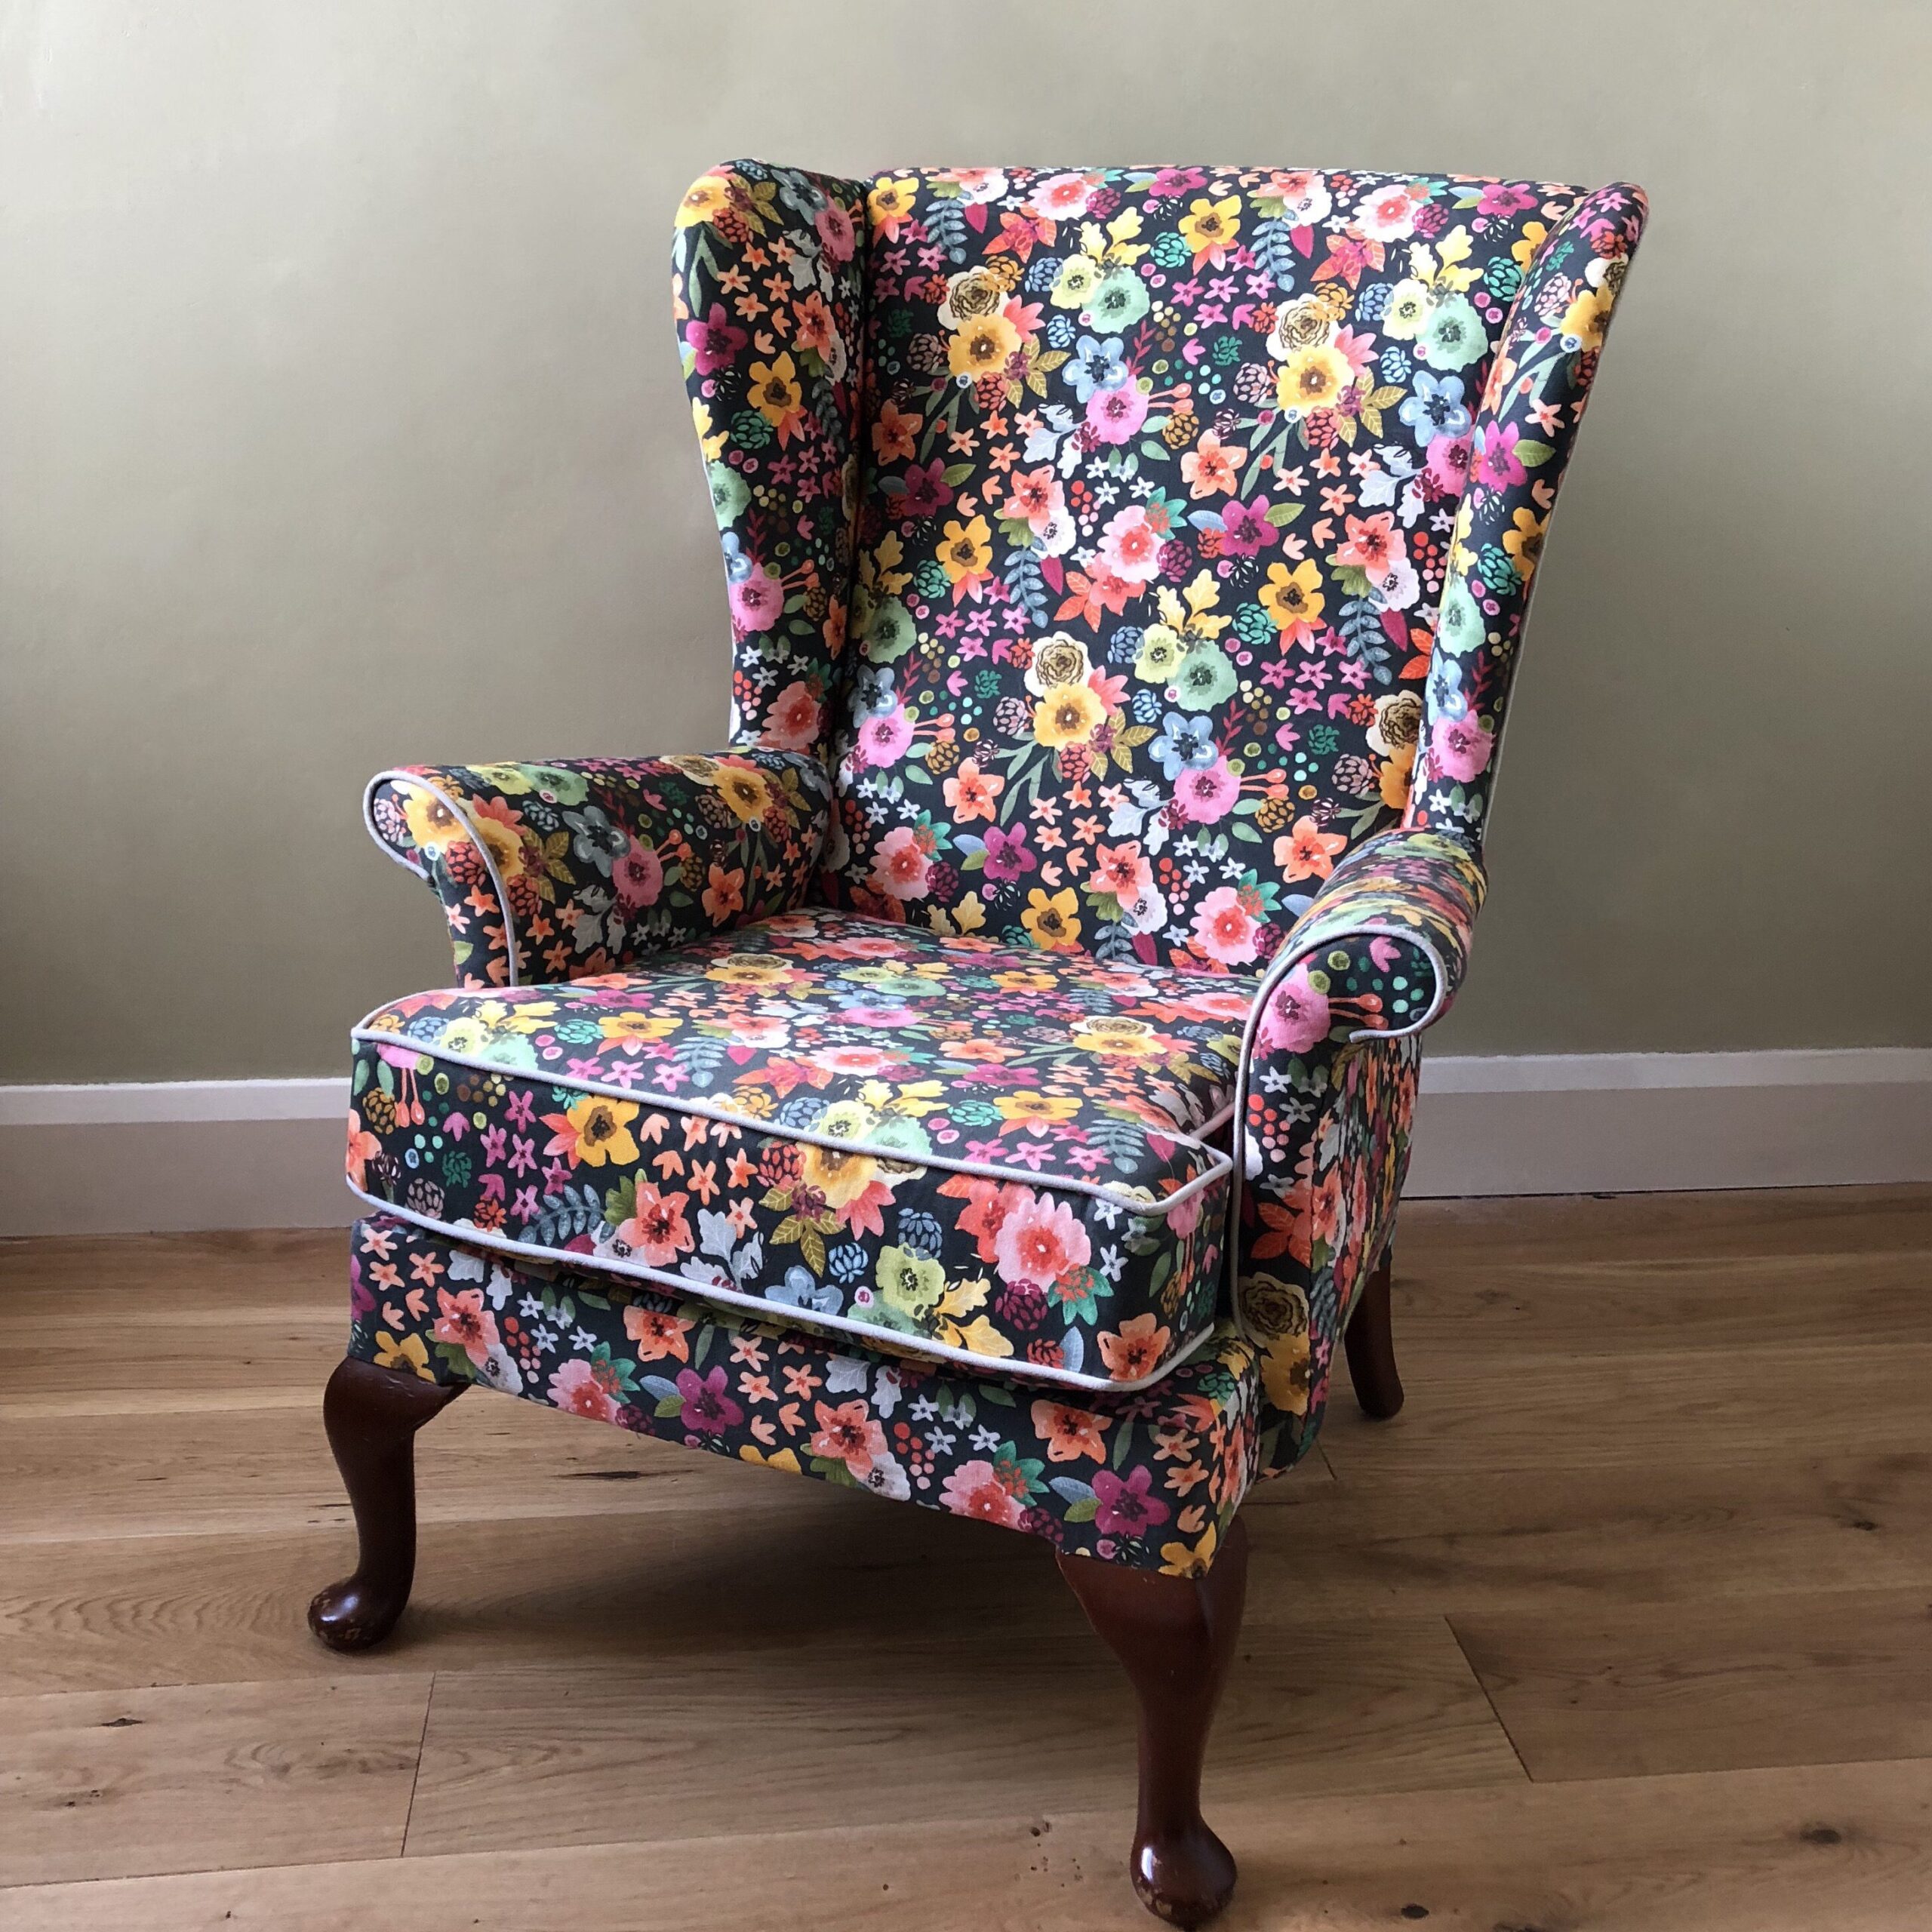
I surprised myself with how much joy I got from working on this chair. I make things all the time so didn’t anticipate such a different reaction, I can only assume its because its something so new. I massively pushed myself out of my comfort zone with this and am so thrilled that I did. I am well and truly in love with this chair… from the fabric I chose to the details like the piping that I added I really wouldn’t change a thing and I am already on the hunt for my next upholstery challenge.
So try something new, give yourself a challenge and take a chance… it’s totally worth it!
Fabric from Spoonflower
Upholstery classes by Philippa Crosse
Chair is a Parker Knoll Wing-back found on EBay
This fabric is just so me isn’t it, but the fun here is its part of the print on demand service from Minerva.com so I
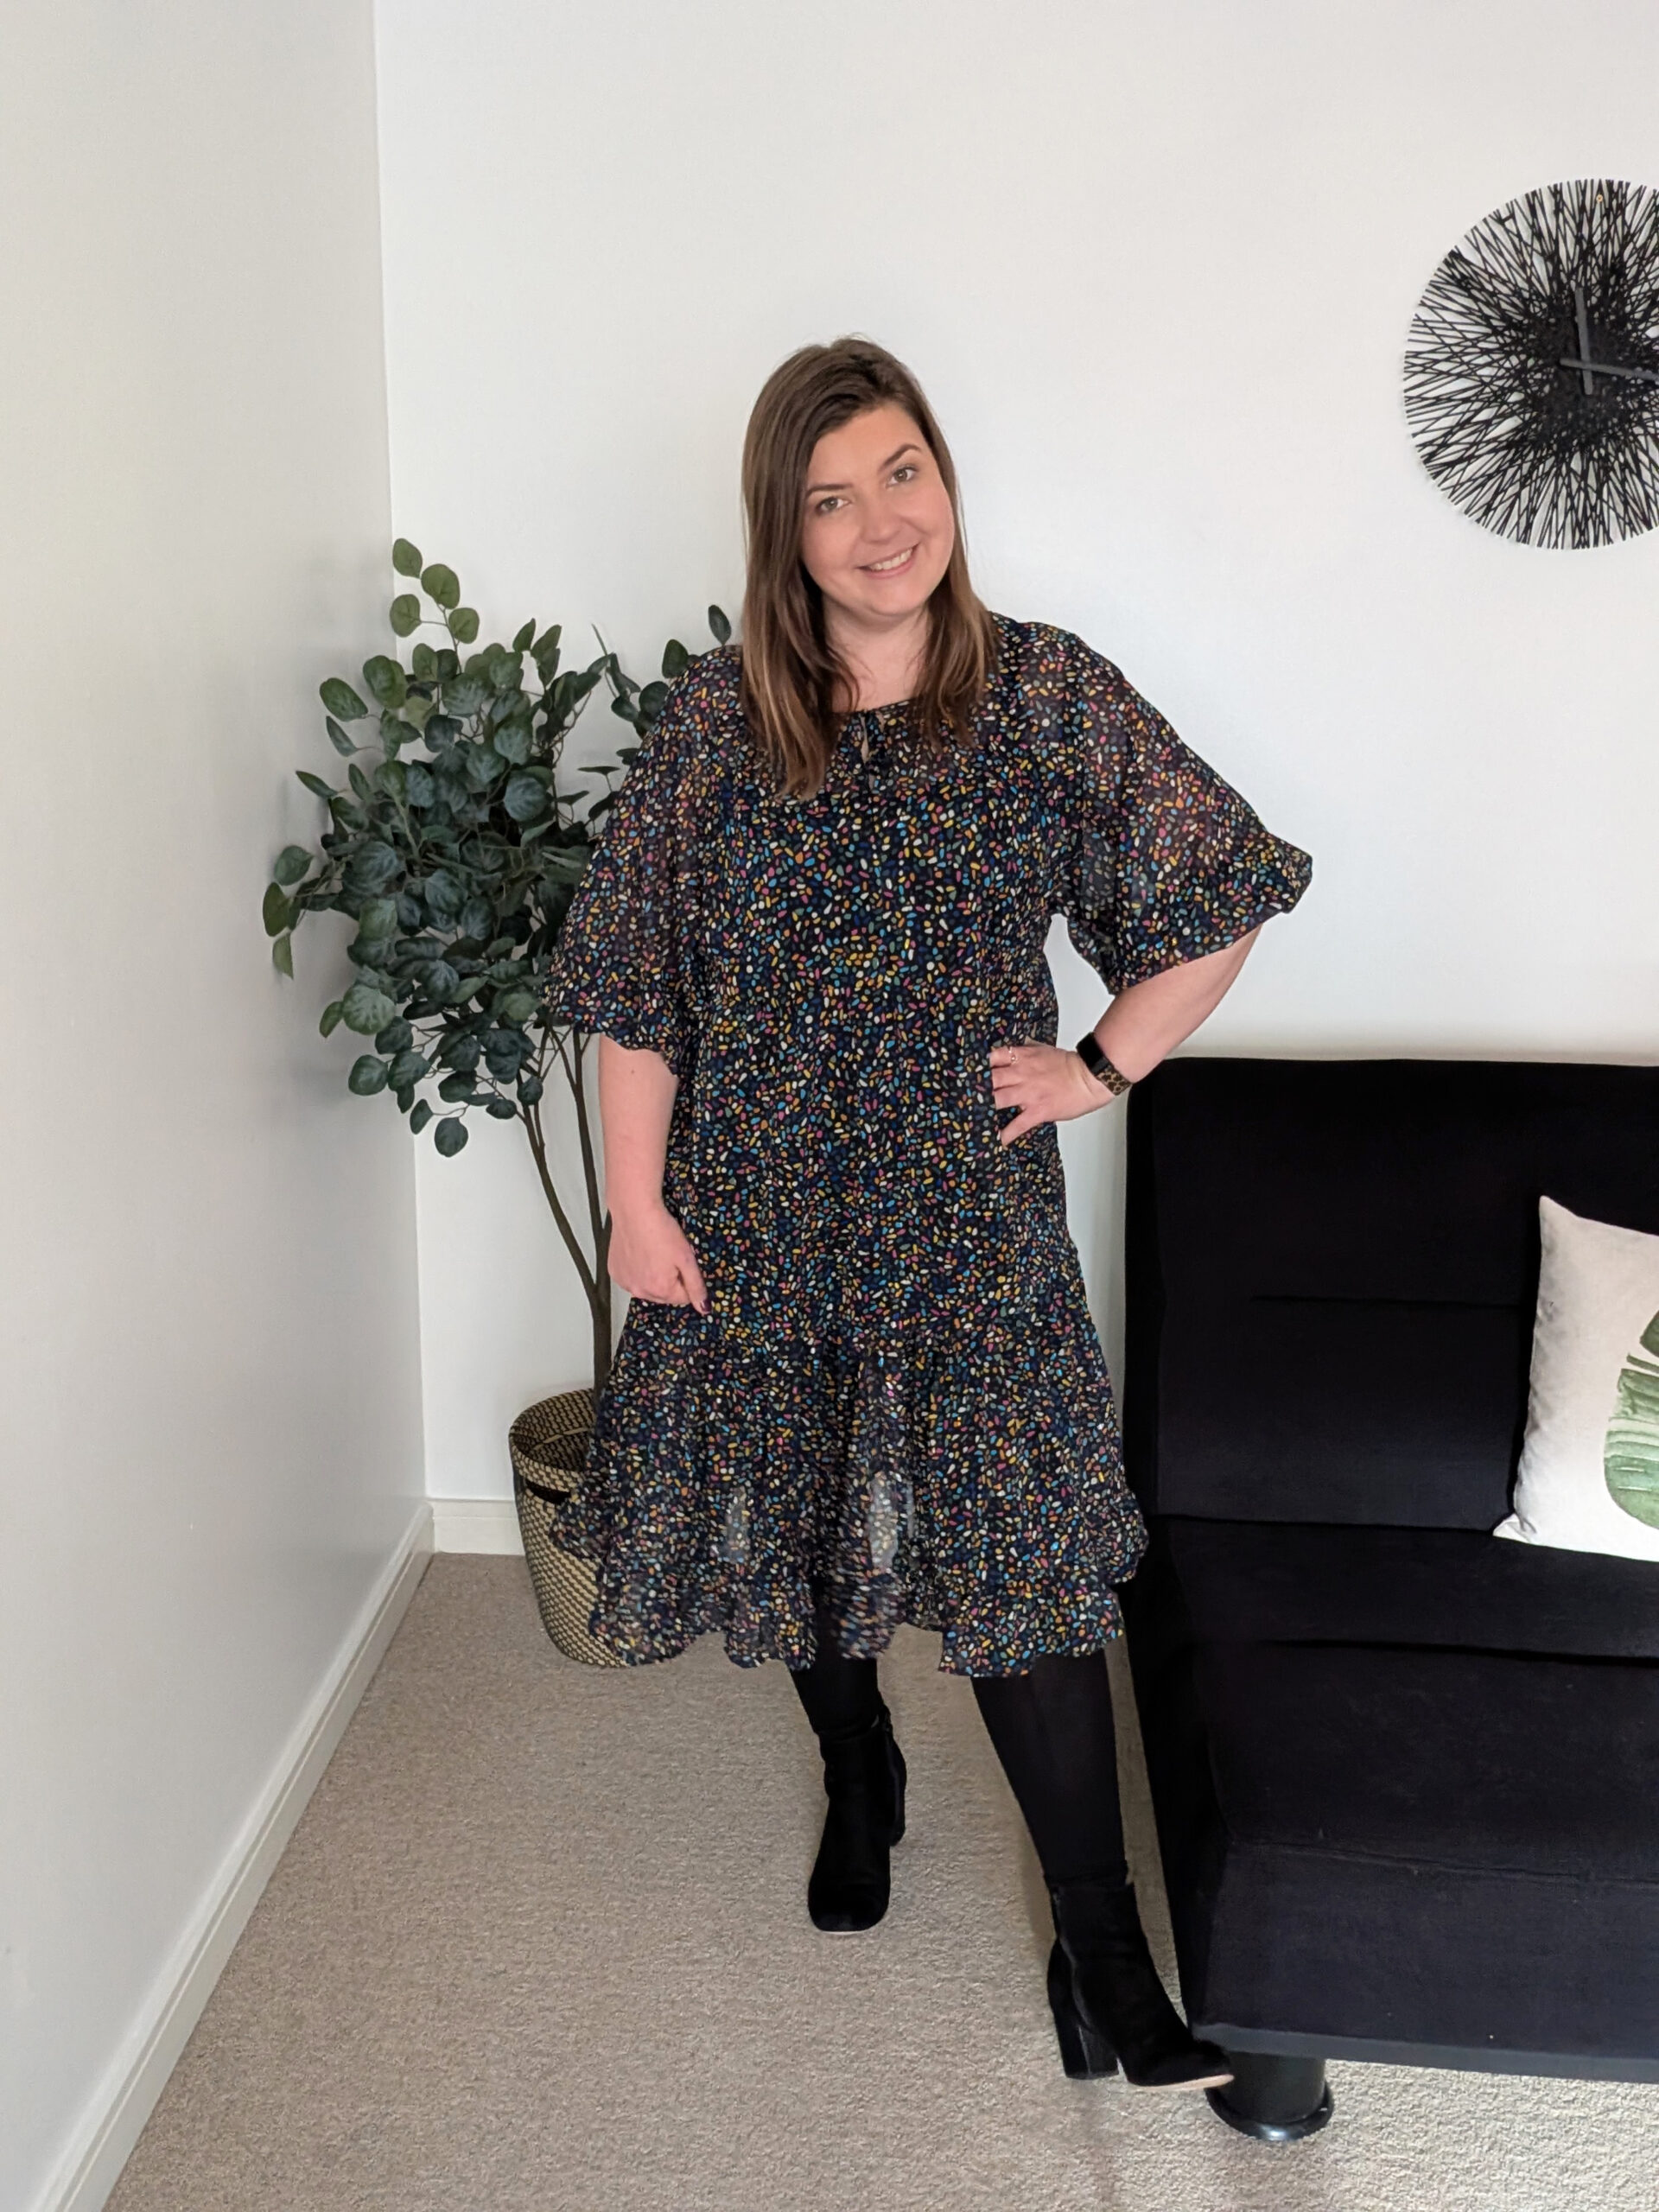
The Style Arc Hope Dress is super versatile with the extension pattern, and this time I’ve changed the skirt entirely putting on a tiered gathered
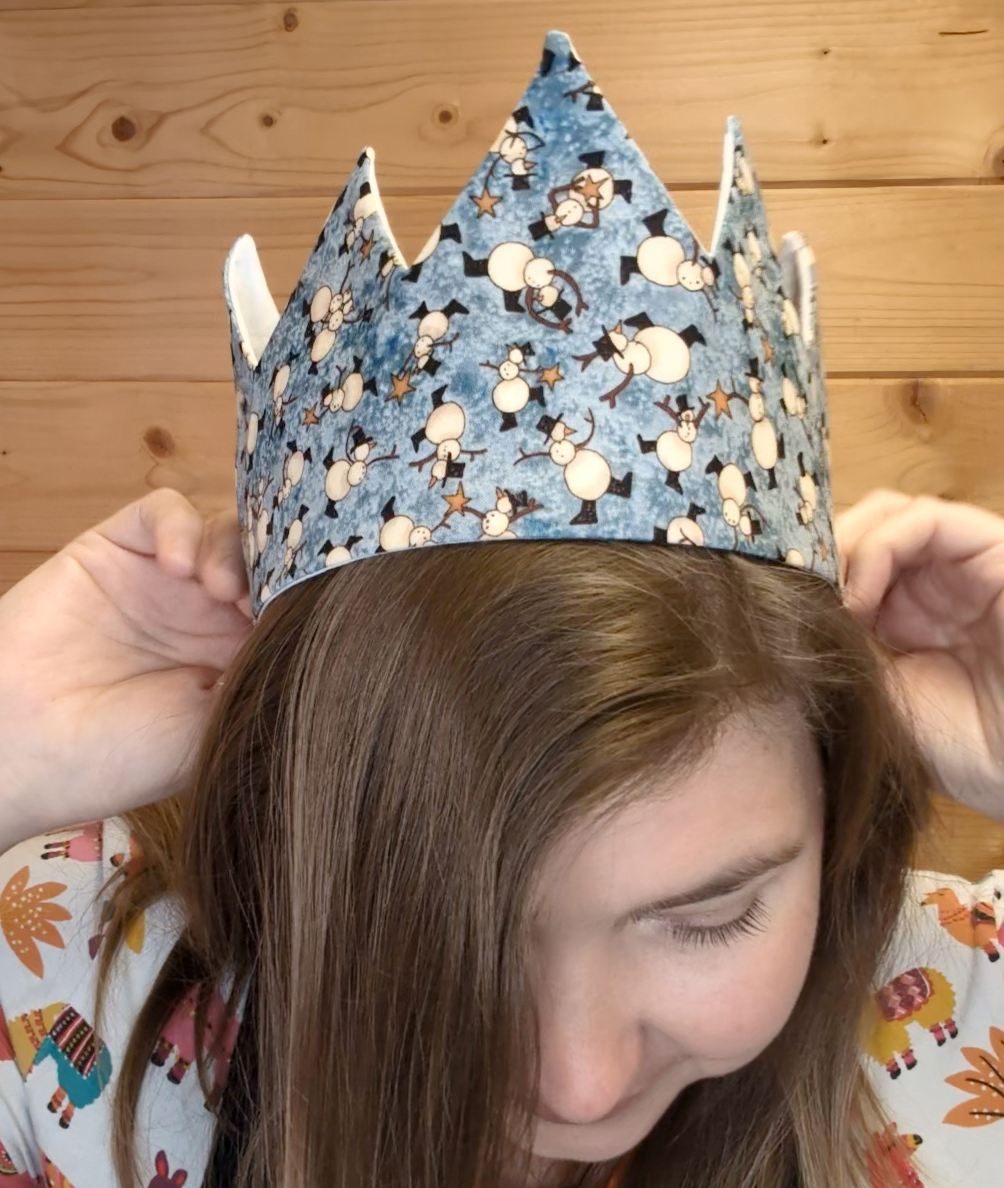
The biggest issue I have with the changes to what I understand to be a very British tradition of Christmas crackers in order to make
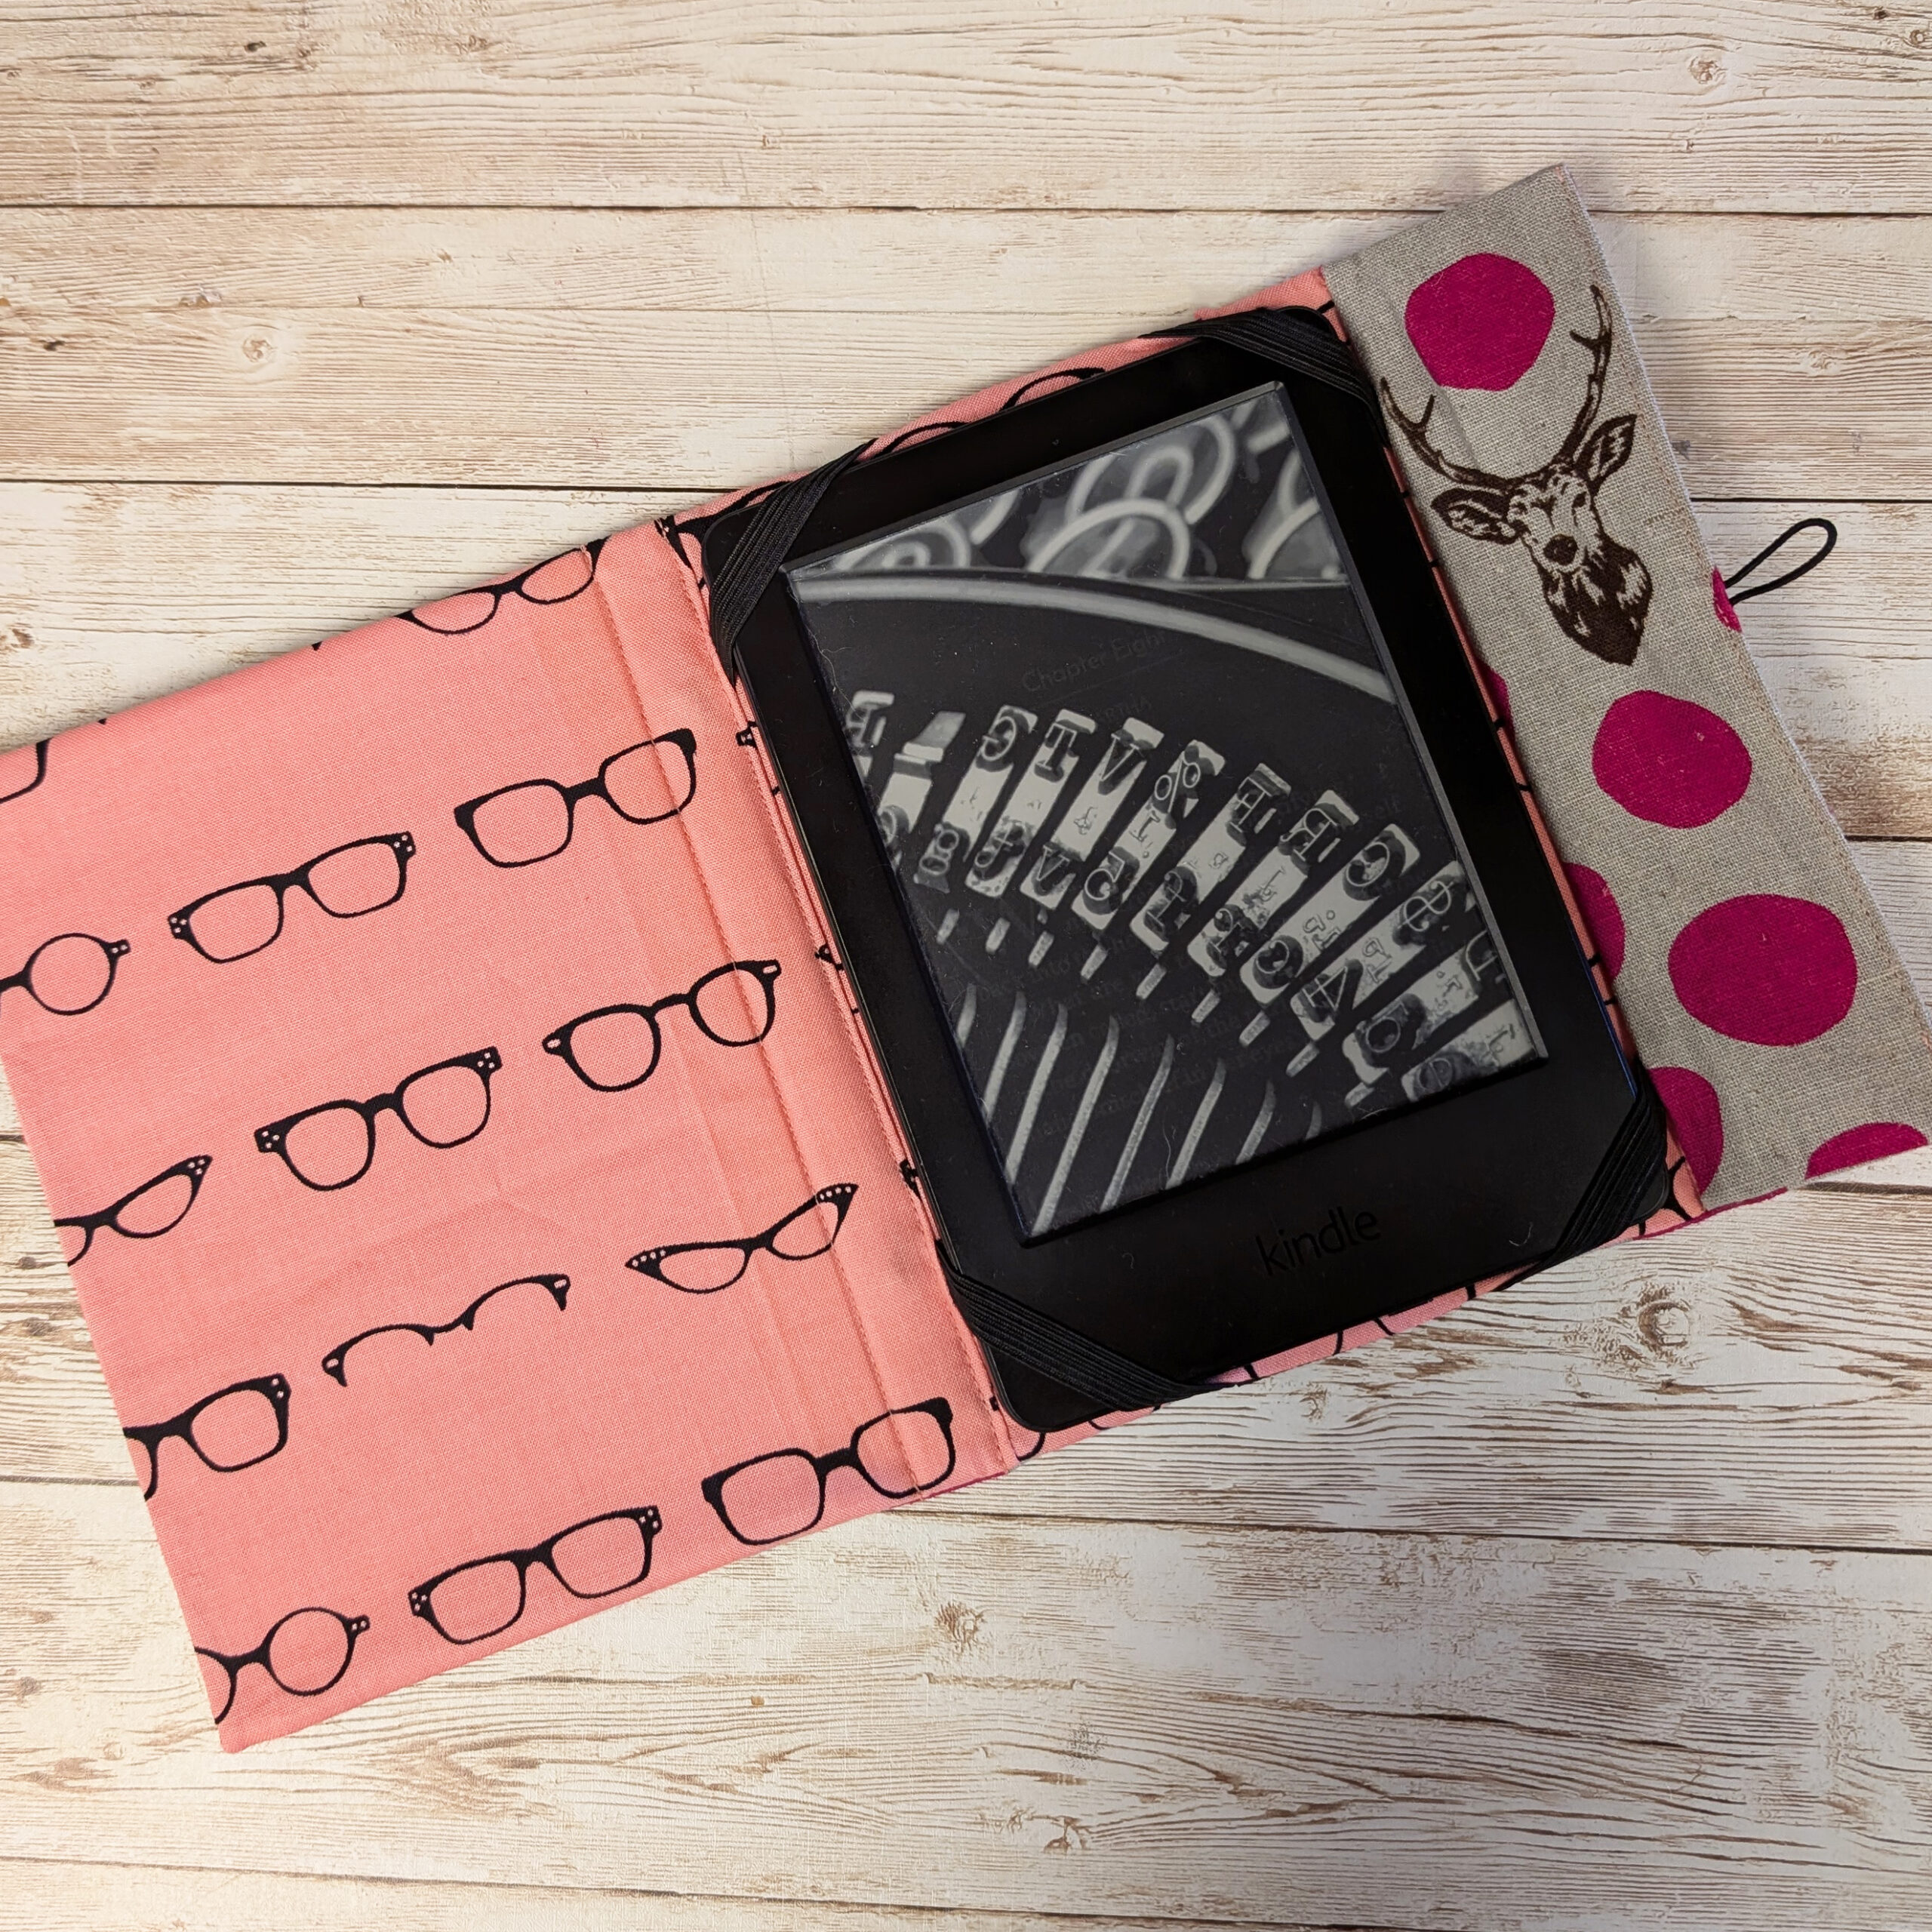
As we begin the run-up to Christmas I thought I’d share a few ideas of things you could make for gifts. I mean this one
I have been pattern cutting for nearly 2 decades, and it’s something I take a huge amount of joy in… helping people have clothing to